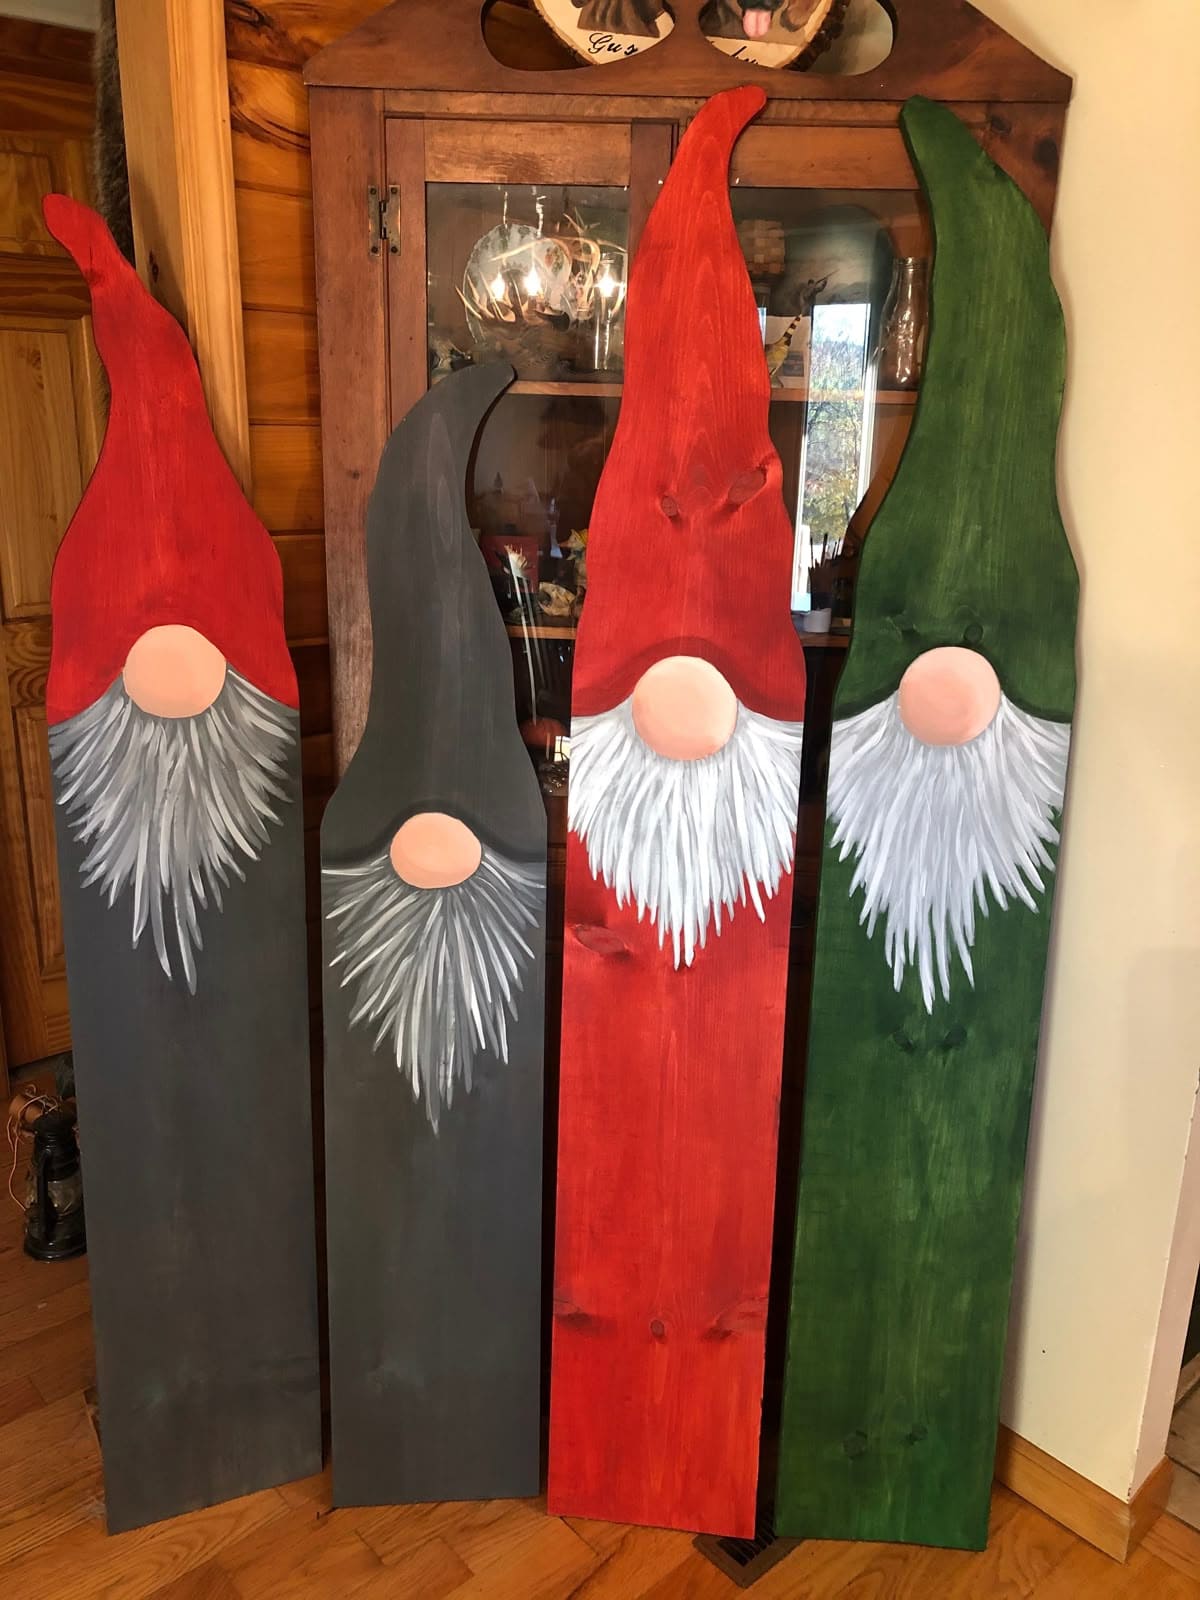
 If you’ve got a few leftover pallet boards, you can easily turn them into Christmas gnomes that will last for years.
The tall, slender planks mimic the shape of whimsical gnome bodies, while paint does the rest of the magic.
This project is beginner-friendly yet leaves room for creativity, you can make your gnome hats striped, polka-dotted, or glittered.
Add a little varnish to protect them outdoors, and you’ll have a festive set of porch guardians that look straight out of Santa’s workshop.
Materials Needed
- 4 pallet planks (each about 48” tall × 6” wide)
- Sandpaper (80-120 grit)
- Acrylic or outdoor paint (red, green, black, white, gray)
- Small paintbrushes for detail and 2” brush for base
- Pencil and chalk for sketching outlines
- Polyurethane or clear sealer (if displaying outdoors)
- Optional: wood scraps to create 3D noses instead of painted ones
Step-by-step Guide
Step 1: Sand your pallet planks thoroughly to remove splinters and prep for painting.
Step 2: Sketch out your gnome design with chalk including long hats that stretch up, a round nose in the middle, and a pointed beard shape at the bottom.
Step 3: Paint the base colors first: red, green, or gray for the gnome body and hat. Let dry.
Step 4: Use white or gray to paint flowing beard strokes, layering to create depth and texture.
Step 5: Add a large round nose with a soft peach or pink shade. For a 3D effect, you can glue a wooden ball or knob instead of painting it.
Step 6: Outline hat details or add stripes/stars for more personality.
Step 7: Once everything is dry, coat the gnomes with polyurethane to protect them if they’ll live outside.
Step 8: Lean them against your porch, fence, or even inside by the fireplace for instant Christmas charm.
Tips:
If you make several gnomes, vary their hat heights and colors so they look like a quirky little gnome family.
Adding glitter paint to the hats is also a fun twist that sparkles at night under porch lights.
