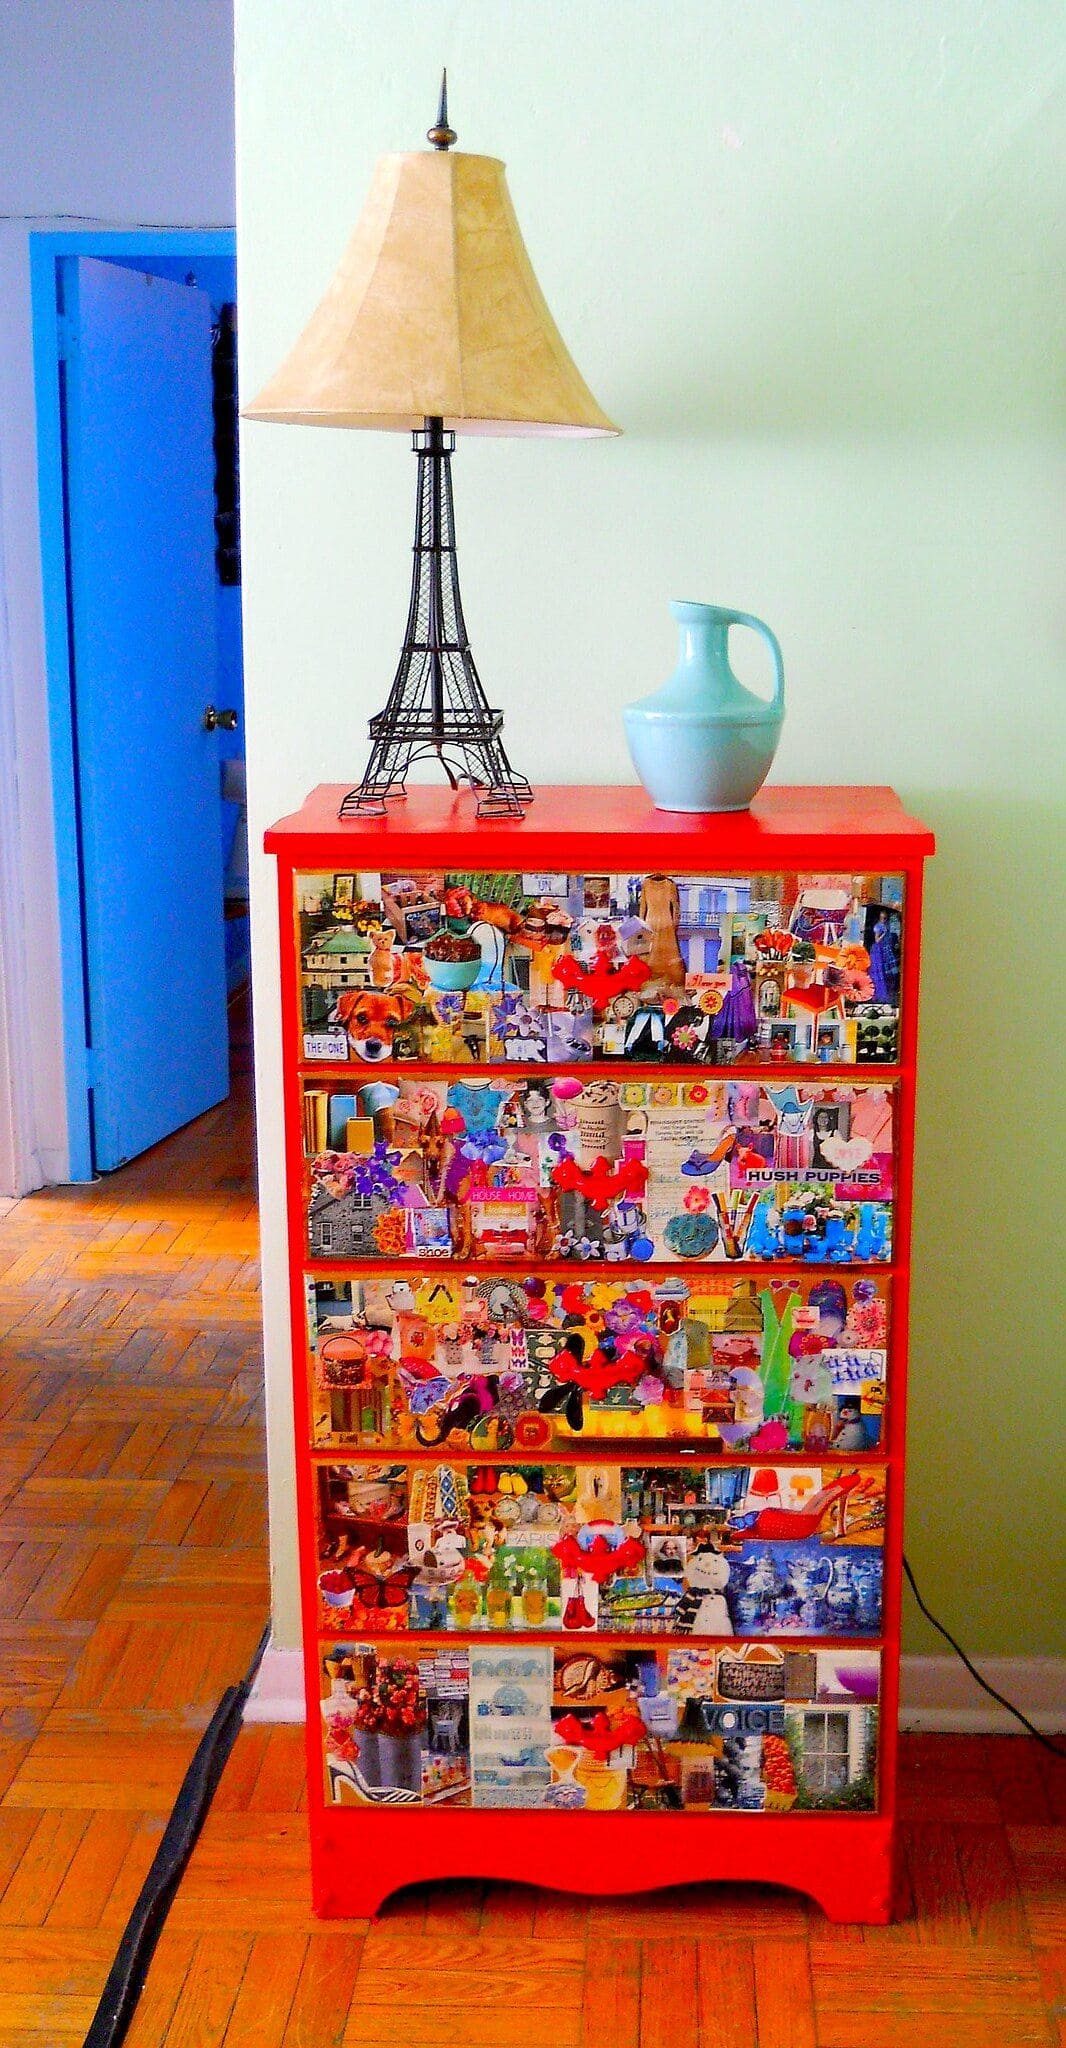
I once had a dresser sitting in the corner, forgotten and plain. Instead of tossing it, I gave it a second chance with comics, glue, and a little patience.
Each drawer became its own stage, covered in characters and scenes I loved. Now, pulling open a drawer feels like flipping through the pages of a favorite book.
The dresser didn’t just get a facelift; it became a patchwork of memories and imagination that brightens my mornings.
Materials Needed
- 1 dresser (wood or laminate, any size)
- 30-40 comic book pages (mix of large panels and small cutouts)
- Scissors and craft knife
- Mod Podge (16 oz for full coverage)
- 2” foam brush or paintbrush
- Sandpaper (medium grit)
- Clear acrylic spray sealer (matte or glossy finish)
- Painter’s tape
Step-by-step Guide
Step 1: Remove the dresser’s drawers and sand the surfaces lightly to get rid of any glossy finish. Then wipe away the dust with a clean cloth.
Step 2: Cut your comic book pages into a mix of full strips, square panels, and small details.
You then lay them out on the drawer fronts before gluing, experimenting with flow and color balance.
Step 3: Using a foam brush, spread a thin layer of Mod Podge on the drawer front and place the first comic piece down.
You smooth it out gently to avoid air bubbles. Keep layering, overlapping slightly for a seamless collage.
Step 4: Once the drawers are covered, brush a coat of Mod Podge over the entire surface. Let it dry 20-30 minutes, then apply two more coats for durability.
Step 5: Seal the finished drawers with a clear acrylic spray. This adds shine and protects the paper from wear and tear.
Step 6: Finally, reassemble the dresser, and step back to admire your work.
Tips:
If your dresser has knobs or handles, consider painting them in bold comic-book colors (like red, blue, or yellow) to tie the whole piece together.
