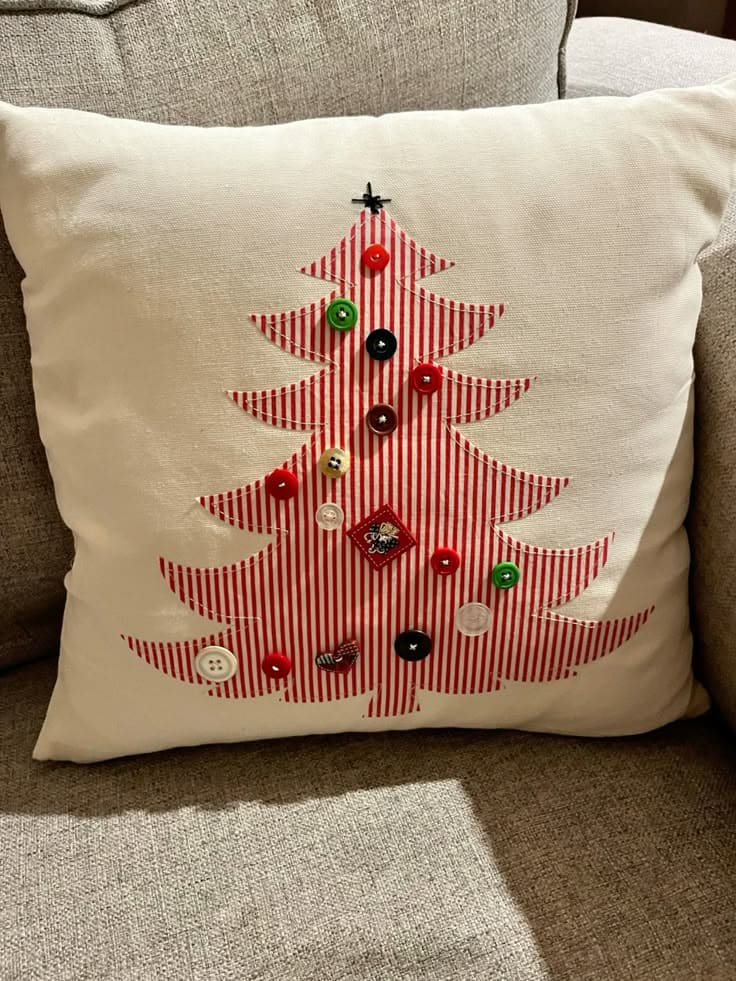
Imagine sitting in your living room on a December evening, lights glowing softly on the tree in the corner.
Beside you on the couch rests this charming pillow, a smaller tree of its own, stitched with stripes and decorated with mismatched buttons that feel like treasures collected over time.
Some buttons may come from old coats, others from a sewing box that’s been in the family for years. Together they create a design that’s imperfect, playful, and utterly delightful.
Materials Needed
- 1 plain pillow cover (16”×16” or 18”×18” in neutral fabric)
- Red-and-white striped cotton fabric (¼ yard)
- 12 assorted buttons in red, green, white, and black
- Black embroidery thread
- Heat’n Bond or fabric glue
- Sewing machine or hand needle
- Scissors, pins, and paper
- 1 pillow insert
Step-by-step Guide
Step 1: Cut a large triangle-shaped Christmas tree template out of paper. Then use this to trace and cut the tree shape from red-and-white striped fabric.
Step 2: Attach the tree to the center of the pillow cover using Heat’n Bond, fabric glue, or by sewing around the edges with a zigzag stitch.
Step 3: Select buttons of different colors and sizes to represent ornaments. You can place them randomly across the tree and pin in place before sewing.
Step 4: Stitch the buttons onto the fabric by hand, securing each one tightly. Also, use playful spacing to mimic ornaments hung on different branches.
Step 5: With black embroidery thread, stitch a small star or cross at the very top of the tree for a simple, striking finish.
Step 6: Insert the pillow form and fluff it. Place it on your sofa or favorite chair and let it bring holiday cheer into your home.
Tips:
I loved mixing new and vintage buttons when making a similar pillow as it gave the design personality and made it feel like a true family heirloom.
For a personal touch, let kids or family members choose which buttons to add; it makes the project collaborative and even more meaningful.
