Garden & Crafty - Garden, DIY, Home
No Result
View All Result
  • GARDEN
    • Garden Tips
    • Garden Guide
    • Garden Care
    • Garden Ideas
  • DIY
    • Diy Project
    • Crafty Ideas
  • HOME
    • Decoration
    • Cleaning
    • Tips & Hacks
  • About Us
  • GARDEN
    • Garden Tips
    • Garden Guide
    • Garden Care
    • Garden Ideas
  • DIY
    • Diy Project
    • Crafty Ideas
  • HOME
    • Decoration
    • Cleaning
    • Tips & Hacks
  • About Us
No Result
View All Result
Garden & Crafty - Garden, DIY, Home
Home Guide

How to Make a Dried Okra Wreath for Your Door

Lois Capone by Lois Capone
September 3, 2025
in Guide
Reading Time: 2 mins read

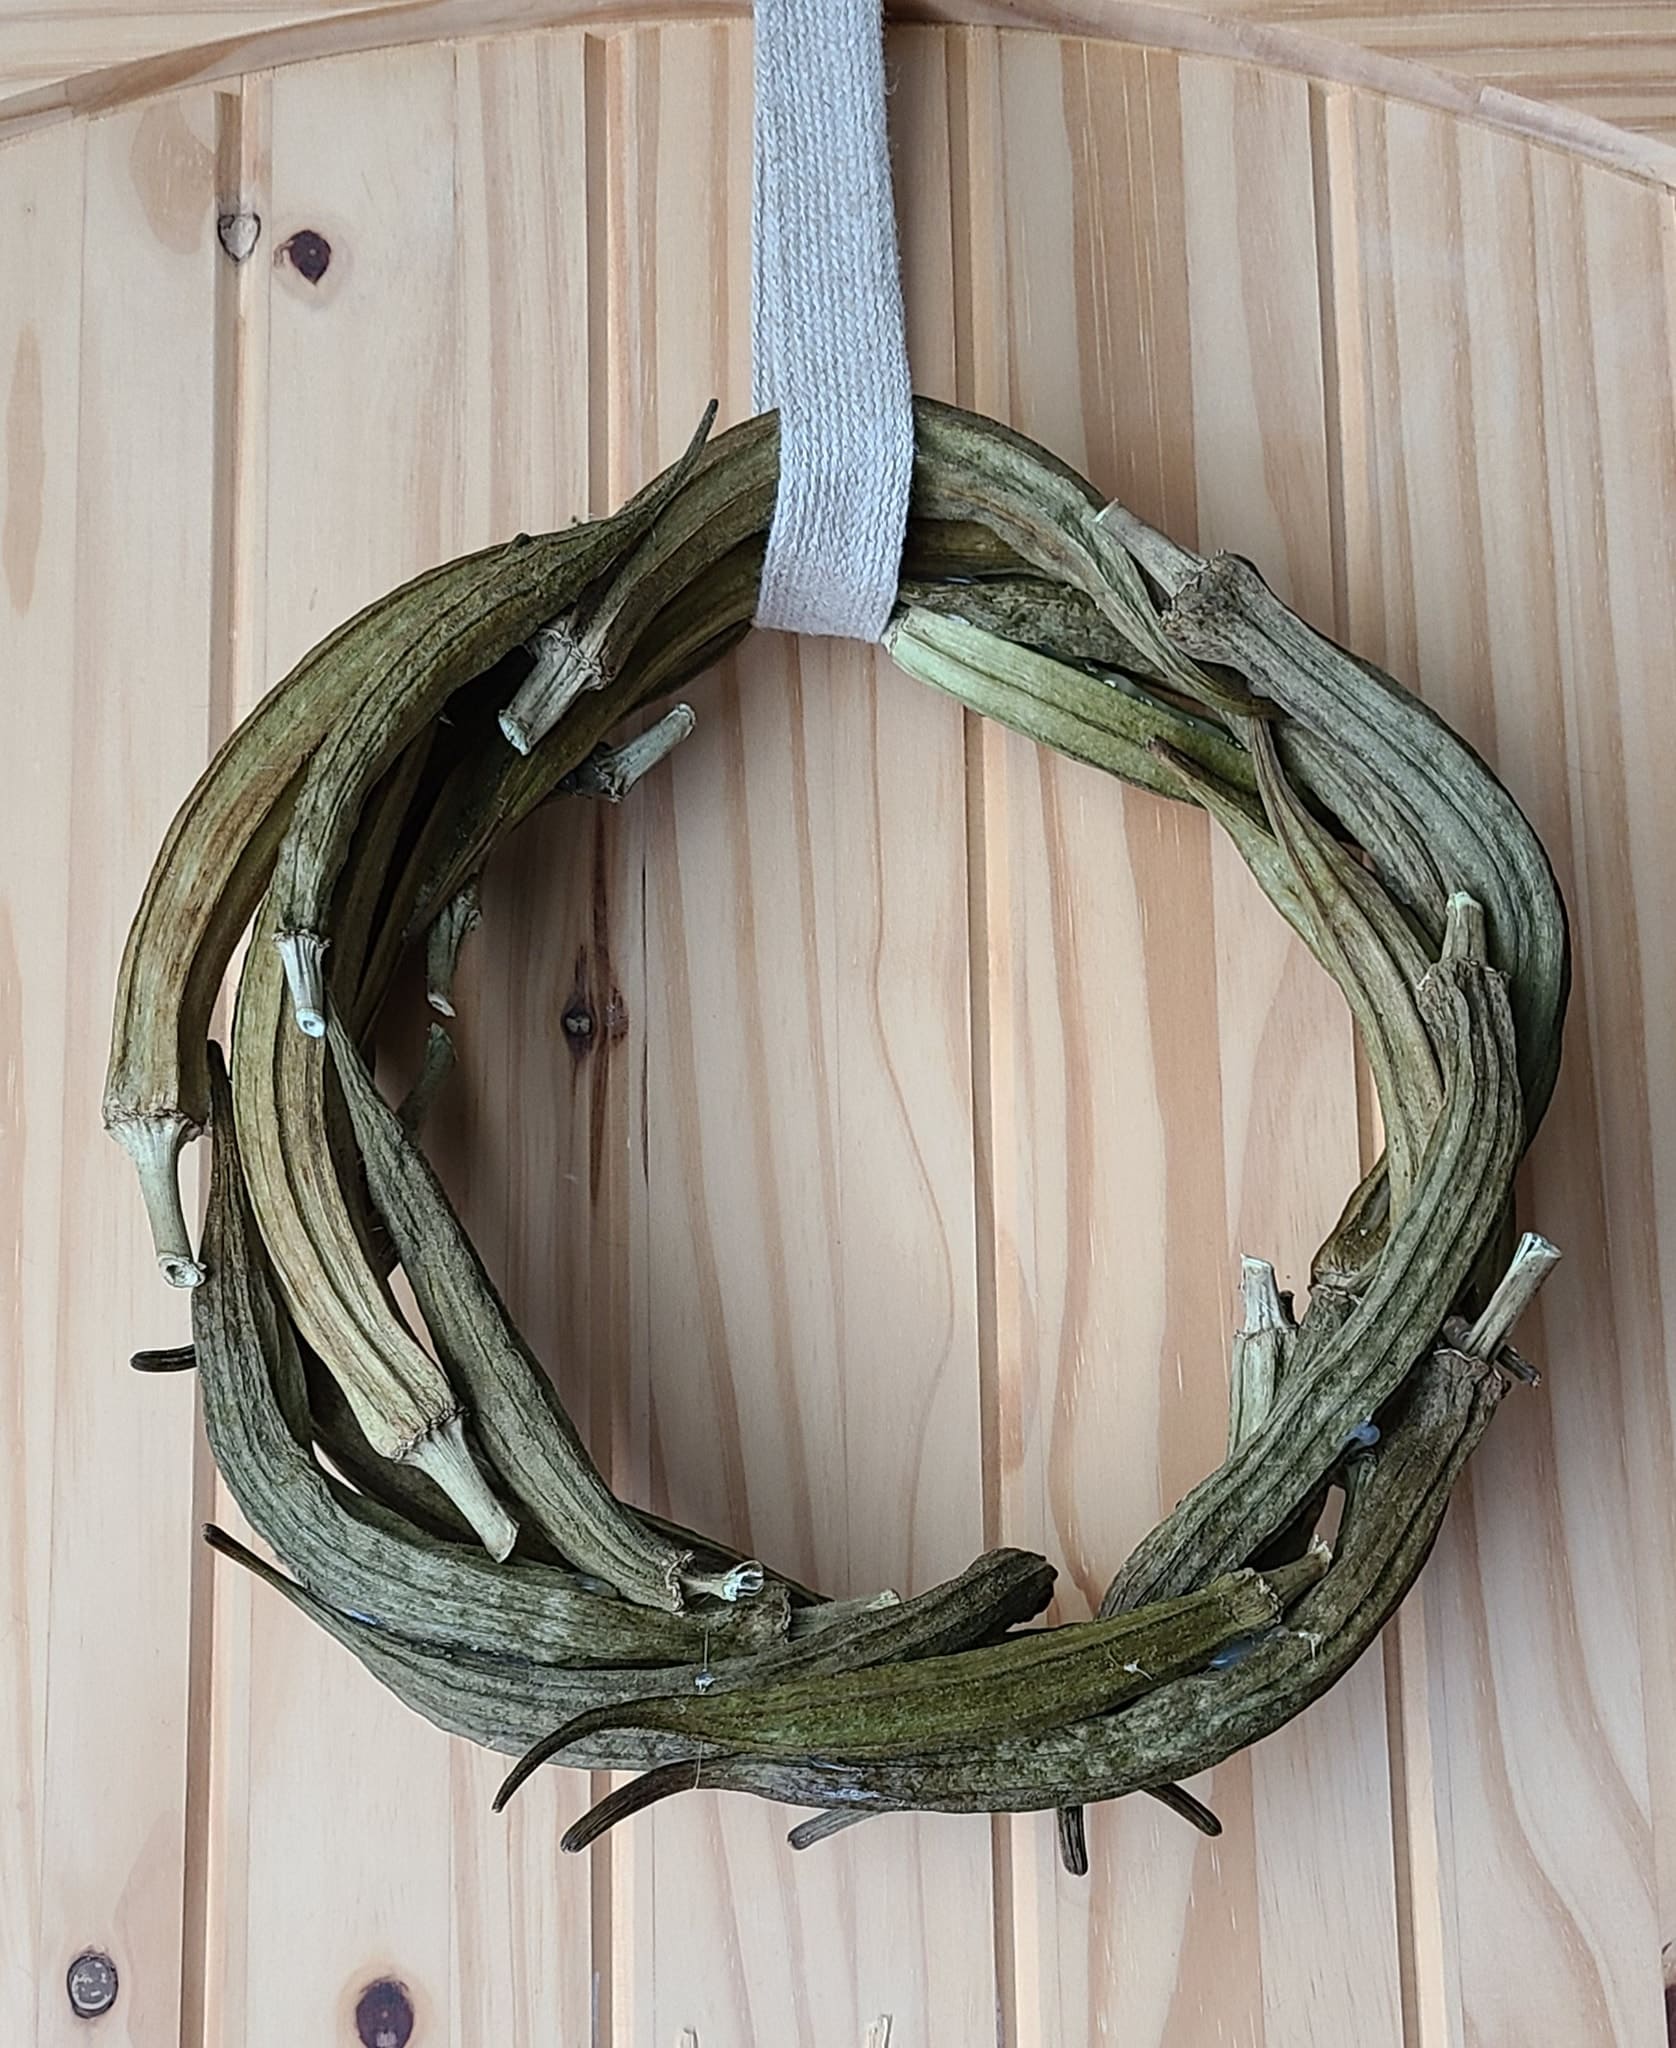
How to Make a Dried Okra Wreath for Your DoorA wreath is a timeless symbol of continuity and the cycle of seasons. This one, crafted from the elegant forms of dried okra, tells a subtle story of growth and preservation.

Each pod, once a part of a vibrant plant, is now woven into a circle of preserved moments.

It’s an ode to rustic beauty, a silent piece of art that speaks volumes about the simple elegance of natural materials.

Moreover, hanging this wreath feels like you are honoring the earth’s rhythm and embracing a beauty that needs no adornment.

Materials Needed

  • 20-25 dried okra pods (make sure they are fully dried and hard)
  • Wire wreath form (8-10 inches works well) or strong floral wire
  • Hot glue gun and glue sticks
  • Pruning shears or wire cutters (optional)
  • Natural-colored ribbon, burlap, or twine

Step-by-step Guide

Step 1: Prepare your pods. Select the best-looking, fully dried pods.

You can use pruning shears to carefully trim the stems if you want a cleaner look, but leaving them on can add to the wreath’s organic charm.

Step 2: Arrange your pods. If you’re using a wire wreath form, lay it on a flat surface.

Start placing the pods on the form, overlapping them to create a full, continuous circle.

You can decide to have them all point in one direction or create a more chaotic, layered look.

Step 3: Secure the pods. Using a hot glue gun, carefully glue each pod to the wire form and to the pods next to it.

Then apply glue to the sides of the pods where they meet to ensure they are firmly attached. This step requires a bit of patience, but the result is worth it.

Step 4: Build the layers. Continue adding pods, layering them on top of the first row to give the wreath more depth and fullness.

You can also fill in any gaps you see. Once you’re happy with the shape, go back and add extra dabs of glue to any pods that feel loose.

Step 5: Attach the hanger. You cut a length of your ribbon or burlap.

Next, loop it through the top of the wreath and tie it in a secure knot or use hot glue to fasten it. This will be how you hang your finished piece.

Tips:

The most important thing here is to make sure your okra pods are completely dry. If they’re not, they can get moldy.

What I love about this project is its simplicity as the subtle, earthy colors of the dried pods are so beautiful on their own that they don’t need any other decoration.

This wreath looks absolutely stunning hung on a wooden door or against a dark, painted wall where its natural texture can really stand out.

SharePin
Lois Capone

Lois Capone

Lois Capone is a wife and mom in her 50s who enjoys sharing gardening, DIY tips, and home decor ideas. She believes that with some inspiration, anyone can create a special feel in their home and garden.

Related Posts

Guide

Create a Dreamy Crescent Moon Using Pressed Flowers

If you’ve ever wanted to combine nature with a little touch of the cosmos, this pressed flower crescent moon is...

by Lois Capone
September 19, 2025
Guide

How to Create Vintage-Style Pressed Flower Frames for Timeless Charm

You don’t need a museum to keep your flowers alive, just a frame and a bit of imagination. With a...

by Lois Capone
September 19, 2025
Guide

How to Decorate Glass Vases with Pressed Flowers

Do you have extra vases tucked away, rarely used? This project gives them new life with pressed flowers sealed right...

by Lois Capone
September 19, 2025
Guide

How to Turn Pressed Leaves and Flowers into Storybook Art

You can give forgotten book pages a second life by layering pressed flowers and leaves over the printed text. The...

by Lois Capone
September 19, 2025
Guide

How to Craft Whimsical Mushrooms with Pressed Flowers

Pressed flower mushrooms are a creative twist on traditional botanical art. By layering petals into caps and stems, you can...

by Lois Capone
September 19, 2025
Guide

How to Turn Pressed Roses into a Framed Keepsake

By framing pressed roses and baby’s breath over a vintage book page, you create a piece of art that feels...

by Lois Capone
September 19, 2025
Load More

Categories

  • Cleaning (6)
  • Crafty Ideas (154)
  • Decoration (155)
  • DIY (8)
  • Diy Project (215)
  • GARDEN (39)
  • Garden Care (58)
  • Garden Guide (129)
  • Garden Ideas (335)
  • Garden Tips (119)
  • Guide (573)
  • HOME (90)
  • Tips & Hacks (20)


Garden & Crafty - Garden, DIY, Home

© 2024 gardenandcrafty.com

Navigate Site

  • About Us
  • Privacy Policy
  • Terms Of Service
  • Disclaimer
  • Cookie Policy
  • Webstories
  • Sitemap

Follow Us

No Result
View All Result
  • GARDEN
    • Garden Tips
    • Garden Guide
    • Garden Care
    • Garden Ideas
  • DIY
    • Diy Project
    • Crafty Ideas
  • HOME
    • Decoration
    • Cleaning
    • Tips & Hacks
  • About Us
  Â