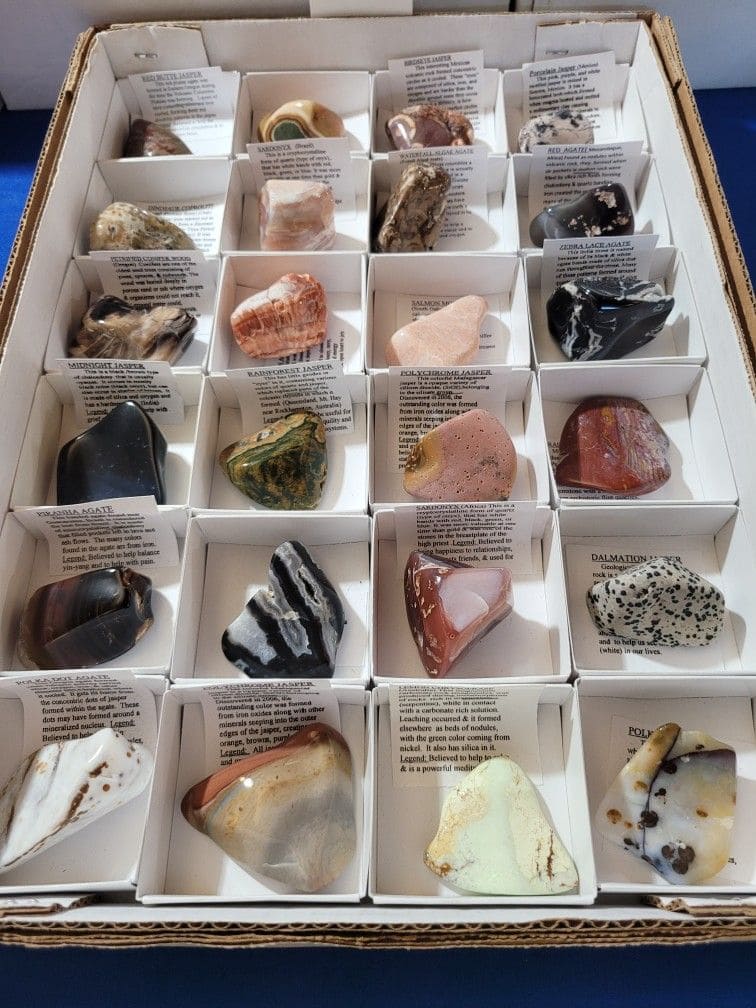
 Every stone tells a tale, of ancient mountains, volcanic fire, or ocean tides.
By placing your gems in a divided box with labeled cards, you turn your collection into a library of Earth’s history.
Imagine flipping open the lid and seeing each specimen waiting in its own little stage, ready to spark curiosity.
Friends and family can lean in to read the notes and learn the lore, while you get the joy of keeping everything organized and safe.
Materials Needed
- 1 sturdy display box with compartments (wood, cardboard, or acrylic, approx. 12–24 slots)
- Small note cards or printed labels (2×3 inches works well)
- Fine-tip pen or printed text
- Soft fabric or felt to line compartments (optional)
- Your gemstone or mineral collection
Step-by-step Guide
Step 1: Choose a display box with enough compartments for your gems. If you plan to expand your collection, opt for one with extra slots.
Step 2: Line each compartment with soft felt or fabric to keep stones from scratching or sliding.
Step 3: Write labels for each gemstone, including its name, origin, and any interesting facts.
You can handwrite these for a personal touch or print them for a cleaner look.
Step 4: Place one gem in each compartment, tucking the label neatly behind or beside it.
Step 5: Arrange the stones by color, type, or size—whatever feels most natural to you. This creates flow and makes your collection more enjoyable to browse.
Step 6: Store the box somewhere safe but accessible. You’ll love flipping it open when you need a little spark of beauty in your day.
Tips:
If you want to elevate the display, use a glass-lid box so you can showcase your gemstones without opening it.
The transparency turns your collection into an art piece while keeping it protected from dust.
