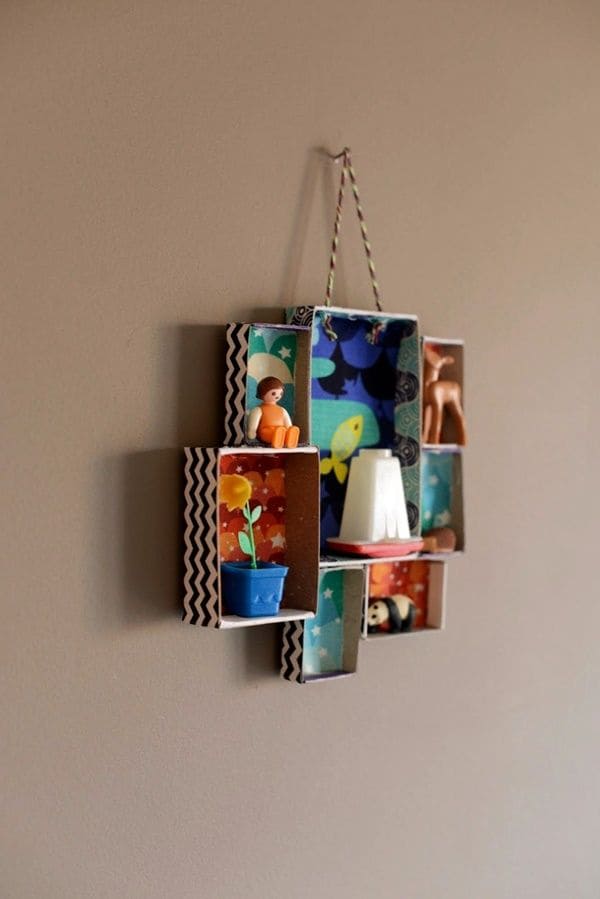
Think of this matchbox shelf as a dollhouse for your favorite trinkets. Each tiny square becomes a stage for treasures like a toy deer, a flower pot, even a little panda.
By adding patterned papers inside and decorating the box edges, you breathe life into what was once just packaging.
It’s not only storage, but also storytelling on your wall, every box a chapter, every object a character.
Materials Needed
- 10-12 empty matchboxes (standard size: 2” × 1.5”)
- Decorative paper or scrapbook sheets (cut to fit interiors)
- Washi tape or ribbon (to wrap box edges)
- Hot glue gun
- Small toys, mini plants, or trinkets for display
- Twine or cord (12-15” long) for hanging
- Scissors
Step-by-step Guide
Step 1: Remove the drawers from your matchboxes and keep only the outer sleeves. Then arrange them into a pattern or shape you like such as square, cross, or cluster.
Step 2: Line the back of each box with colorful paper, cutting pieces to fit snugly inside.
Step 3: Wrap washi tape or ribbon around the outside edges for a neat, decorated finish.
Step 4: Glue the boxes together in your chosen arrangement. Then apply pressure until the glue sets.
Step 5: Attach a piece of twine or cord at the top with glue to create a hanging loop.
Step 6: Once dry, hang your matchbox shelf on the wall and place your mini treasures inside each cubby.
Tips:
You can theme your shelf, use ocean paper for sea figurines, floral paper for garden charms, or even metallic paper for a modern look.
