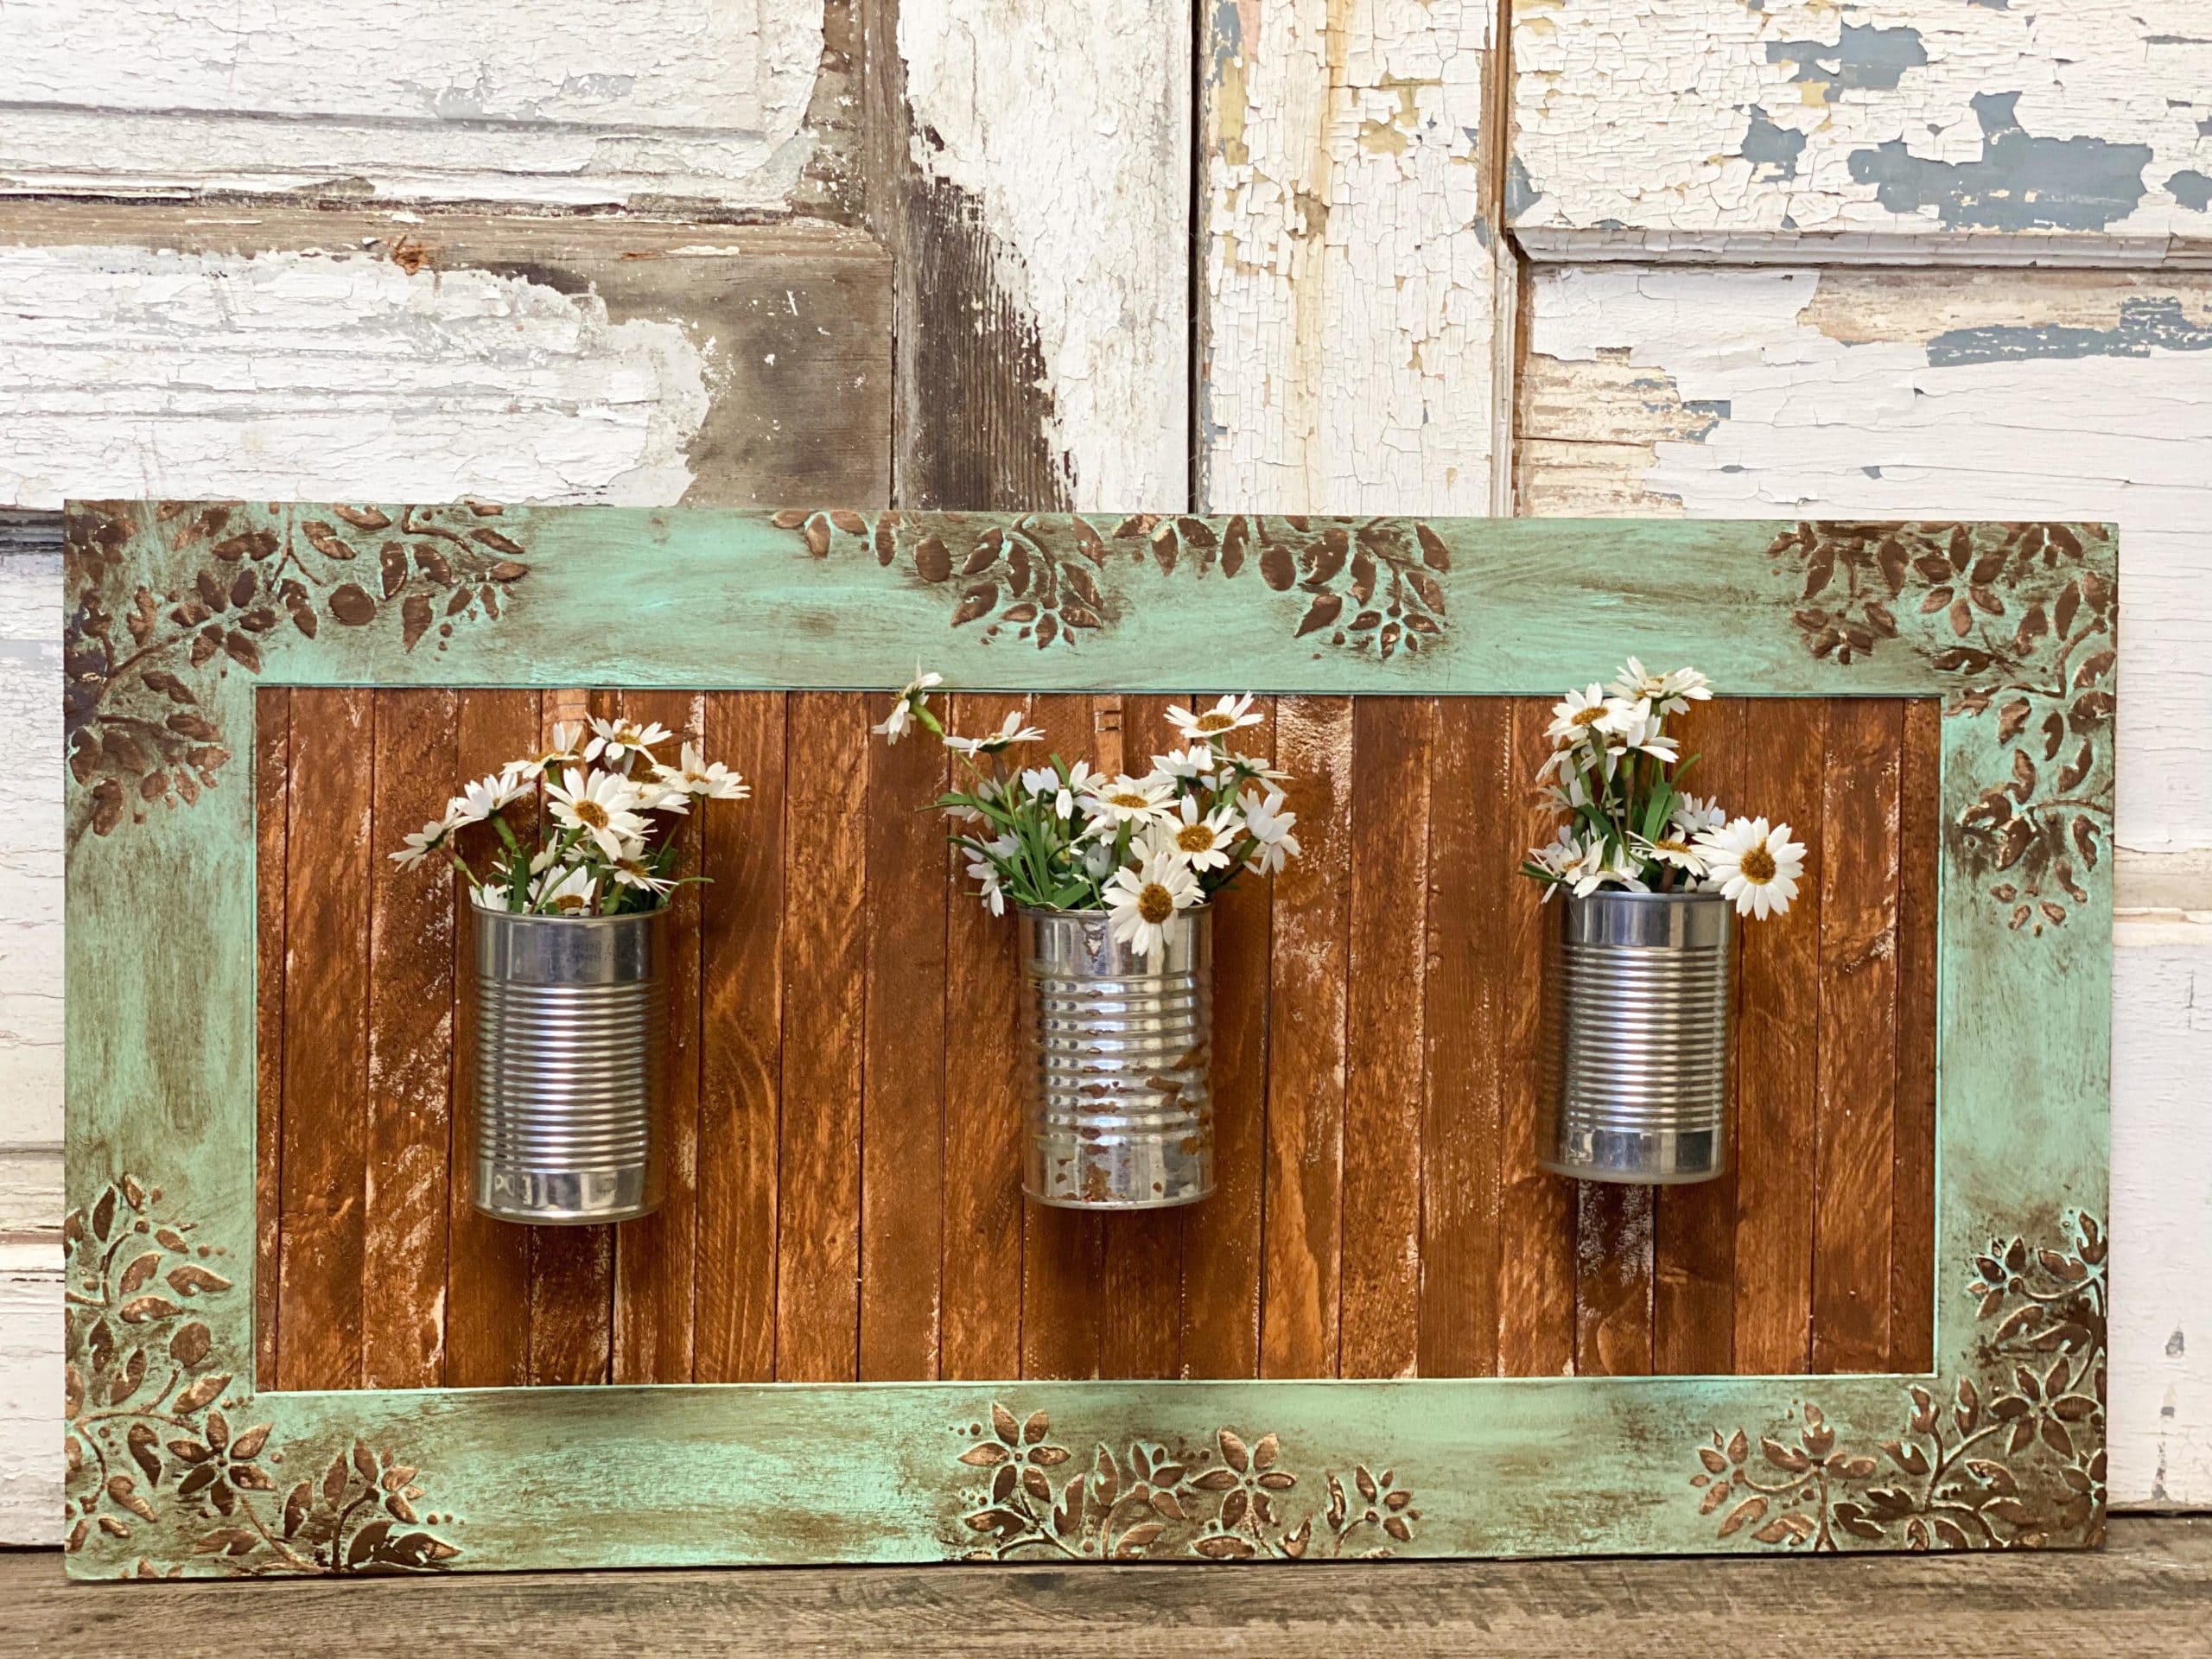
This piece is more than a wall decoration, it’s a memory of open fields and breezy afternoons bottled up inside tin cans.
I love how the mint-green frame, weathered to perfection, almost looks like it’s telling its own story. Then you add the warmth of the wood panel and the pop of fresh flowers, and suddenly your wall feels like a little garden in bloom.
It’s a simple way to bring the outdoors in, turning something as ordinary as a recycled can into a cheerful vase that brightens the whole room.
Materials Needed
- 1 wood board or backing panel (16″×24″)
- 10-12 wood shims (cut to size to fill the center)
- 4 flat wood strips for the frame (each approx. 2″ wide)
- 3 clean tin cans (standard soup can size, 4.5″ tall)
- Acrylic paint (mint green, brown, and bronze for accents)
- Stencil with leaf
- Hot glue gun or strong construction adhesive
- Small screws and drill
- Fresh or faux flowers (daisies or wildflowers)
Step-by-step Guide
Step 1: Cut and glue your wood shims vertically onto the backing board to create the central wooden panel. Then stain or paint them in a warm brown for a polished, rustic look.
Step 2: Frame the panel with four strips of wood, painting the frame a mint green and distressing lightly with sandpaper. You can add stenciled leaf or floral patterns with bronze or darker paint for texture.
Step 3: Clean your tin cans thoroughly, removing all labels and smoothing rough edges. Now, drill two small holes in each can for mounting.
Step 4: Attach the cans evenly spaced across the wooden panel using screws. Make sure they are secure and can hold the weight of flowers.
Step 5: Add fresh daisies or faux flowers into each can, adjusting until they look balanced.
Tip: I found that placing a small mason jar inside each tin can helps hold water for fresh flowers without rusting the metal.
