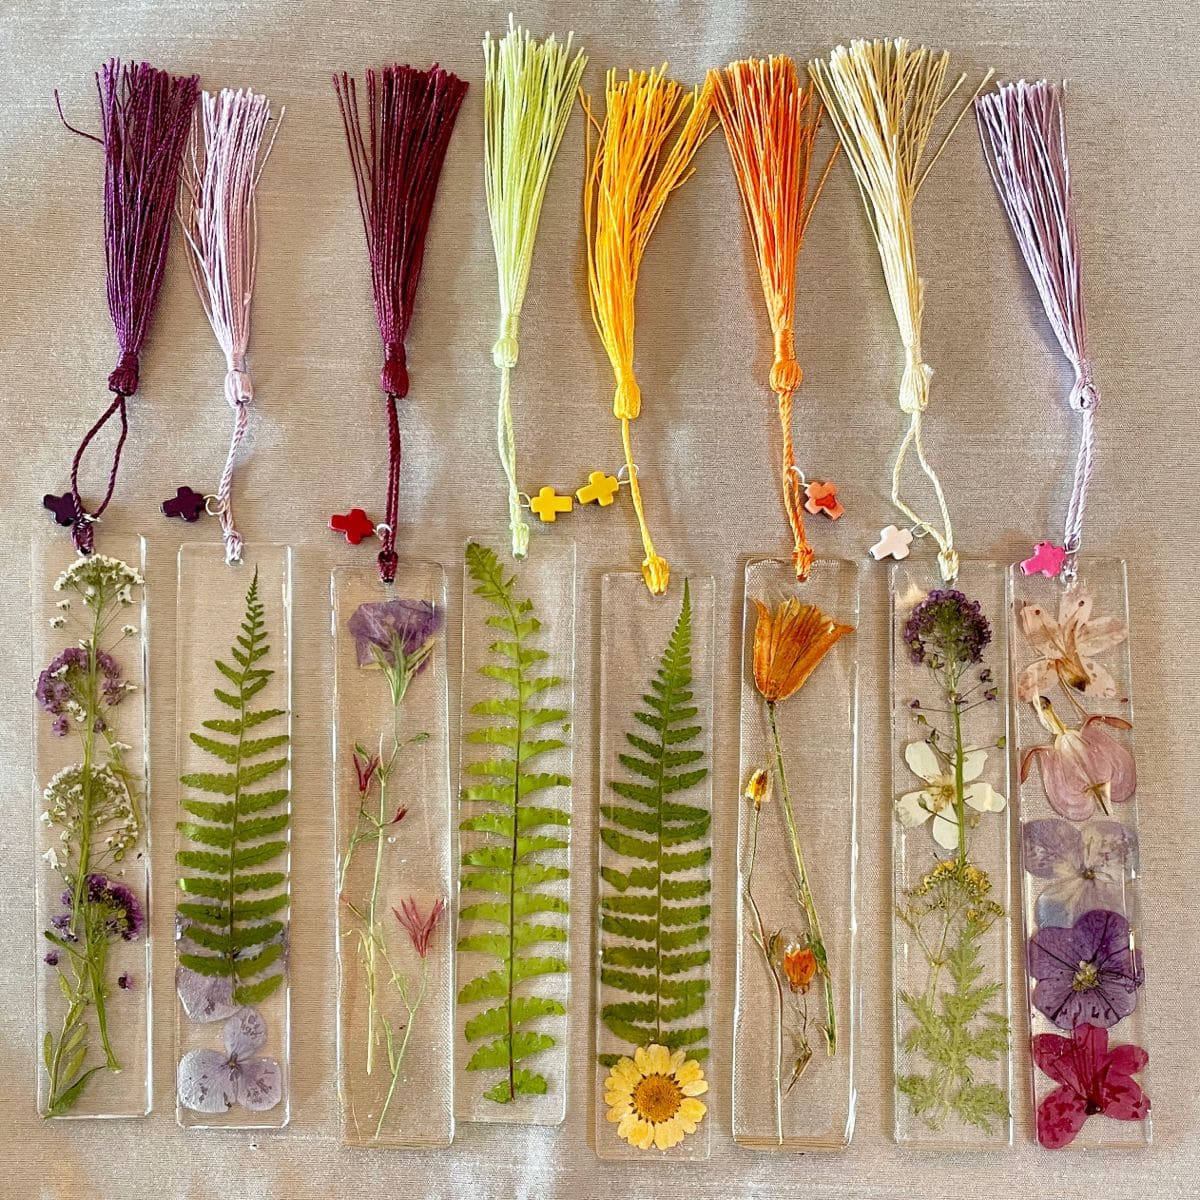
 Imagine gifting a book lover a bookmark that isn’t just practical, but also a keepsake of spring.
You can see a violet from your morning walk, a daisy from your garden, or a fern from a forest trail, all captured in resin and turned into a little piece of art.
These bookmarks tell stories of where the flowers came from, making reading even more magical.
Materials Needed
- Pressed flowers and leaves (6-8 small blooms, 2-4 fern leaves, fully dried and flat)
- Resin kit (epoxy resin + hardener, about 200 ml total)
- Bookmark silicone molds (1.2″ × 5.5″ size, usually set of 5-10)
- Gloves and mixing cups (100 ml plastic cups work well)
- Wooden stir sticks (pack of 10)
- Small tweezers
- Colorful tassels (6-8 pieces, around 5-6″ long)
- Drill tool or mold with pre-made holes
Step-by-step Guide
Step 1: Begin by preparing your pressed flowers.
If you haven’t already, press them for at least a week until they’re flat and crisp. Small blooms and ferns work best here.
Step 2: Mix your resin and hardener according to the kit instructions, usually in a 1:1 ratio.
Then stir slowly for 3-5 minutes to avoid bubbles.
Step 3: Pour a thin layer of resin into the bookmark mold, just enough to cover the base. Let it rest for a few minutes so bubbles rise to the surface.
Step 4: Use tweezers to carefully place your pressed flowers into the resin.
Next, arrange them in patterns such as single stem, scattered blossoms, or layered leaves. This is where you can play and tell your story.
Step 5: Pour another thin layer of resin on top to seal the flowers completely. Then tap the mold gently to release trapped air bubbles.
Step 6: Allow the mold to cure for 24 hours in a dust-free area. Once hardened, pop out the bookmark and smooth edges if needed.
Step 7: Thread a colorful tassel through the hole at the top. This adds a soft finish and makes your bookmark feel polished.
Tip:
Try color-coding your bookmarks by season like yellow blooms for summer, red petals for autumn, pale blossoms for winter.
