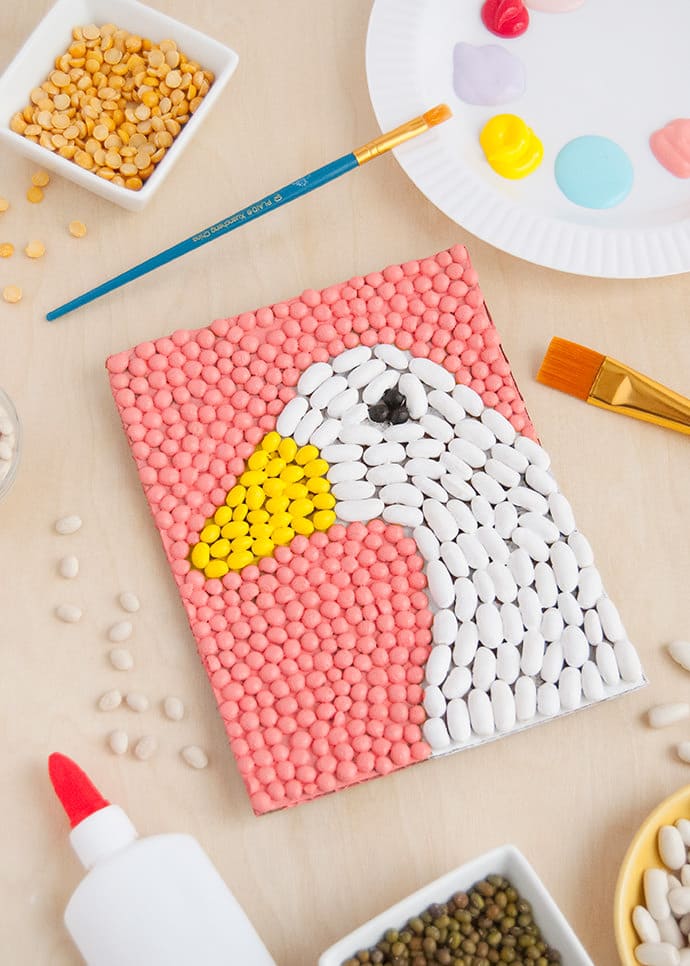
 This bean mosaic is a beginner-friendly art piece that you can easily complete in an afternoon.
By outlining the swan’s head and filling each section with colored beans, you’ll create a design that looks polished yet fun.
The gentle pink background frames the swan beautifully, while the yellow and black accents give just enough contrast to bring the bird to life.
It’s a craft that doesn’t just decorate your wall, it adds character and warmth to any space.
Materials Needed
- 1 canvas board or cardboard base (8” × 10”)
- White beans, approx. 120 beans (swan body)
- Yellow split peas or painted beans – approx. 50 pieces (beak)
- Black bean – 1 large piece (eye)
- Pink lentils or painted peas – approx. 250 pieces (background)
- Craft glue or tacky glue
- Pencil for outlining the swan shape
- Small paintbrush
- Clear spray sealant (optional, for durability)
Step-by-step Guide
Step 1: Start with your canvas or cardboard. Lightly sketch the outline of the swan’s head and beak in pencil, keeping it simple and curved.
Step 2: Apply glue section by section. Begin with the swan’s body, place white beans closely together, filling the entire shape.
Step 3: Add the beak using yellow beans or peas.
Next, place them neatly in rows, tapering to a point for accuracy. Then glue one black bean at the top corner to form the eye.
Step 4: Fill in the background with pink lentils or dyed beans. Also, spread glue evenly and press the beans down firmly so the surface looks uniform.
Step 5: Let the mosaic dry flat for at least 6-8 hours.
Once fully dry, spray lightly with a clear sealant to preserve the colors and prevent beans from loosening.
Notes:
If you don’t have pink beans, paint white beans with acrylics before gluing them. This way, you can customize the background color to suit your room’s palette.
