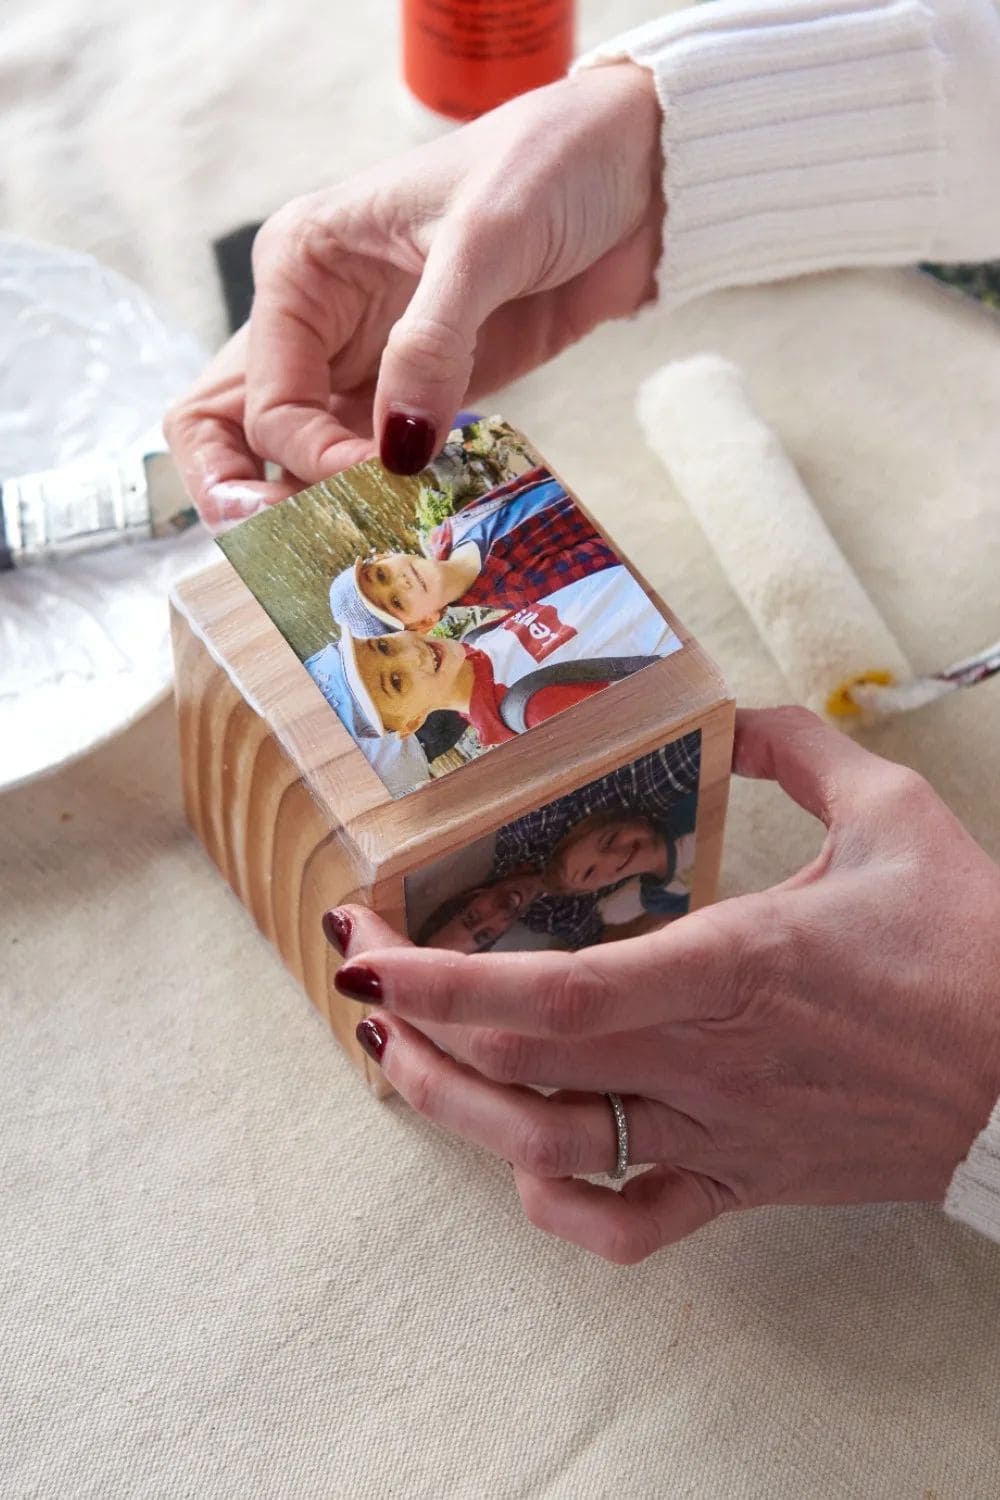
Think of this wooden photo block as a cube of memories. Each side carries a piece of your story like a trip, a birthday, a candid laugh.
Unlike a single framed picture, this project allows you to rotate through different sides, letting each moment take its turn in the spotlight.
Materials Needed
- 1 unfinished wooden block (4” × 4” × 4” size works perfectly)
- 6 printed photos (each trimmed to 4” × 4”)
- 1 bottle of Mod Podge (8 oz matte finish recommended)
- 1 foam brush or sponge applicator (about 1.5-2” wide)
- 1 pair of sharp scissors or paper trimmer
- 1 small brayer or roller (optional)
- Clear acrylic sealer spray (1 can, optional)
Step-by-step Guide
Step 1: Lightly sand the wooden block if needed to ensure smooth sides.
Then wipe away dust with a dry cloth. A smooth surface helps your photos stick cleanly.
Step 2: Trim each photo to match the sides of your block (4” × 4”). Make sure the edges are straight, as a clean cut will look more polished.
Step 3: Apply a thin, even coat of Mod Podge to one side of the block using your foam brush. Then carefully place one photo on top, smoothing out air bubbles with your fingers or brayer.
Step 4: Repeat the process on all sides of the block, letting each photo dry for about 15 minutes before rotating to the next side. This prevents photos from sliding or smudging.
Step 5: Once all six photos are in place, brush a final coat of Mod Podge over the entire block to seal the images. You allow it to dry fully, usually about 30-60 minutes.
Step 6: For extra protection and a longer-lasting finish, spray the block with a clear acrylic sealer. This step makes it more resistant to fingerprints and wear.
Notes: These photo blocks make wonderful gifts for grandparents, especially if you fill them with pictures of children at different ages.
If you’re feeling extra creative, you can even stack multiple blocks together to build a bigger tower of memories.
