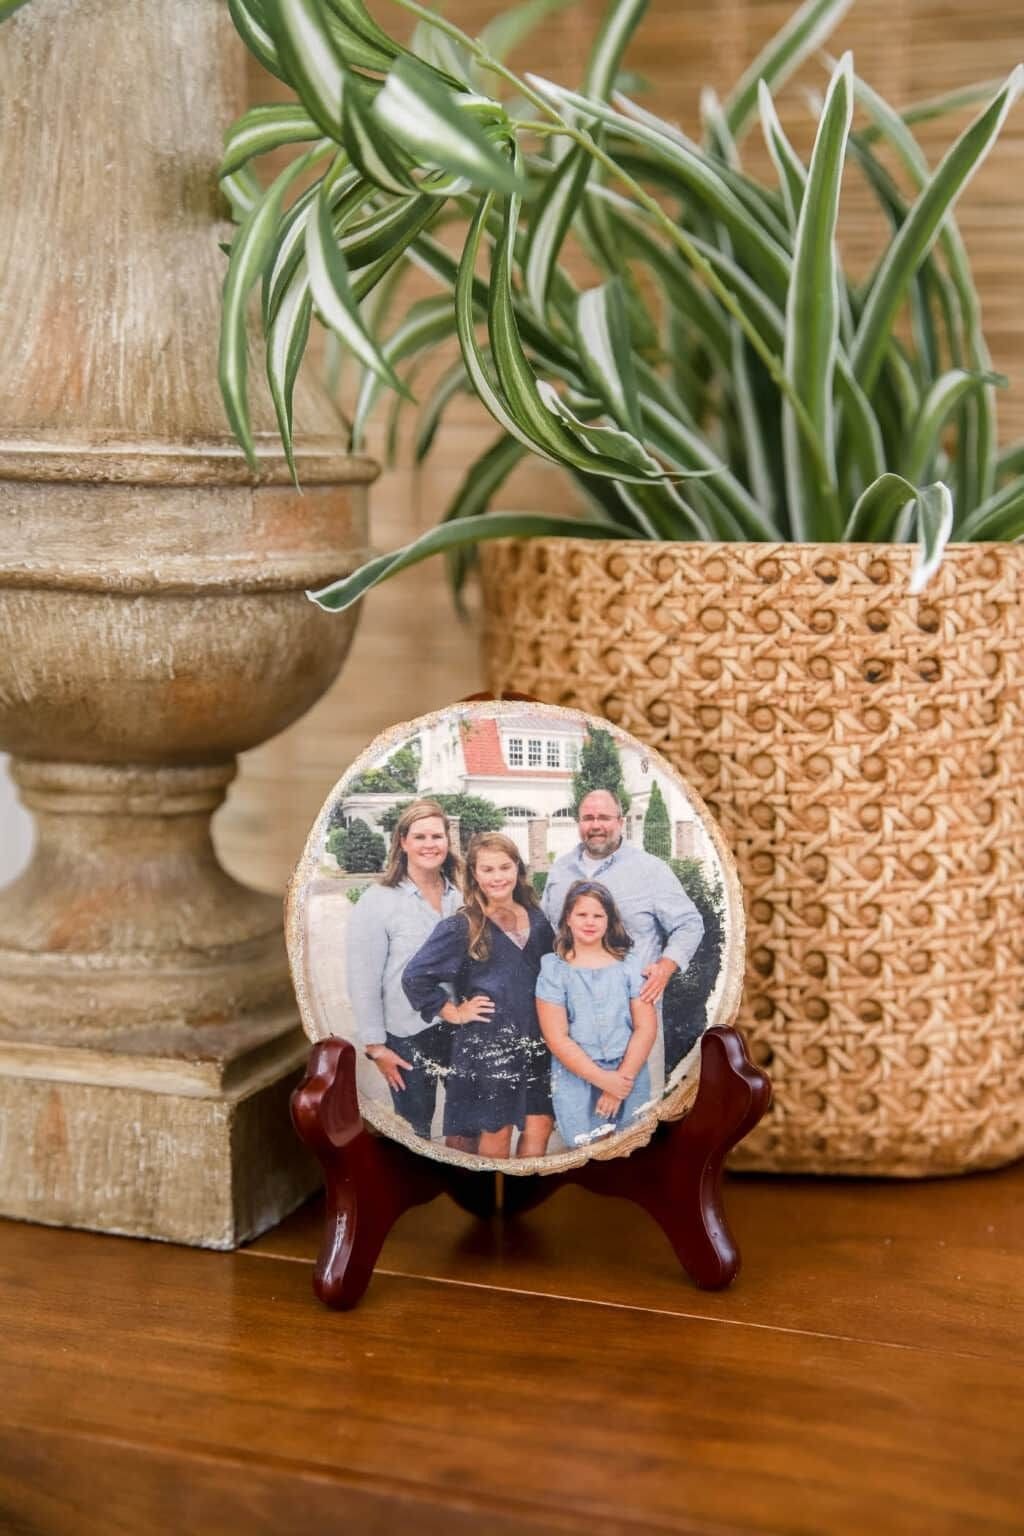
Wood has always held stories from the rings of an old tree to the marks of time.
By transferring a cherished photo onto a wood slice, you’re letting nature’s patterns embrace your memories.
Of course, this project blends nostalgia with rustic beauty, making it a heartfelt decoration for your home or a meaningful handmade gift.
Materials Needed
- 1 natural wood slice (6-8” diameter, sanded smooth)
- 1 printed photo on regular paper (laser printer recommended, sized to fit wood)
- 1 bottle of Mod Podge Photo Transfer Medium (8 oz)
- 1 foam brush or paintbrush
- 1 damp cloth or sponge
- Clear acrylic spray sealer (1 can, optional)
- 1 small stand or hanging hardware
Step-by-step Guide
Step 1: Choose a wood slice with a smooth surface. If it feels rough, lightly sand it and wipe away dust so your photo adheres properly.
Step 2: Print your chosen photo using a laser printer and trim it to fit the shape of your wood slice. Remember, the image will transfer reversed so flip it before printing if it includes text.
Step 3: Using a foam brush, spread a generous, even layer of Mod Podge Photo Transfer Medium directly over the printed side of the photo.
Next, quickly place it face-down onto the wood slice. You smooth out bubbles or wrinkles with your fingers.
Step 4: Let the wood slice dry overnight (at least 8-10 hours). Patience is key here as don’t rush the process, or the image won’t transfer cleanly.
Step 5: Once dry, dampen a cloth or sponge with water and gently rub away the paper backing. Work slowly, and you’ll see your image appear beautifully on the wood surface, blending with its natural texture.
Step 6: To finish, seal your piece with a clear acrylic spray for extra durability and a slight sheen.
Now you can display it on a small stand, or attach hanging hardware to place it on your wall.
Tip: Wood slices make fantastic personalized gifts, think anniversaries, Christmas, or even rustic wedding favors. Each one feels like a small piece of art infused with memory.
