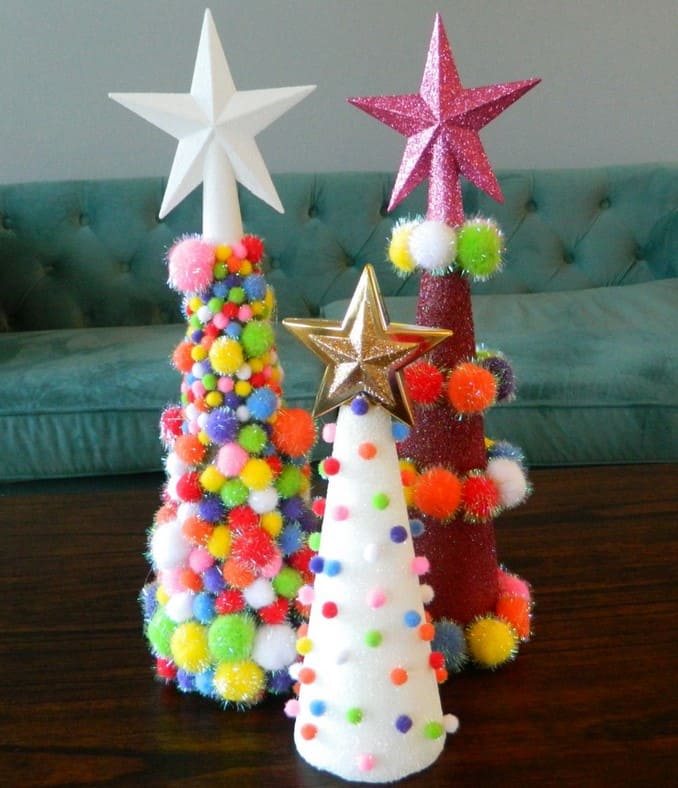
 There’s something special about decorating for Christmas with items you’ve made yourself.
I remember the first time I crafted a pom-pom tree, my kids couldn’t stop touching the fluffy ornaments, and suddenly the tree became more than decoration, it became part of our family tradition.
These trees carry that same energy. They don’t just stand there looking pretty; they invite you to laugh, to gather, and to celebrate in a home filled with warmth.
Creating one feels like bottling up holiday cheer and placing it right on your table.
Materials Needed
- Styrofoam or cardboard cones (12”-18” tall, depending on your space)
- Assorted pom-poms (mix sizes: 1cm, 2cm, and 3cm)
- Craft glue or hot glue gun
- Glitter paper or craft stars
- Optional: spray paint, glitter, or fabric
Step-by-step Guide
Step 1: Choose your cone base. You can buy ready-made Styrofoam cones or roll a piece of sturdy cardboard into a cone shape and tape it securely.
Step 2: If you’d like a background color, paint or wrap your cone in glitter paper. This way, any small gaps between pom-poms will still look festive.
Step 3: Begin gluing pom-poms at the base of the cone, working your way up in rows.
Of course, alternate colors and sizes to give the tree depth and fun personality.
Step 4: Once the cone is fully covered, attach your star topper using glue or by inserting a toothpick/skewer into the top for stability.
Step 5: Let everything dry completely before placing your pom-pom trees on display.
Tips:
For a chic look, stick to one or two color families like gold and white, or green and red.
For a playful vibe, go all out with rainbow pom-poms. You can even add a battery-operated fairy light strand wrapped around for extra sparkle.
