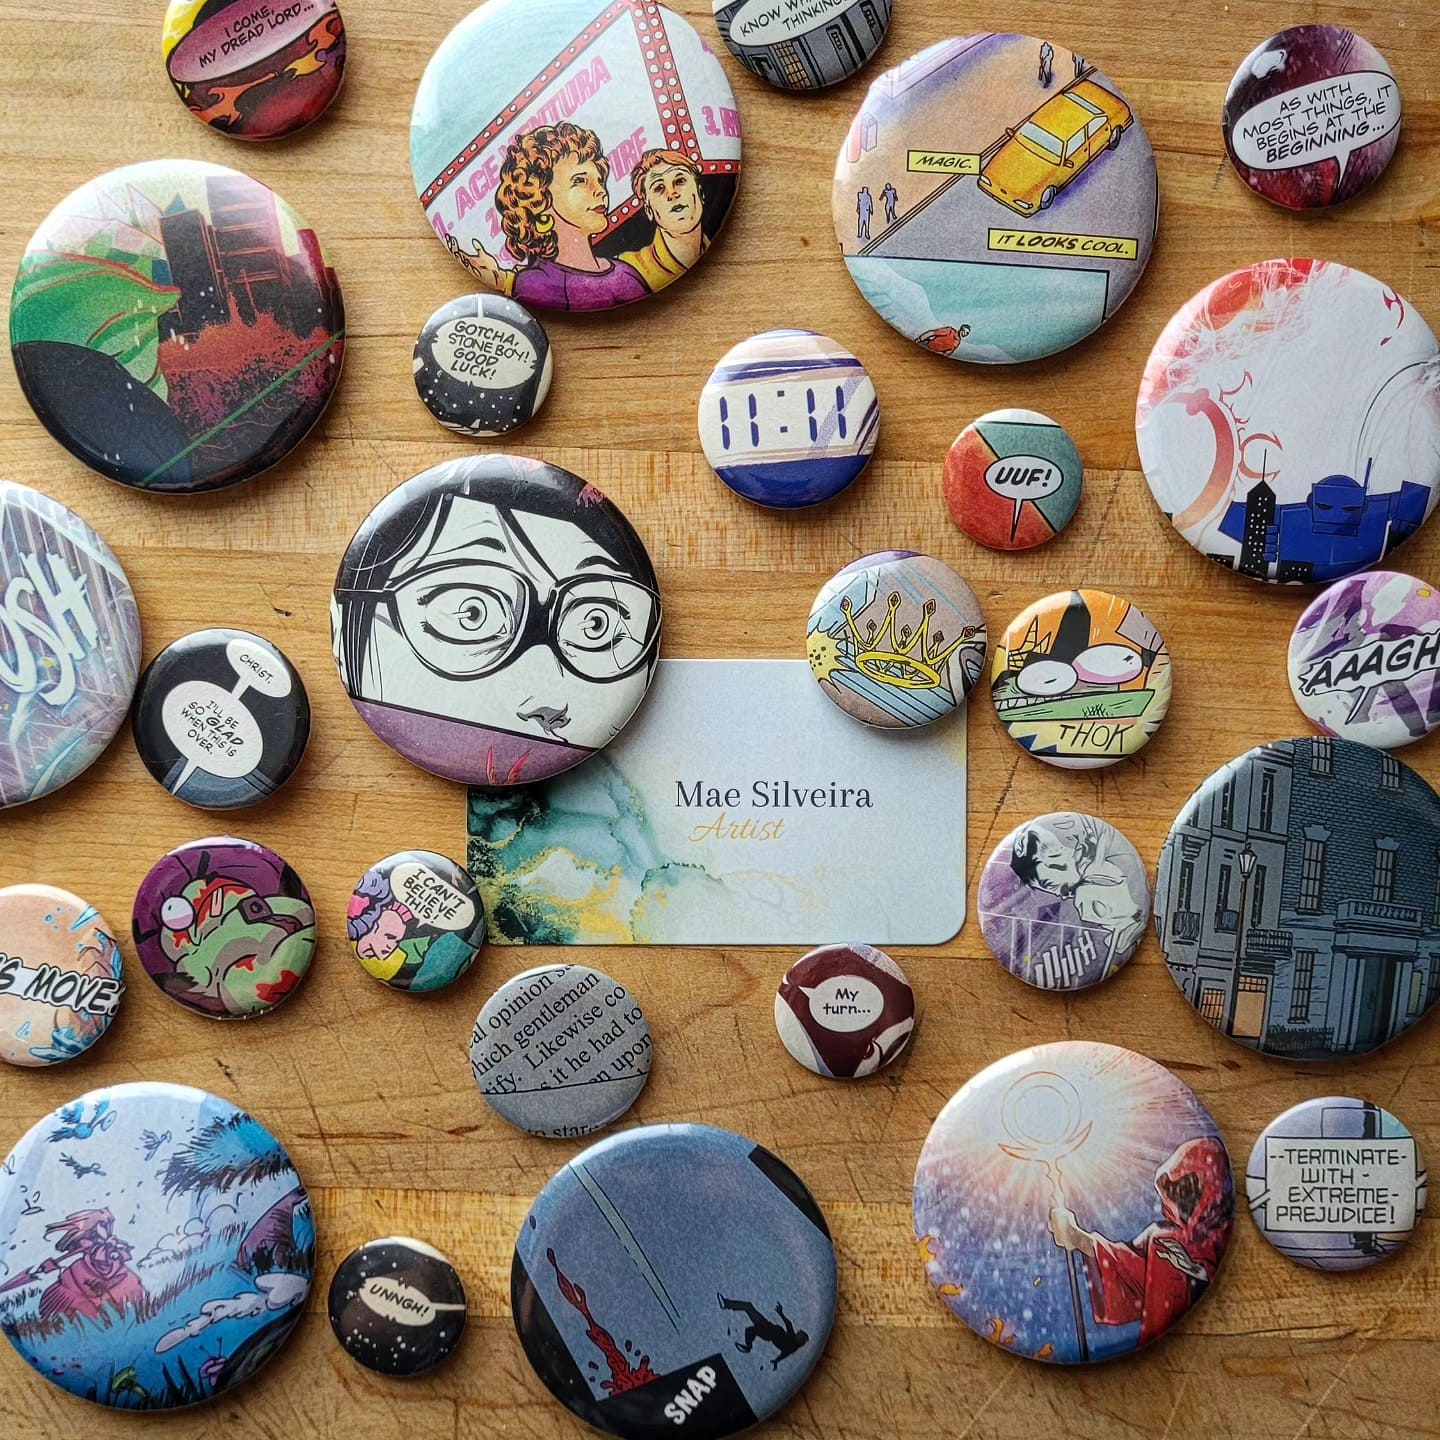
There’s something satisfying about turning scraps of paper into treasures you carry with you. Think of a button as a snapshot of a story, a panel frozen in time, ready to travel with you wherever you go.
One day you might pin on a button with a bold “BAM!” to match your energy; another day you might choose a quiet, thoughtful close-up of a character’s face.
They’re like mood rings, only geekier and much cooler. Each one you make feels like bottling up a little piece of the comic universe to share with the world.
Materials Needed
- Comic book scraps or photocopied panels (small, bold designs work best)
- Button maker machine (with 1”-2.25” button size dies)
- Mylar covers (usually included with button kits)
- Button parts (metal fronts, backs, and pins)
- Scissors or circle cutter
- Pencil
Step-by-step Guide
Step 1: Sort through your comics and pick panels or snippets of dialogue you’d like to feature. Tiny details or a quirky facial expression make surprisingly great buttons.
Step 2: Use your circle cutter or trace the button template onto the comic page. Then carefully cut out your design, making sure the main artwork is centered.
Step 3: Place the cut-out in your button maker, then add the mylar cover on top (this keeps the artwork crisp and protected).
Step 4: Add the metal back piece and run it through your button press according to the machine’s instructions.
Step 5: Pop out your finished button and admire it! Each one takes less than a minute once you get the hang of it, and the process can be addictive, you’ll want to make twenty in a row.
Tips:
When I made mine, I found that panels with bright backgrounds and bold lettering stood out best once shrunk down.
Darker, detailed art can sometimes lose its impact on small buttons, so don’t be afraid to zoom in on a dramatic word bubble or a single character’s face.
Trust me, your friends will ask where you bought them, and you’ll get to smile and say, “I made it myself.”
