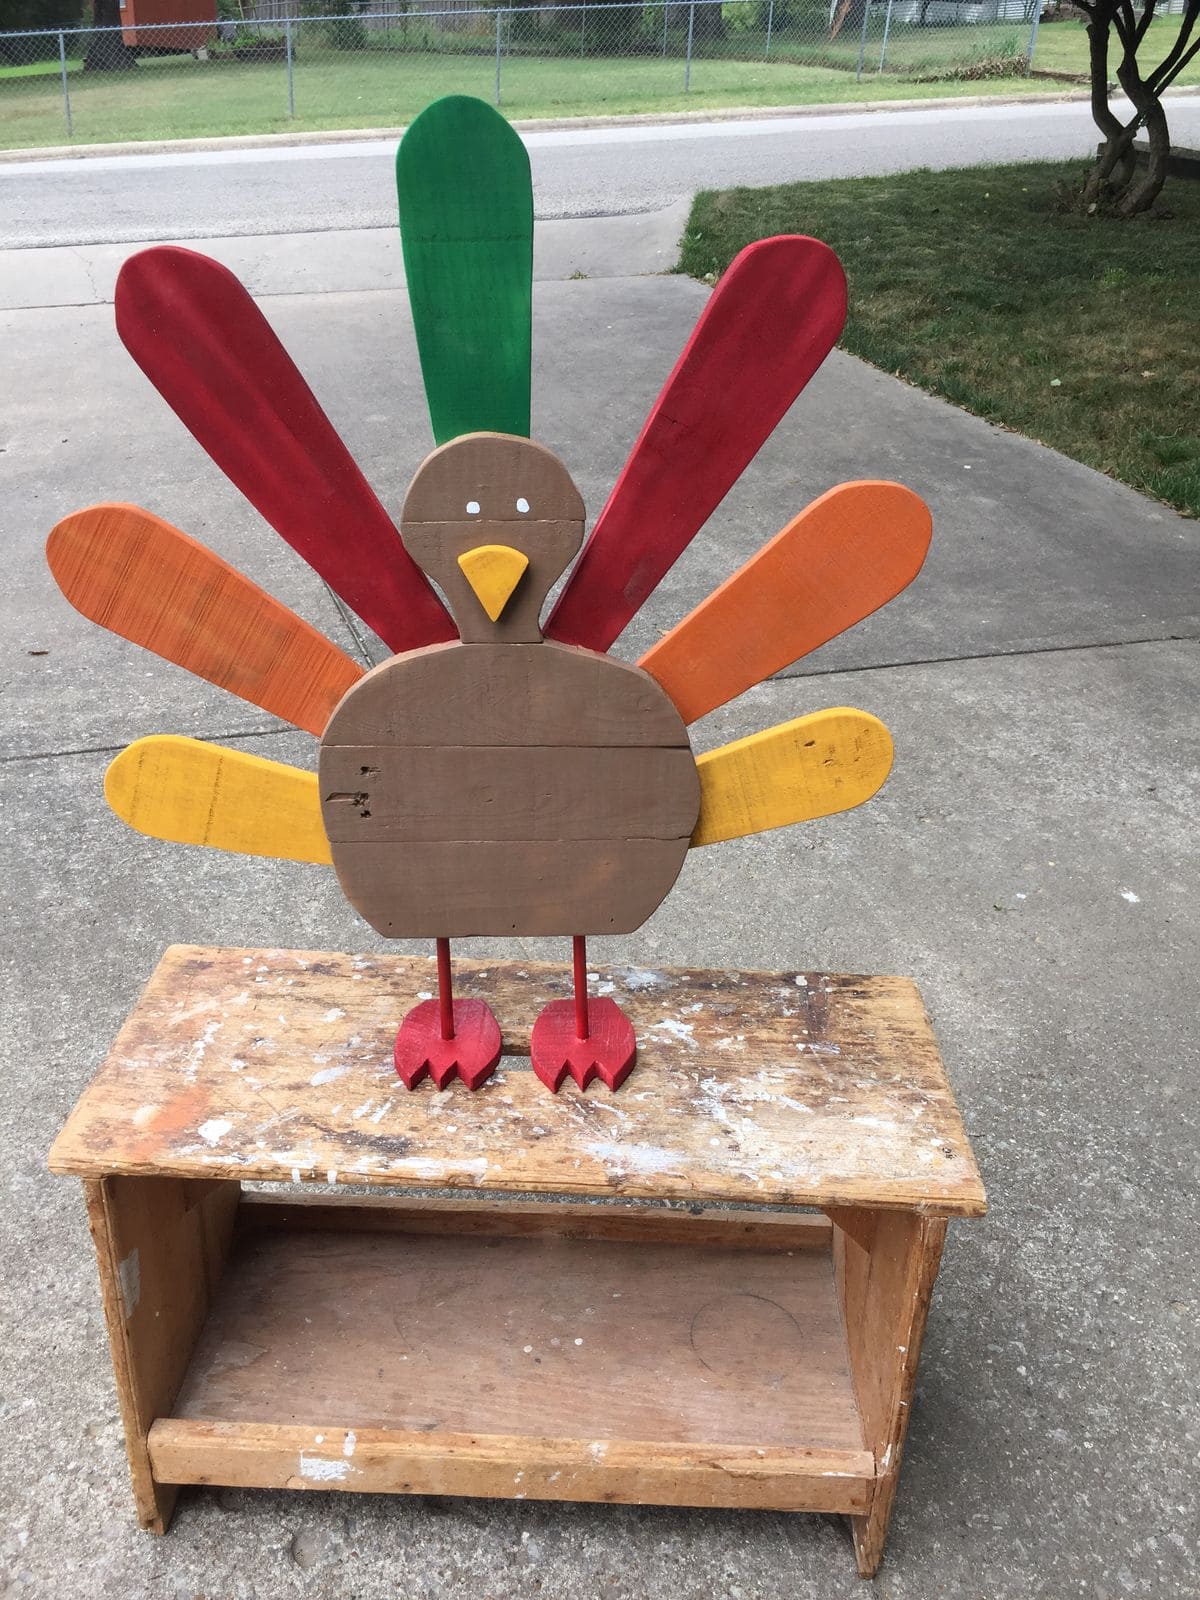
If your porch or lawn needs a burst of seasonal charm, a wooden turkey is the answer.
The big, bold feathers instantly catch the eye, while the rustic wooden texture ties it beautifully with fall’s natural palette.
You can personalize it by adding family names on the feathers or even a “Happy Thanksgiving” message across the wings.
Materials Needed
- 1 sheet of plywood (24” × 24”)
- 6 wooden boards or paddles (18” long each)
- Acrylic paints (red, orange, yellow, green, brown)
- Paintbrushes (wide for base, small for details)
- Sandpaper (medium grit, for smoothing edges)
- Wood glue or screws (1”-1.5” long)
- 2 wooden dowels (12” long each)
- 2 small wood cutouts (feet shapes, 4” each)
- Outdoor sealant
Step-by-step Guide
Step 1: Cut your plywood into a large oval shape for the turkey’s body and a smaller circle for the head. Then sand edges for a smooth finish.
Step 2: Arrange the wooden boards behind the body to form feathers, fanning them evenly. You can secure with wood glue or screws.
Step 3: Attach the head to the top of the oval body, then add a triangle beak and paint on eyes.
Step 4: Fix the dowels to the bottom of the body and attach the feet cutouts.
Step 5: Paint the feathers in vibrant Thanksgiving colors and allow them to dry completely.
Step 6: Seal the finished turkey with outdoor sealant so it stays bright and durable through the season.
Notes:
For extra flair, tie a burlap bow around the turkey’s neck or add lettering on the feathers. This gives your decoration a more personal touch that neighbors will admire.
