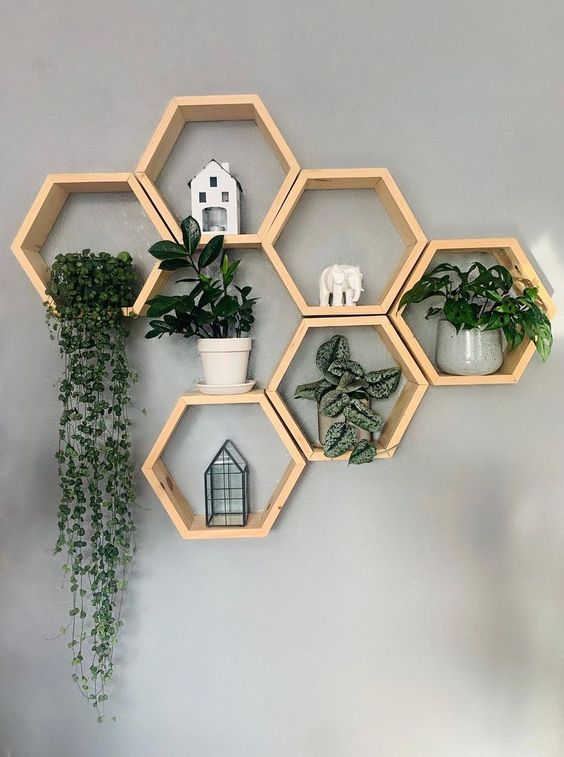
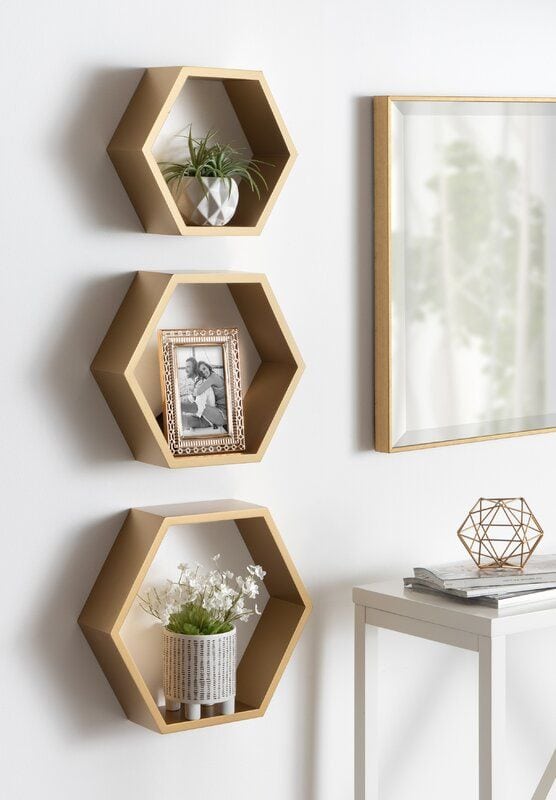
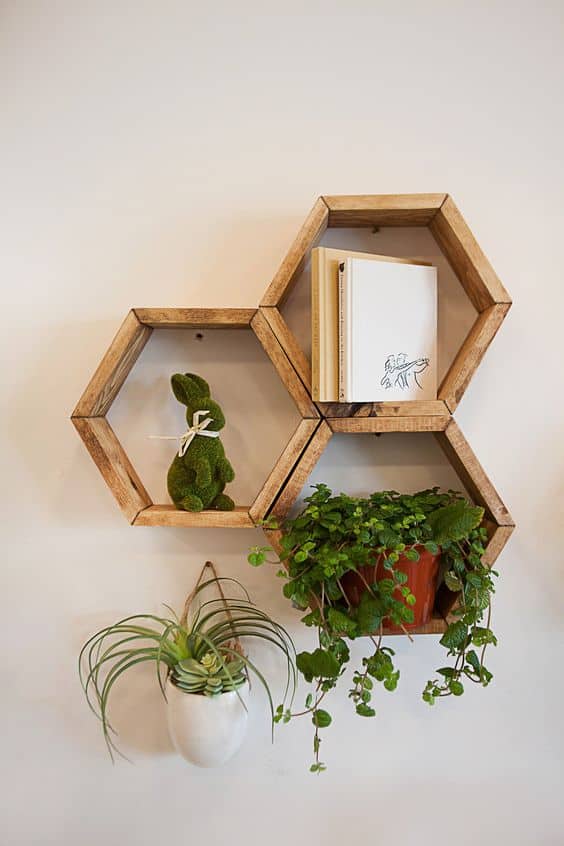
Are you looking for a stylish way to add storage and personality to your home? DIY wood hexagon shelves are the perfect solution!
These geometric beauties offer a modern twist on traditional shelving while adding both elegance and function.
In this guide, I’ll walk you through the entire process. With just a few tools and a bit of time, you can create stunning hexagon shelves that will become the highlight of any room!
Materials Needed
- Wood (Pine, Oak, or Maple)
- Wood glue
- Clamps
- Brad nails or screws
- Sandpaper (80, 120, 220 grit)
- Wood stain or paint
- Miter saw or handsaw
- Drill and screws
- Measuring tape and pencil
- Safety gear (glasses and gloves)
Step 1: Measure and Cut the Wood
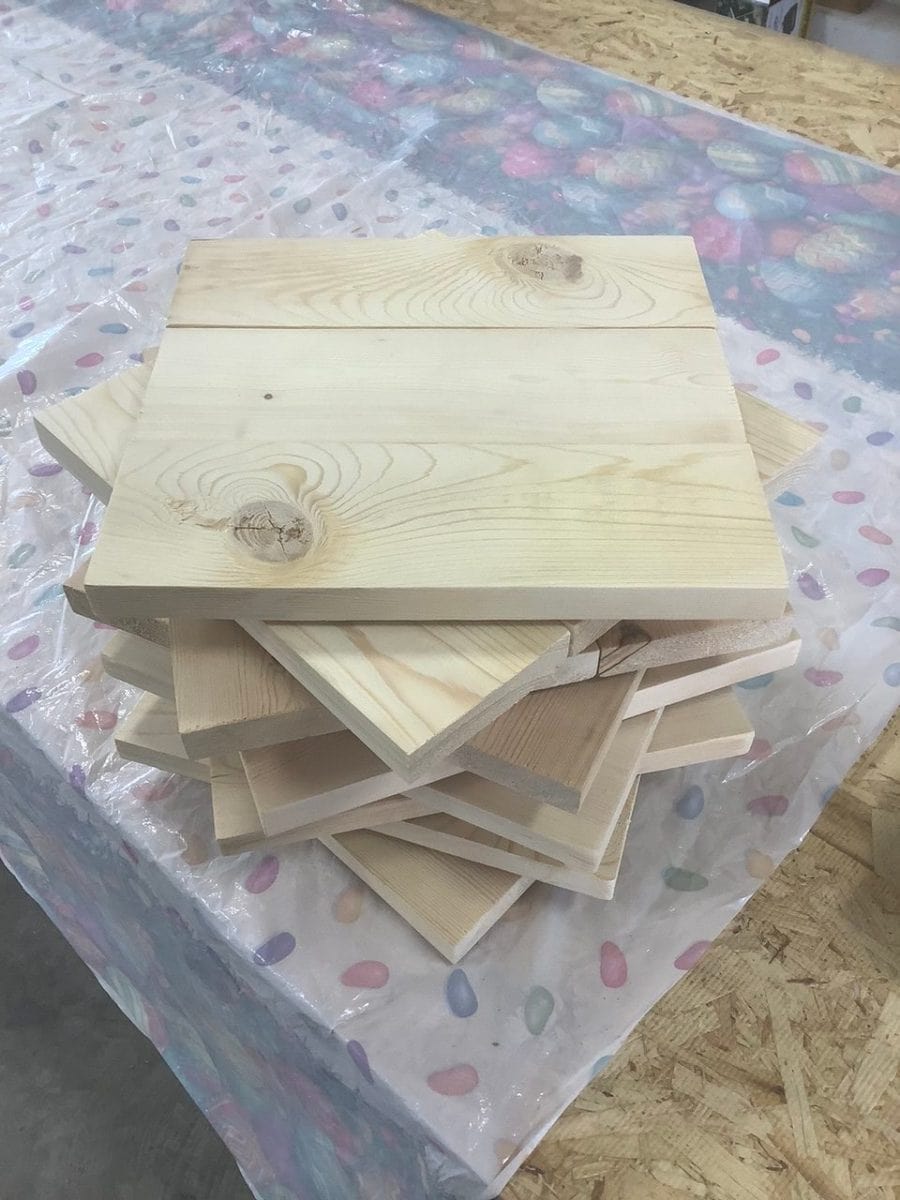
To create a perfect hexagon, you’ll need six identical pieces with 30-degree cuts at both ends.
If you’re using a miter saw, set it to 30 degrees and carefully cut each piece.
Step 2: Assemble the Hexagon
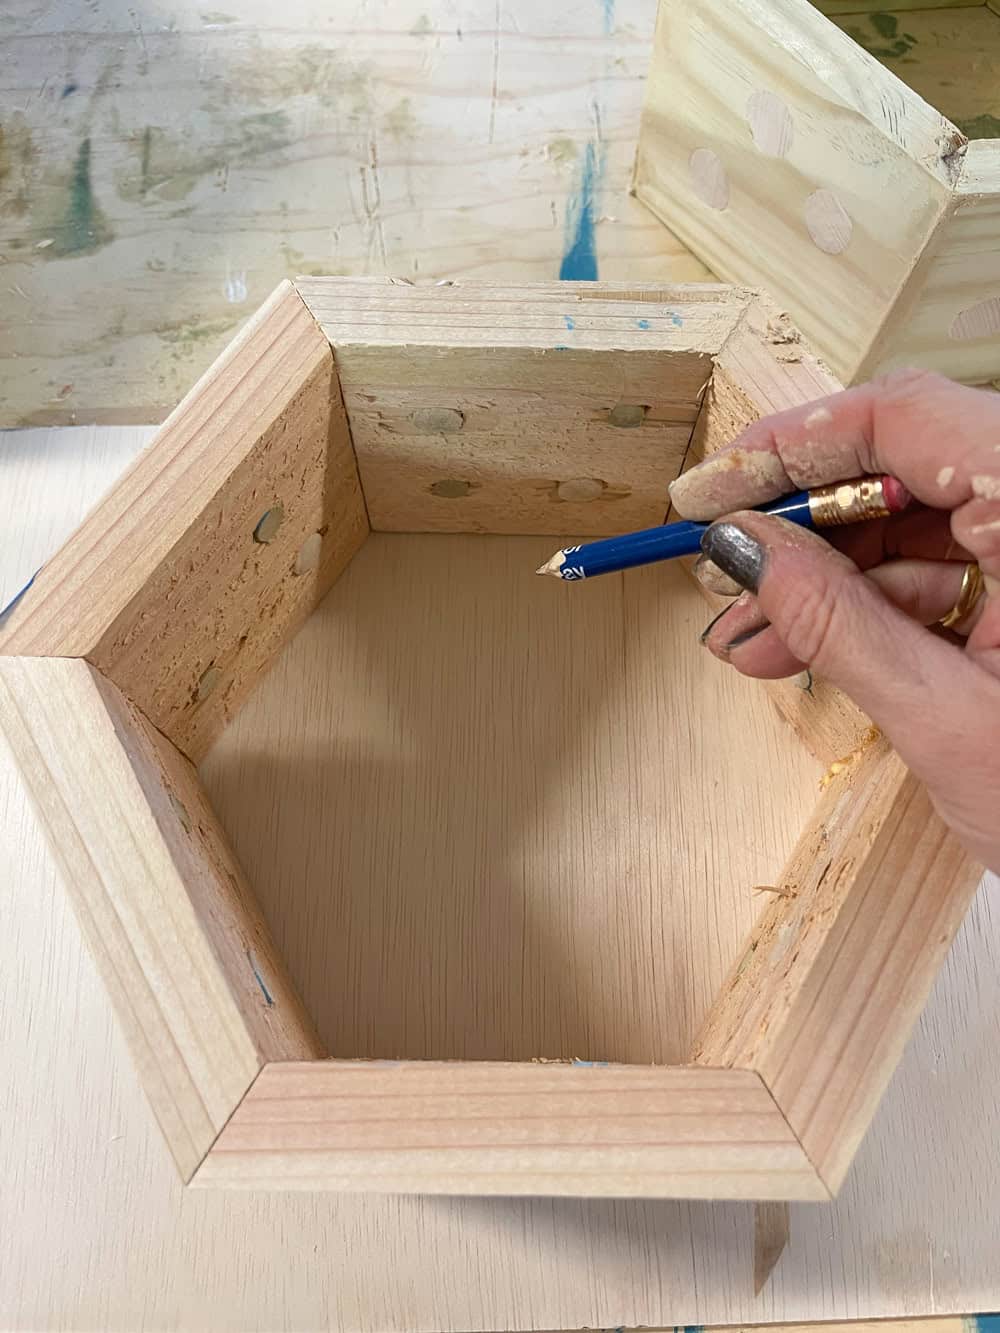
You apply wood glue to the angled edges and align the pieces to form a hexagon.
Once it’s all lined up, clamp the pieces together to let the glue set. If you want a bit of extra strength, use brad nails or screws at the joints.
Step 3: Sand and Finish
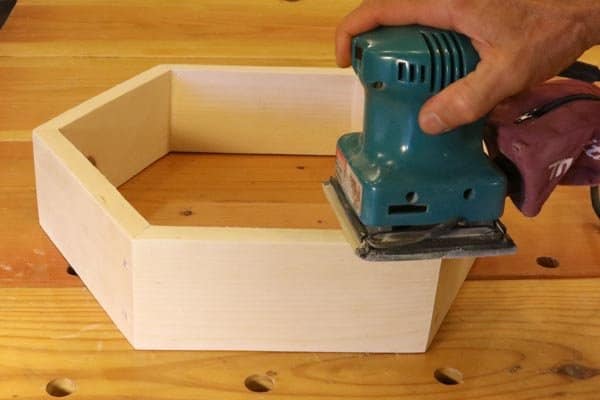
You should start sanding with coarse sandpaper (80 grit) and work your way up to 220 grit for a nice, smooth finish.
If you’re going for a natural look, stain the wood to bring out the grain or paint it in a fun color that matches your room’s vibe.
Step 4: Mounting the Shelves
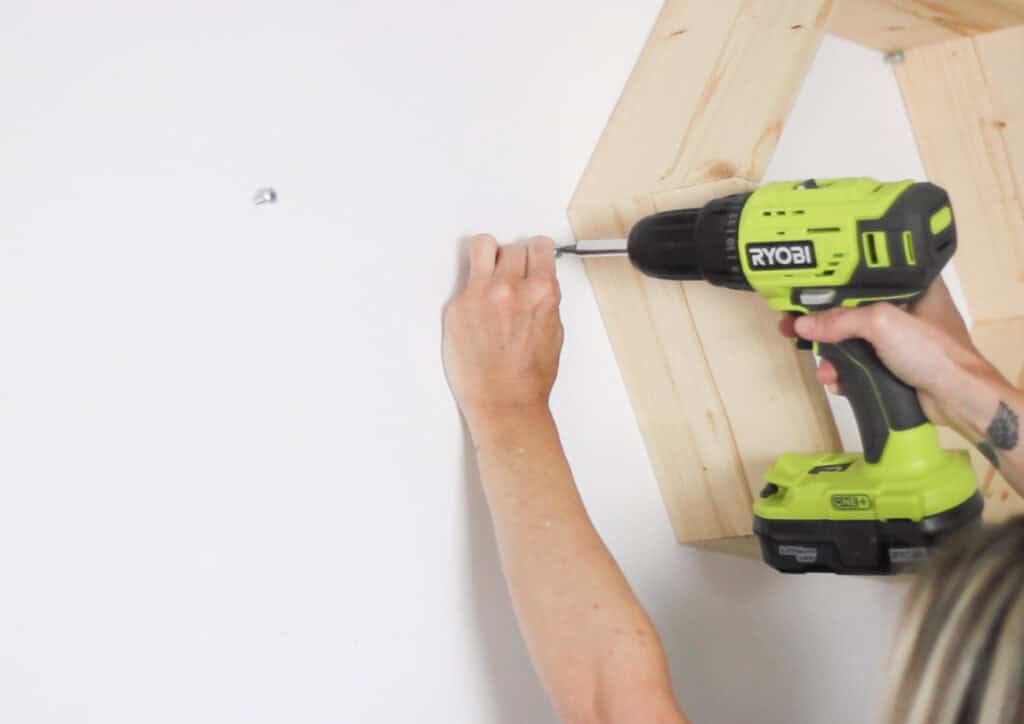
You can use a level to mark where you want them to go, then drill pilot holes and screw them securely into the wall.
Step 5: Decorate
Now whether you’re displaying plants, books, or decorative pieces, arranging your items thoughtfully will make your shelves pop.


