Garden & Crafty - Garden, DIY, Home
  • GARDEN
    • Garden Tips
    • Garden Guide
    • Garden Care
    • Garden Ideas
  • DIY
    • Diy Project
    • Crafty Ideas
  • HOME
    • Decoration
    • Cleaning
    • Tips & Hacks
  • About Us
  • GARDEN
    • Garden Tips
    • Garden Guide
    • Garden Care
    • Garden Ideas
  • DIY
    • Diy Project
    • Crafty Ideas
  • HOME
    • Decoration
    • Cleaning
    • Tips & Hacks
  • About Us
No Result
View All Result
Garden & Crafty - Garden, DIY, Home
Home DIY Diy Project

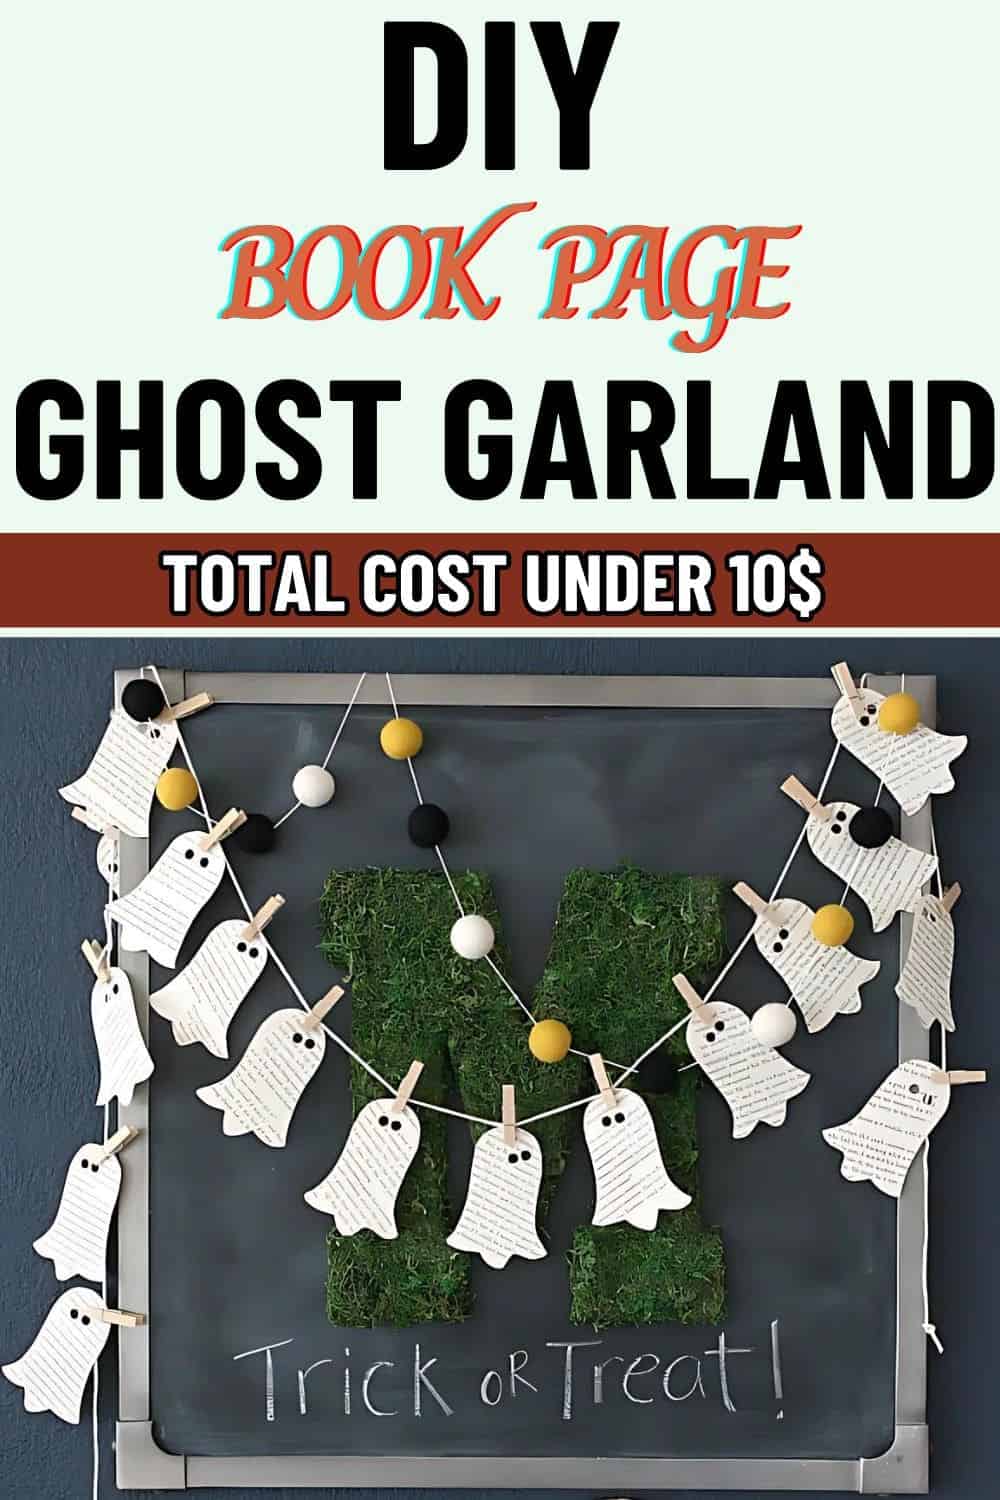
5 Steps to Create Your Own Spooky Book Page Ghost Garland

Lois Capone by Lois Capone
September 23, 2024
in Diy Project
Reading Time: 2 mins read

IN THIS ARTICLE:

Toggle
  • Materials Needed
  • Step-by-Step Guide to Making the Book Page Ghost Garland

Do you know what’s better than a store-bought Halloween decoration? The book page ghost garland is one of my absolute favorite Halloween crafts.

It’s not just about decorating – it’s about getting creative with things you already have, like those old book pages collecting dust.

So, let’s dive into how you can craft your own whimsical ghost garland that’ll bring the perfect Halloween vibes to your home in just 5 steps!


Materials Needed

You need to prepare:

  • Old book pages
  • Scissors
  • Black marker
  • String or twine
  • Clothespins
  • A pencil


Step-by-Step Guide to Making the Book Page Ghost Garland

Step 1: Selecting the Perfect Book Pages
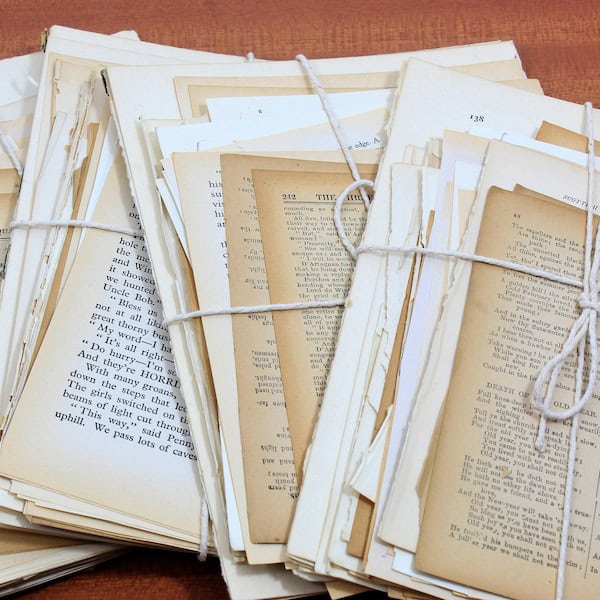
Selecting the Perfect Book Pages

I often dig out some old book pages from a thrifted book I’ve had lying around.

The more aged, the better – yellowed or slightly worn pages add character and make the ghosts look like they’ve floated out of a haunted library!


Step 2: Drawing the Ghost Shapes
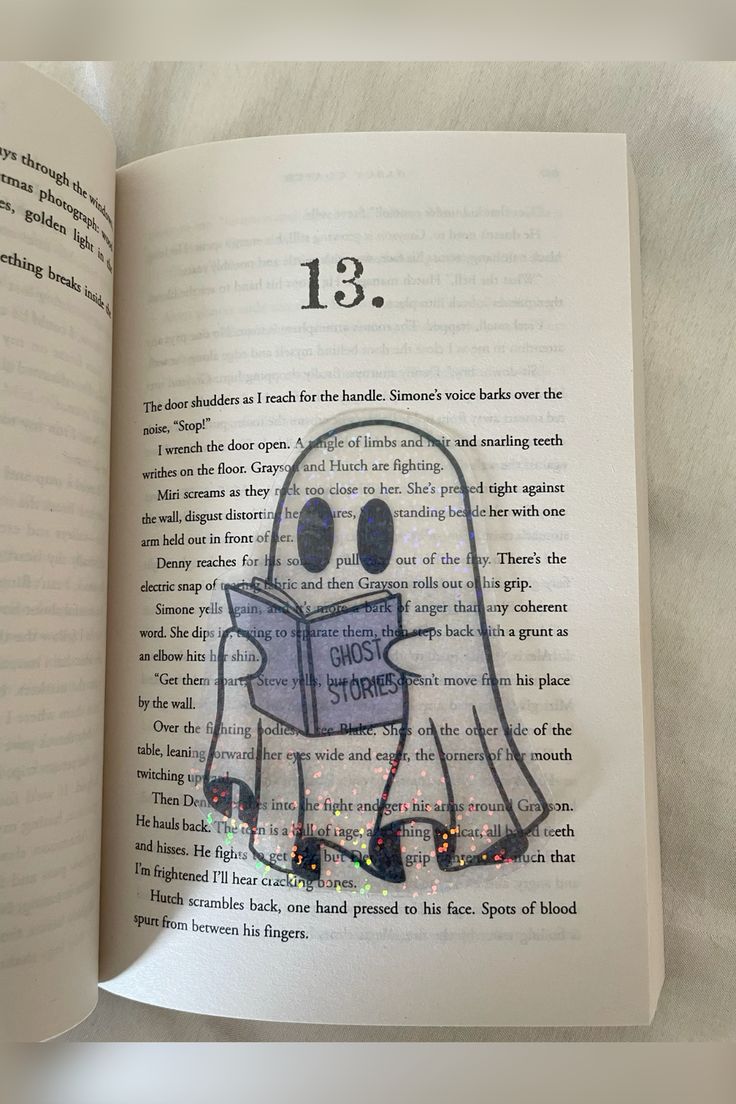
Drawing the Ghost Shapes

Next, I grabbed a pencil and started sketching ghost outlines on the book pages. I kept it simple – a little head, arms flowing outward, and a soft, wavy base.

If you’re nervous about free-handing it, feel free to use a template, but I found it fun to see each ghost have a slightly different shape.


Step 3: Cutting and Adding the Spooky Faces for Ghosts
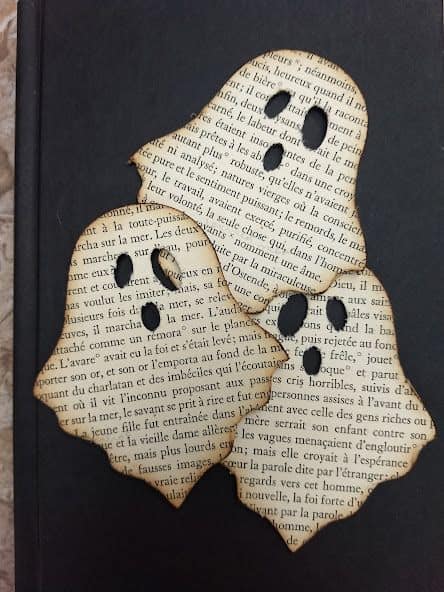
Cutting and Adding the Spooky Faces for Ghosts

Once you’re happy with the shapes, grab your scissors and start cutting out the ghosts.

Then you can cut small holes for eyes and mouths, or even use a simple black marker to draw the faces – some spooky, some surprised, and even a few goofy ones.


Step 4: Attaching the Ghosts to the String
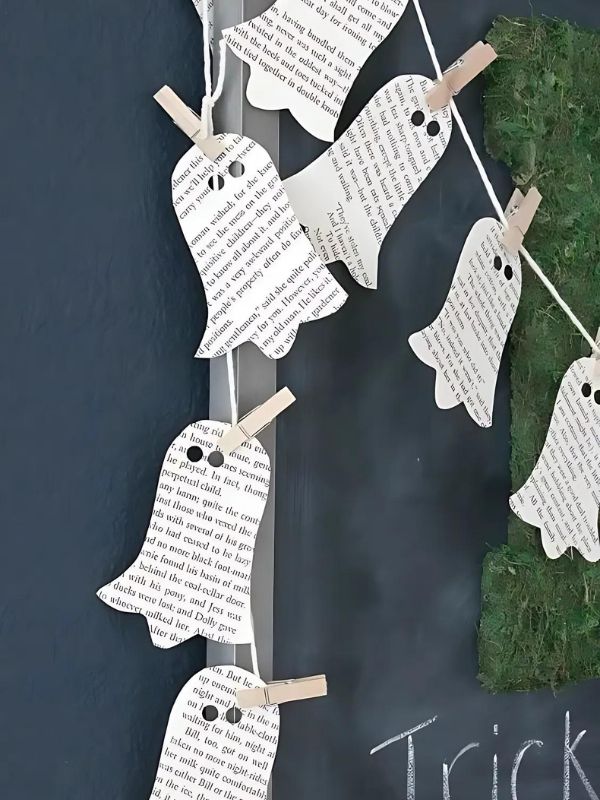
Attaching the Ghosts to the String

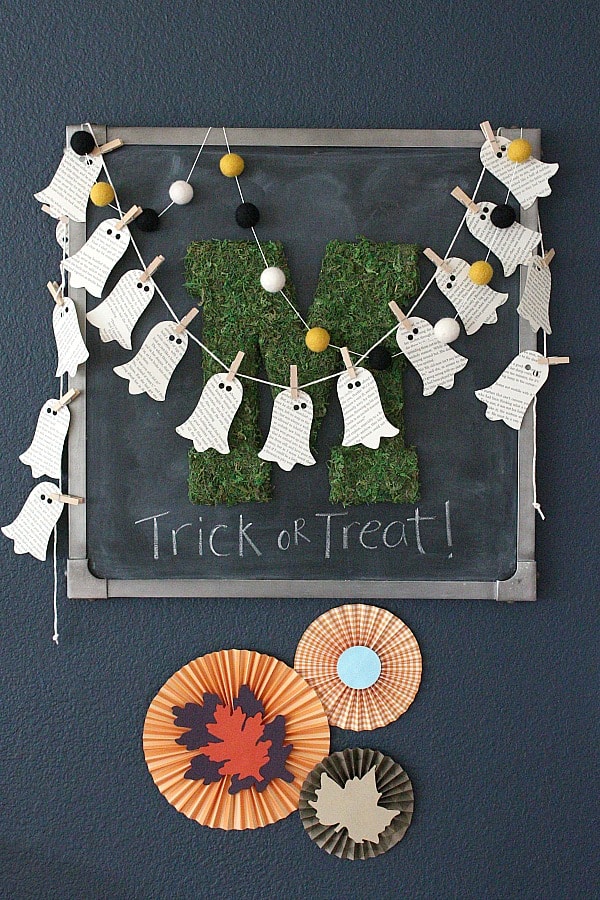
You can use clothespins to attach each ghost to a long piece of twine.

I find that leaving a little space between each ghost gave the garland a flowing, airy look, like they were really floating in the breeze.


Step 5: Hanging Your Garland
Hanging Your Garland

Finally, you only need to hang your garland in any favorite place like fireplace, window, doorway, or even along a fence outdoors.

Plus, the paper ghosts swaying gently create a soft, eerie movement – perfect for Halloween night!
 

5 Steps to Create Your Own Spooky Book Page Ghost Garland
Tags: garland
SharePin
Lois Capone

Lois Capone

Lois Capone is a wife and mom in her 50s who enjoys sharing gardening, DIY tips, and home decor ideas. She believes that with some inspiration, anyone can create a special feel in their home and garden.

Related Posts

20 Creative Toy Car Projects to Show Off Your Love for Mini Motors
Diy Project

20 Creative Toy Car Projects to Show Off Your Love for Mini Motors

When I was a kid, I used to line up my toy cars by color, reds in the fast lane,...

by Lois Capone
July 1, 2025
9 Smart Repurposed Trash Bin Ideas to Upgrade Your Space on a Budget
Diy Project

9 Smart Repurposed Trash Bin Ideas to Upgrade Your Space on a Budget

You know that old trash bin sitting by the shed, the one with a wobbly lid and a few battle...

by Lois Capone
June 30, 2025
28 Heartfelt Memory Collage Ideas to Turn Old Photos Into Timeless Keepsakes
Diy Project

28 Heartfelt Memory Collage Ideas to Turn Old Photos Into Timeless Keepsakes

Old photos have a quiet way of holding on to us. A blurry smile, a sunlit afternoon, a moment frozen...

by Lois Capone
June 30, 2025
20 Charming Mason Jar Lid Ideas You’ll Want to Try Right Away
Crafty Ideas

20 Charming Mason Jar Lid Ideas You’ll Want to Try Right Away

Last Christmas, I found myself surrounded by a pile of empty mason jars after a flurry of cookie gifting, homemade...

by Lois Capone
June 30, 2025
20 Creative Projects You Can Make with Recycled Cable Spools
Diy Project

20 Creative Projects You Can Make with Recycled Cable Spools

Old cable spools often end up gathering dust in basements or warehouses, their potential hidden behind layers of rust and...

by Lois Capone
June 30, 2025
20 Fun and Educational Crafts Using Plastic Bottle Caps for Kids
Crafty Ideas

20 Fun and Educational Crafts Using Plastic Bottle Caps for Kids

Who knew something as ordinary as a plastic bottle cap could become a tool for creativity and learning? Instead of...

by Lois Capone
June 29, 2025
Load More

Leave a Reply Cancel reply

Your email address will not be published. Required fields are marked *

Categories

  • Cleaning (12)
  • Crafty Ideas (89)
  • Decoration (132)
  • DIY (8)
  • Diy Project (119)
  • GARDEN (39)
  • Garden Care (47)
  • Garden Guide (105)
  • Garden Ideas (300)
  • Garden Tips (76)
  • HOME (90)
  • Tips & Hacks (20)

Garden & Crafty - Garden, DIY, Home

© 2024 gardenandcrafty.com

Navigate Site

  • About Us
  • Privacy Policy
  • Terms Of Service
  • Disclaimer
  • Cookie Policy
  • Webstories
  • Sitemap

Follow Us

No Result
View All Result
  • GARDEN
    • Garden Tips
    • Garden Guide
    • Garden Care
    • Garden Ideas
  • DIY
    • Diy Project
    • Crafty Ideas
  • HOME
    • Decoration
    • Cleaning
    • Tips & Hacks
  • About Us