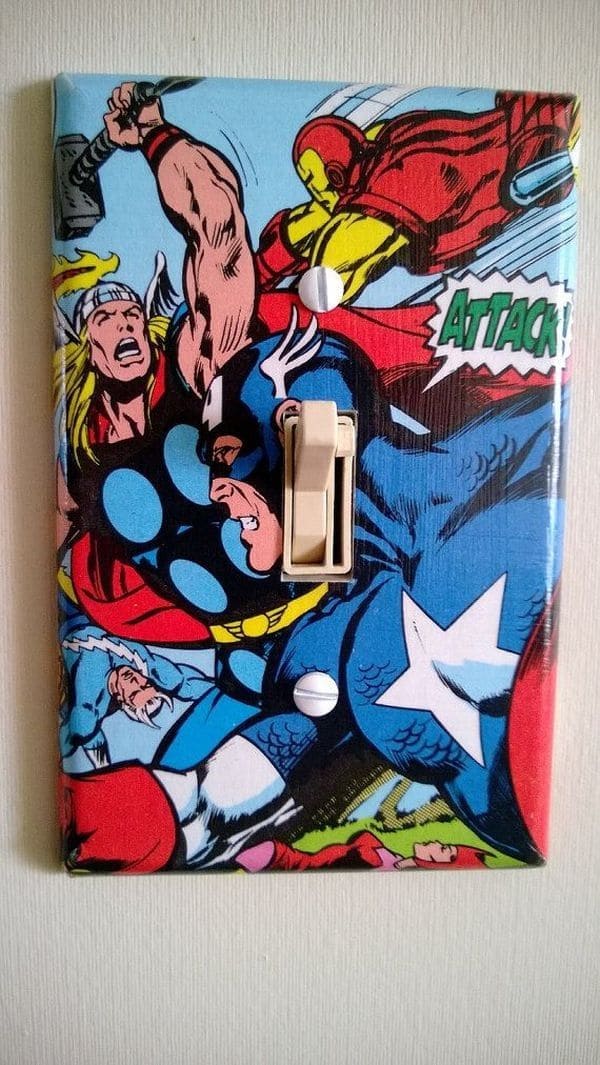
I always thought light switches were boring until I tried covering one with a page from my favorite comic.
Suddenly, it became more than just a switch; it felt like a mini portal into another world. It’s quick, it’s easy, and it brings a little joy to something you touch every single day.
Materials Needed
- 1 standard light switch plate
- 1-2 comic book pages (choose bold, colorful panels)
- Scissors and craft knife
- Mod Podge (4 oz, enough for small projects)
- Foam brush (1” wide)
- Clear acrylic spray sealer
- Screwdriver
Step-by-step Guide
Step 1: Unscrew the light switch plate and set the screws aside somewhere safe. Then wipe the plate clean so the paper sticks smoothly.
Step 2: Place the plate on top of your chosen comic page and trace around it with a pencil.
You now cut the rectangle out, leaving an extra ½ inch margin around the edges for folding.
Step 3: Using a craft knife, carefully cut out the rectangle where the switch toggles. Don’t forget small holes for the screws, too.
Step 4: Apply a thin coat of Mod Podge on the plate, then press the comic page onto it.
Then smooth gently with your fingers to remove air bubbles, folding extra paper neatly around the sides.
Step 5: Brush another coat of Mod Podge over the surface, sealing the design. Let it dry for 20-30 minutes before adding a second coat.
Step 6: Spray lightly with clear acrylic sealer for durability. Once dry, reattach the plate to the wall using the screws.
Tips:
I’ve learned that bold comic scenes with large characters look the best, you’ll still see them clearly even with the switch cutout.
If you’re doing this in a kid’s room, let them pick their favorite heroes for an extra personal touch. Small detail, big joy.
