Sketch out rough geometric panels for the head, jaw, and eye sockets. Use reference photos to get proportions right.
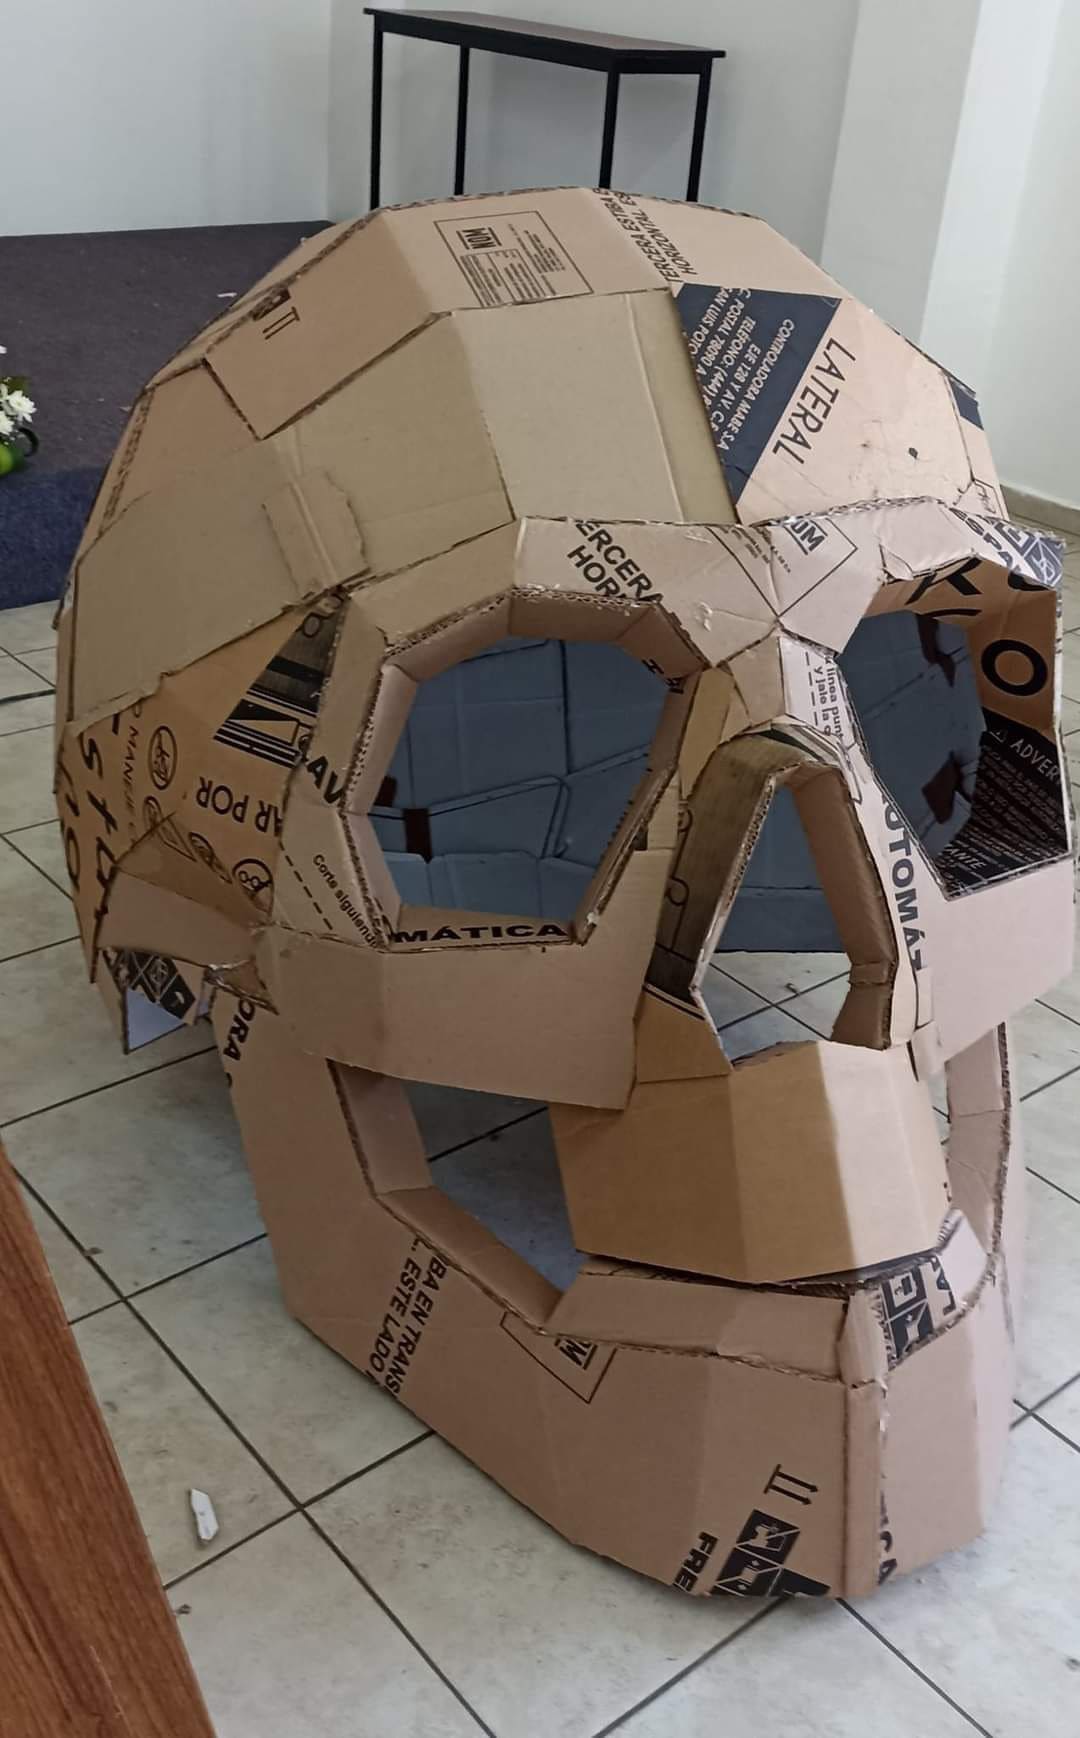
Cut out each piece carefully, keeping edges slightly angled for better fitting. The skull shape uses pentagons and hexagons to form curves.
Use masking tape to test-fit the structure before gluing. Start from the top of the head and work downward to the jaw.
Once satisfied with the shape, hot glue all seams from inside and outside for strength. Reinforce the jaw and cheekbones for stability.
Apply a thin paper mache layer for a more solid surface or rough texture. Let it dry overnight.
Spray the entire skull with a light gray or bone-white base. Then add black shading around the eyes, mouth, and cracks using a sponge for depth.
Smudge darker tones for a decayed look or add moss accents if using outdoors.