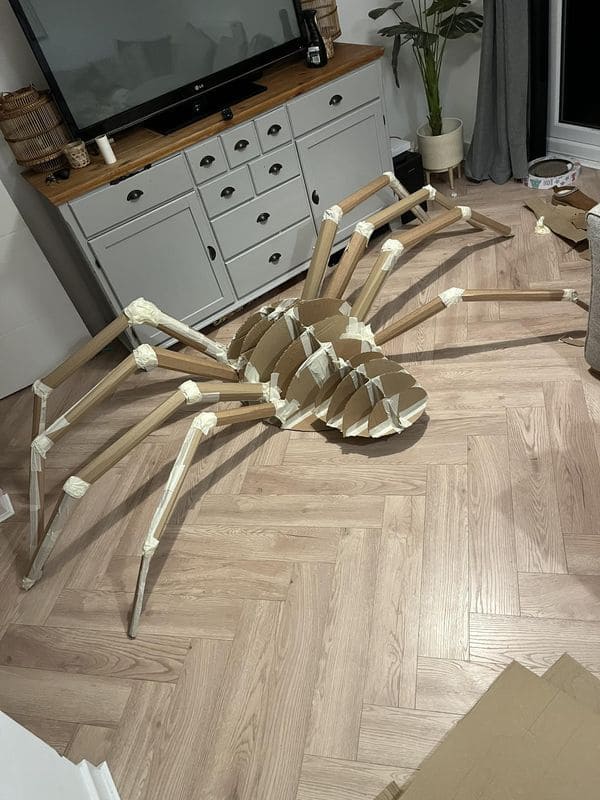
Materials
- 6 large cardboard sheets (each 24x36 inches)
- 8 Cardboard tubes or long paper mailing tubes (3 feet each for legs)
- Masking tape (2-3 rolls)
- Utility knife or box cutter
- Hot glue gun with 10 glue sticks
- Black or brown spray paint (2 cans)
- Optional: fake fur fabric (1 yard), LED eyes (2 small lights or glow sticks)
Instructions
- Draw and cut 6-8 oval shapes for the spider’s abdomen and thorax. The largest ovals should be about 20 inches long, gradually decreasing in size to form a dome when stacked.
- Stack the ovals, spacing them slightly with small cardboard strips or spacers, then glue or tape them together to create a 3D rounded body.
- Use cardboard tubes for the main leg sections. Cut each into three segments (12 inches each) and tape them at angles to form realistic bends. Reinforce joints with extra masking tape for strength.
- Cut small slots in the sides of the spider’s body where the legs will attach. Insert and glue the legs firmly in place, adjusting angles for balance.
- Add extra layers of tape or cardboard around joints and the underside to ensure stability.
- Once assembled, spray the entire spider with black paint. Add brown highlights or a light dusting of gray for texture.
- Glue pieces of fake fur on top for realism, or add glowing eyes to make it extra spooky at night.
Notes
If displaying outdoors, coat your spider with a clear waterproof spray or wrap the body in black trash bags for protection, it’ll last through the entire Halloween season!
