There’s something deeply satisfying about growing tomatoes as they’re the crown jewel of the summer garden.
I’ve grown them in raised beds, tucked them into pots on patios, and even trained them up a rusted fence line, and still, every ripe one feels like a small miracle.
But here’s the truth: great tomatoes don’t happen by accident. They’re the result of timing, care, and a few smart tricks I’ve learned along the way.
So if you want a tomato harvest that actually makes you proud like juicy, unblemished, bursting with flavor, here’s how you make it happen.
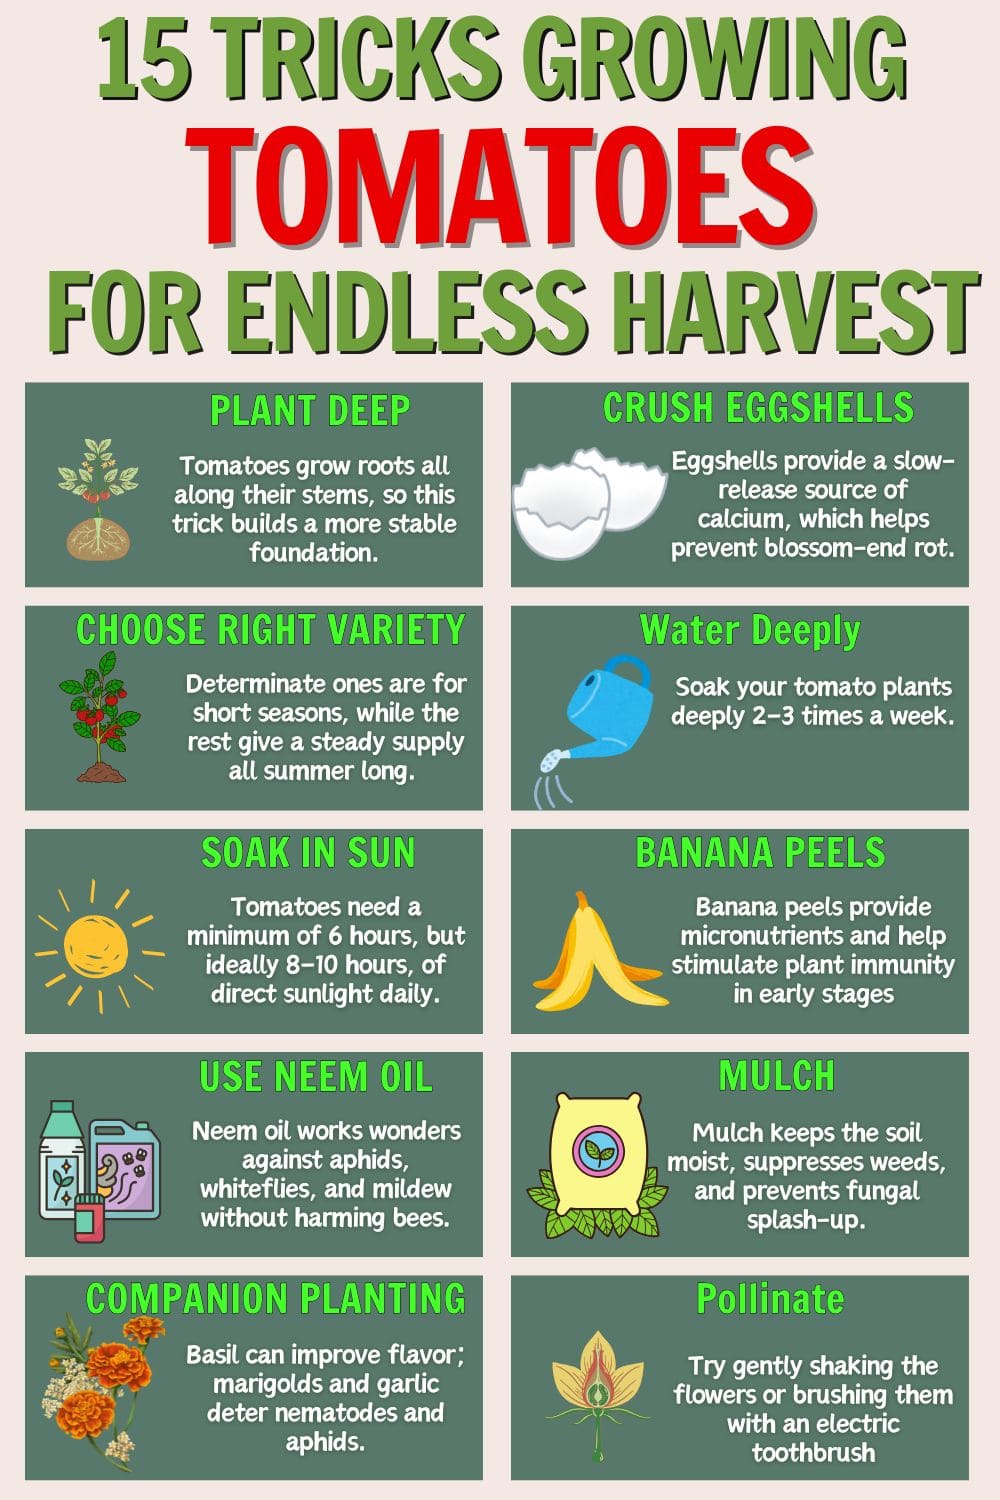
#1. Plant Deep
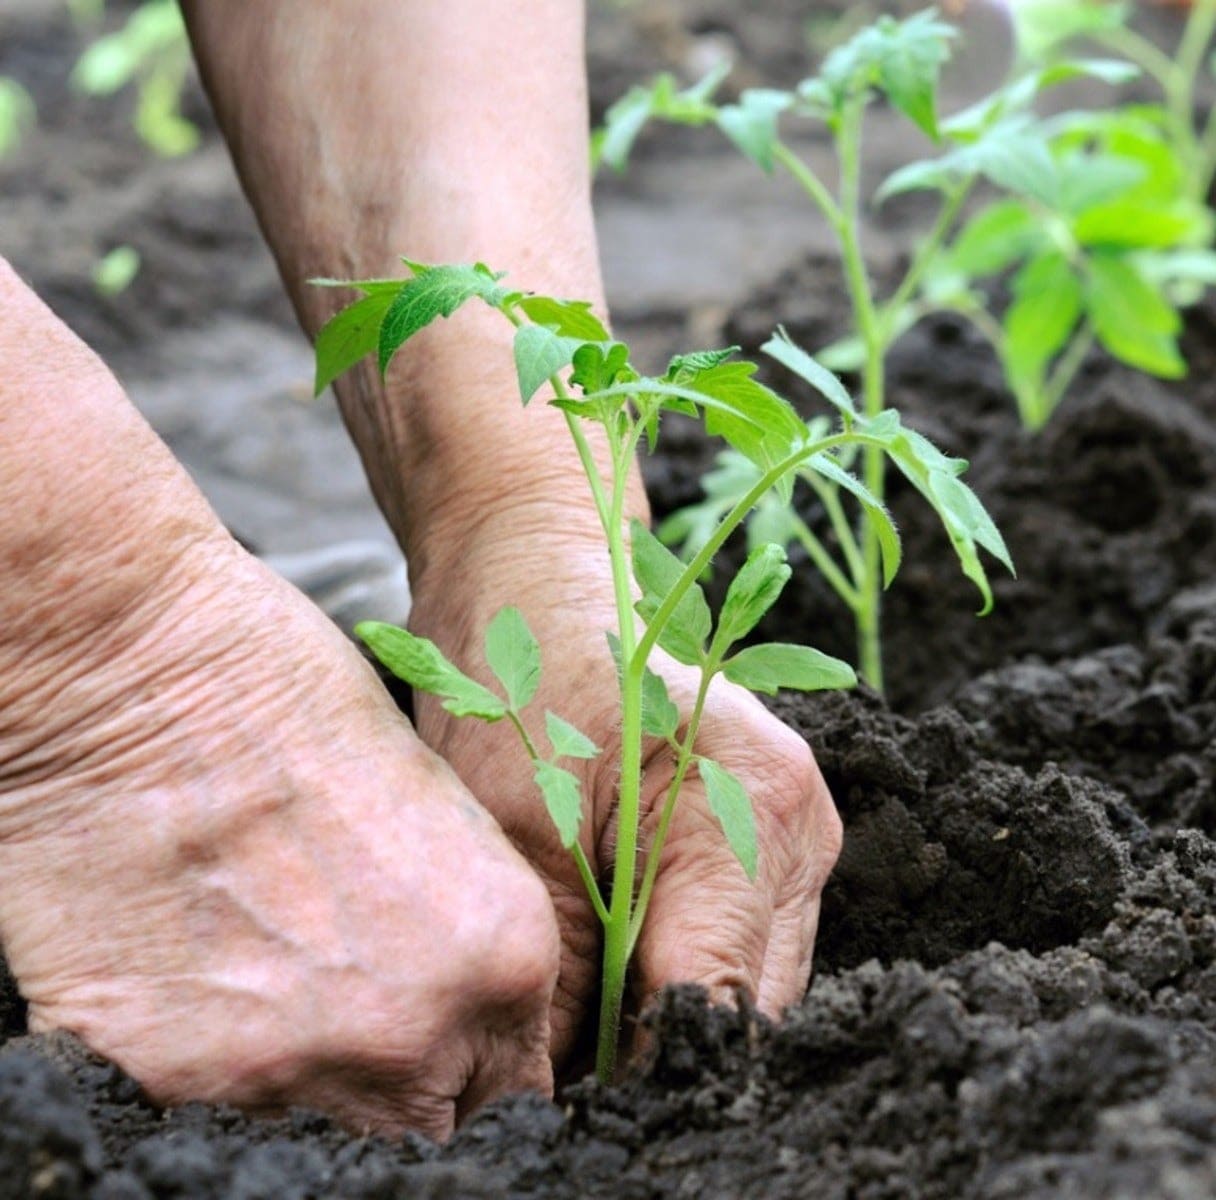
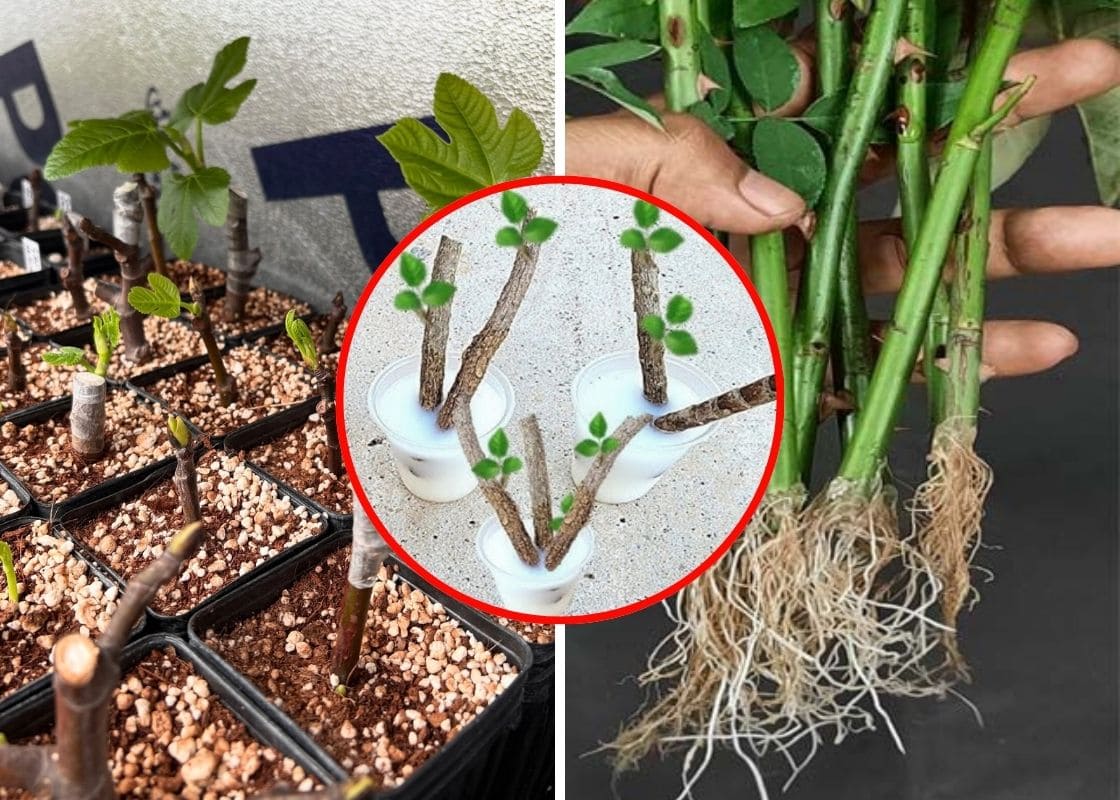
Unlike most plants, tomatoes love being buried deep. When you tuck the stem beneath the soil, it doesn’t rot, it roots. Those little hairs along the stem turn into strong root systems that anchor your plant and help it drink deeply.
I usually pinch off the bottom leaves and bury the stem up to the top few sets of leaves. You’ll see the difference in resilience, especially once summer heat kicks in.
#2. Choose Varieties That Match Your Goals
Are you looking for a quick harvest or a steady supply? Determinate tomatoes give you a compact, all-at-once flush great for sauces and preserving. Indeterminate types keep growing and fruiting until frost, ideal if you love picking fresh tomatoes all season.
Also, watch for disease resistance. Labels marked with V, F, N, or T signal protection against common tomato diseases like verticillium wilt or nematodes. (source: University of Florida IFAS Extension).
#3. Chase the Sun
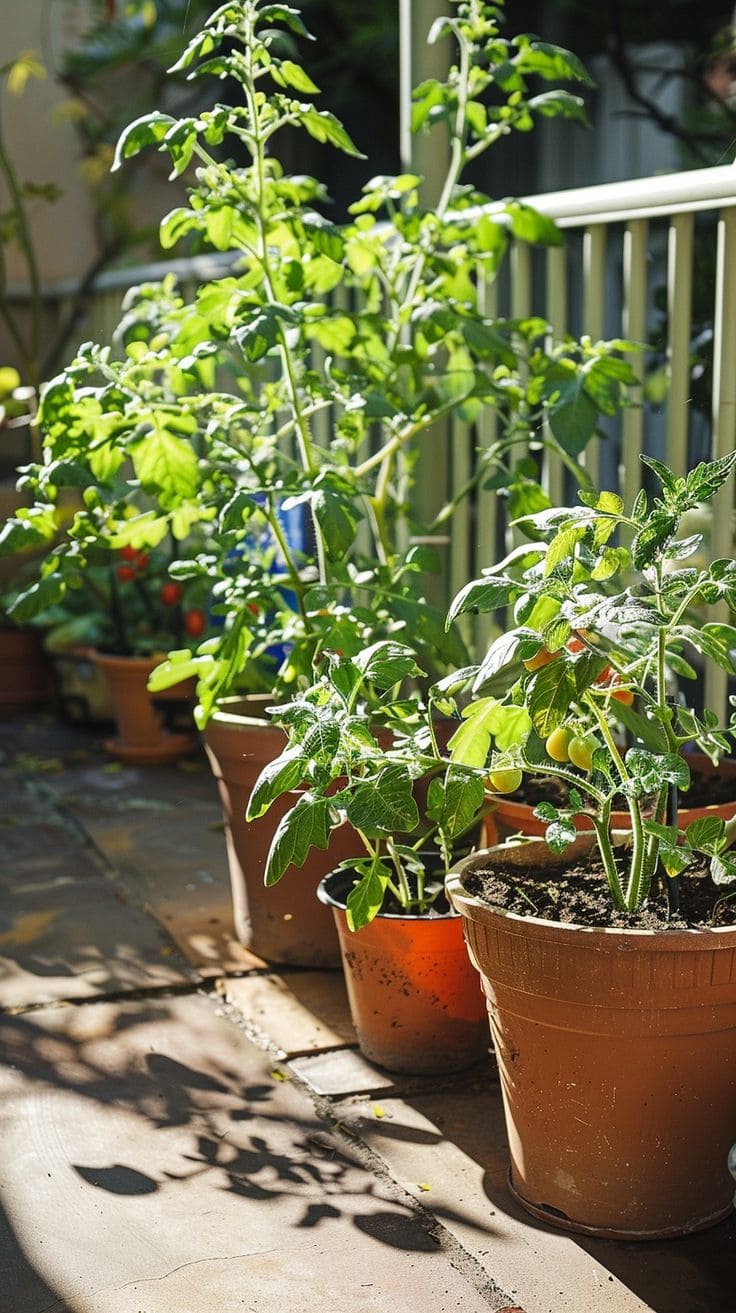
Tomatoes are solar-powered. You’ll need at least six hours of direct sun though I aim for eight to ten. Less than that, you’ll end up with leggy plants and watery fruit.
If your garden’s shady, try containers you can move around or even grow them vertically up a sunny wall. Wherever you grow them, think of sun like sugar as the more they soak up, the sweeter your harvest.
#4. Space Them Generously
Overcrowding is a fast track to fungus and stress. You should space your tomato plants 2–3 feet apart, depending on the type. Indeterminate varieties need even more breathing room to sprawl and grow tall.
This spacing helps reduce humidity around the leaves, which in turn discourages blight, mildew, and early leaf drop.
#5. Feed the Soil
When I plant tomatoes, I mix in crushed eggshells for calcium, compost for organic matter, and sometimes even a little bone meal for extra phosphorus.
Recently, I’ve started sprinkling used coffee grounds around the base as they add nitrogen and improve soil structure. Besides, you can think of coffee as a gentle morning nudge, not a shot of espresso.
#6. Slip in a Banana Peel or Aspirin
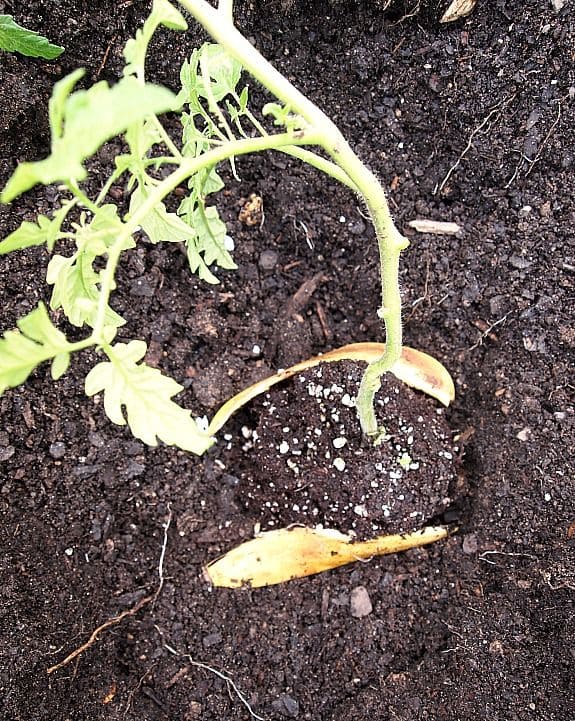
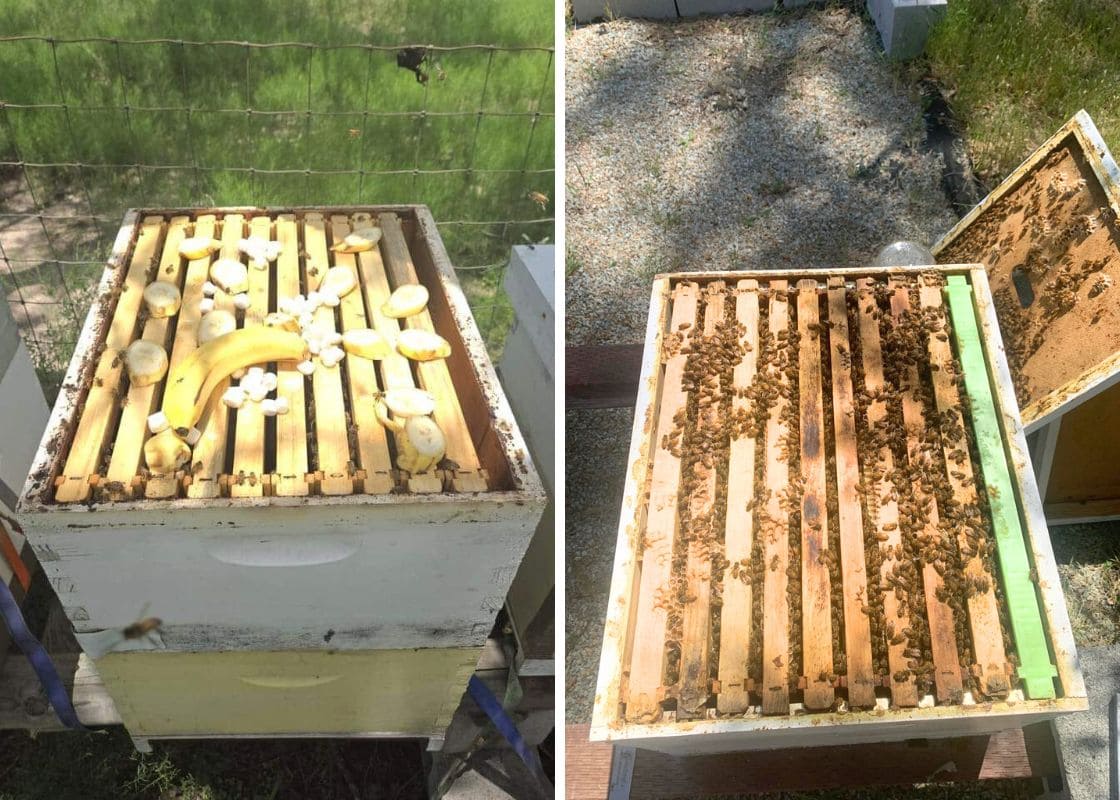
A banana peel decomposes slowly, delivering potassium and phosphorus where roots can use them. This supports flowering and strong cell development in fruit.
As for aspirin, it contains salicylic acid, which triggers a plant’s systemic acquired resistance (SAR) – its natural disease-fighting mechanism. A 2013 study from the USDA Agricultural Research Service found that salicylic acid treatments improved tomato plant defenses against bacterial and viral stressors
#7. Mulch Like You Mean It
Mulch isn’t just decoration. It holds in moisture, regulates soil temperature, and prevents mud splashes that spread fungal spores onto your lower leaves.
I use straw, pine needles, or shredded leaves, all biodegradable and breathable. You should aim for 2–3 inches thick, and start mulching after the soil warms in late spring.
#8. Water Deeply, Not Daily
Tomatoes want consistency. Erratic watering leads to cracking, blossom-end rot, and catfacing, strange puckering at the base of fruits.
You just water deeply every 2–3 days. Let the top inch of soil dry out between waterings. Also, shallow daily watering teaches the plant to stay near the surface, which makes it vulnerable in drought.
#9. Get Your Stakes In Early
Installing cages or trellises after plants have grown is a recipe for snapped stems and root disruption. Stake them right after transplanting, when it’s still easy to guide their growth upward.
For indeterminates, I like using a tomato spiral stake or DIY string trellis tied to overhead beams.
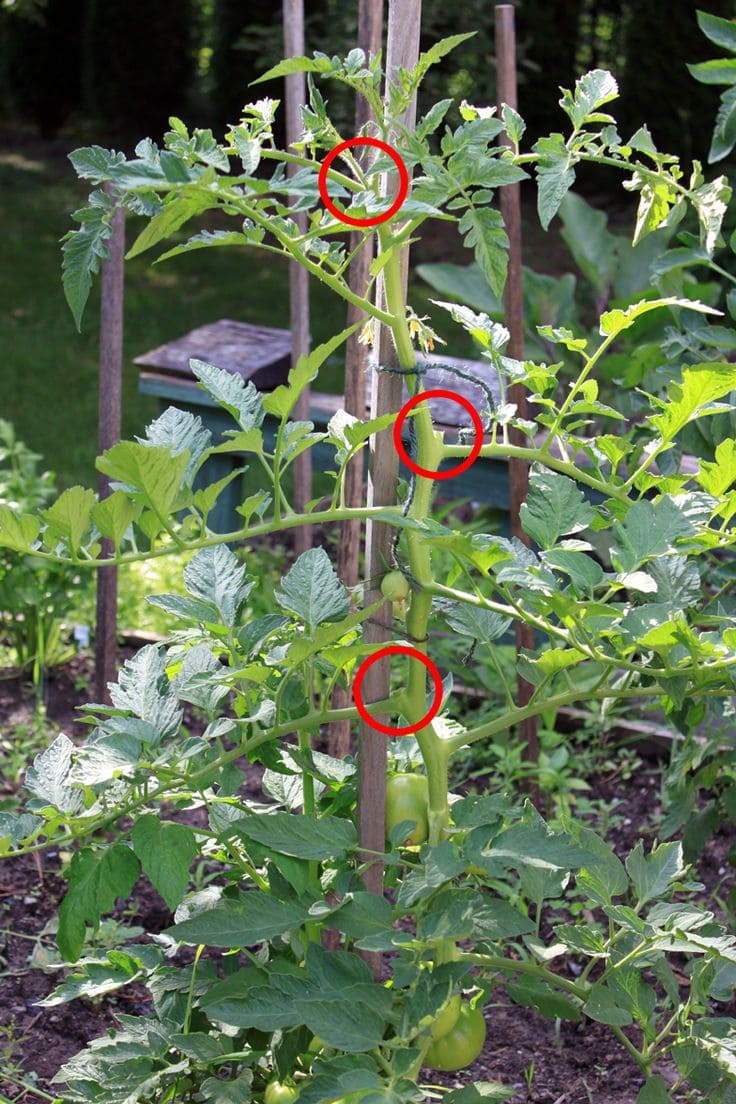
#10. Pinch Off the Suckers
Those little shoots that pop up between the main stem and a branch? That’s a sucker. If left alone, it turns into a whole new vine and while that might sound good, it diverts energy from fruit production and crowds airflow.
You should pinch or snip them off weekly, especially on indeterminates. For bushy determinates, only prune lightly as their fruit tends to form all at once.
#11. Give Pollination a Hand
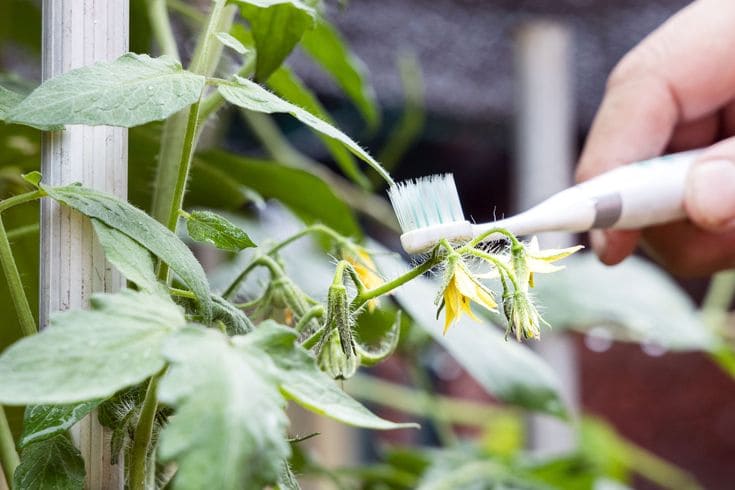
Tomato flowers are self-fertile, but they still need vibration to shake the pollen loose. Outdoors, bees usually handle this. Indoors or in still weather, you want to use a soft electric toothbrush or flick the flowers with your finger to mimic natural movement.
Pollination helps prevent blossom drop, a common frustration when blooms appear but fruit never forms.
#12. Bring in the Right Companions
Certain herbs and flowers can be your tomato’s best friends. Plant basil nearby as it’s not just tasty, it repels hornworms and whiteflies, and may enhance tomato flavor.
In addition, marigolds deter nematodes and beetles. Garlic and chives repel aphids, and their scents confuse pests looking for your tomato buffet.
#13. Switch Fertilizers After Flowers Appear
Once your tomato plants start blooming, back off the nitrogen. Too much will keep them leafy but fruitless. Instead, you ‘d better use a balanced tomato feed with more phosphorus and potassium, something like 5-10-10.
If you’re using liquid kelp or compost tea, weekly feeding works well once fruit sets. Also, note that too much nitrogen at this stage causes large leafy plants with little to no fruit, so less is often more.
#14. Harvest at First Blush
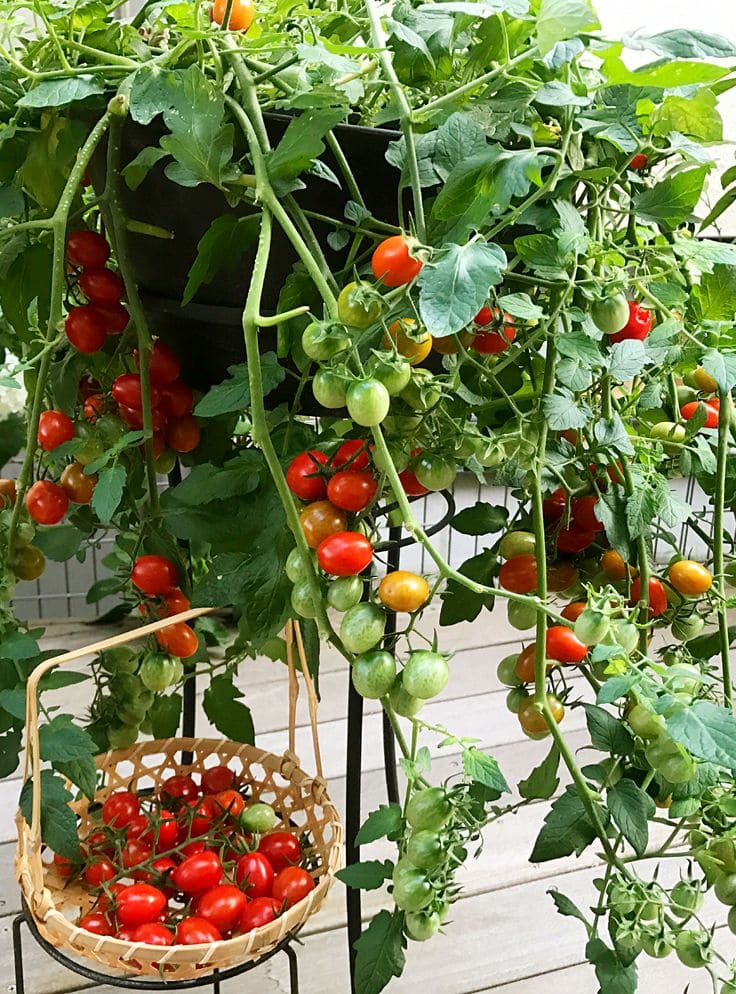
You don’t have to wait for tomatoes to ripen completely on the vine. I usually pick them once they’re mostly colored and feel slightly soft. They finish ripening on the counter and this avoids cracking, pest damage, and sunburn.
Plus, it keeps your vines producing instead of holding on to old fruit.
#15. Spray Neem Oil When Needed
If you spot pests or mildew creeping in, mix up a batch of neem oil spray (usually 1–2 tablespoons per gallon of water, plus a drop of dish soap).
Neem is an organic, systemic insecticide that’s absorbed into plant tissue and interferes with insect reproduction but it’s safe for you and your soil.
