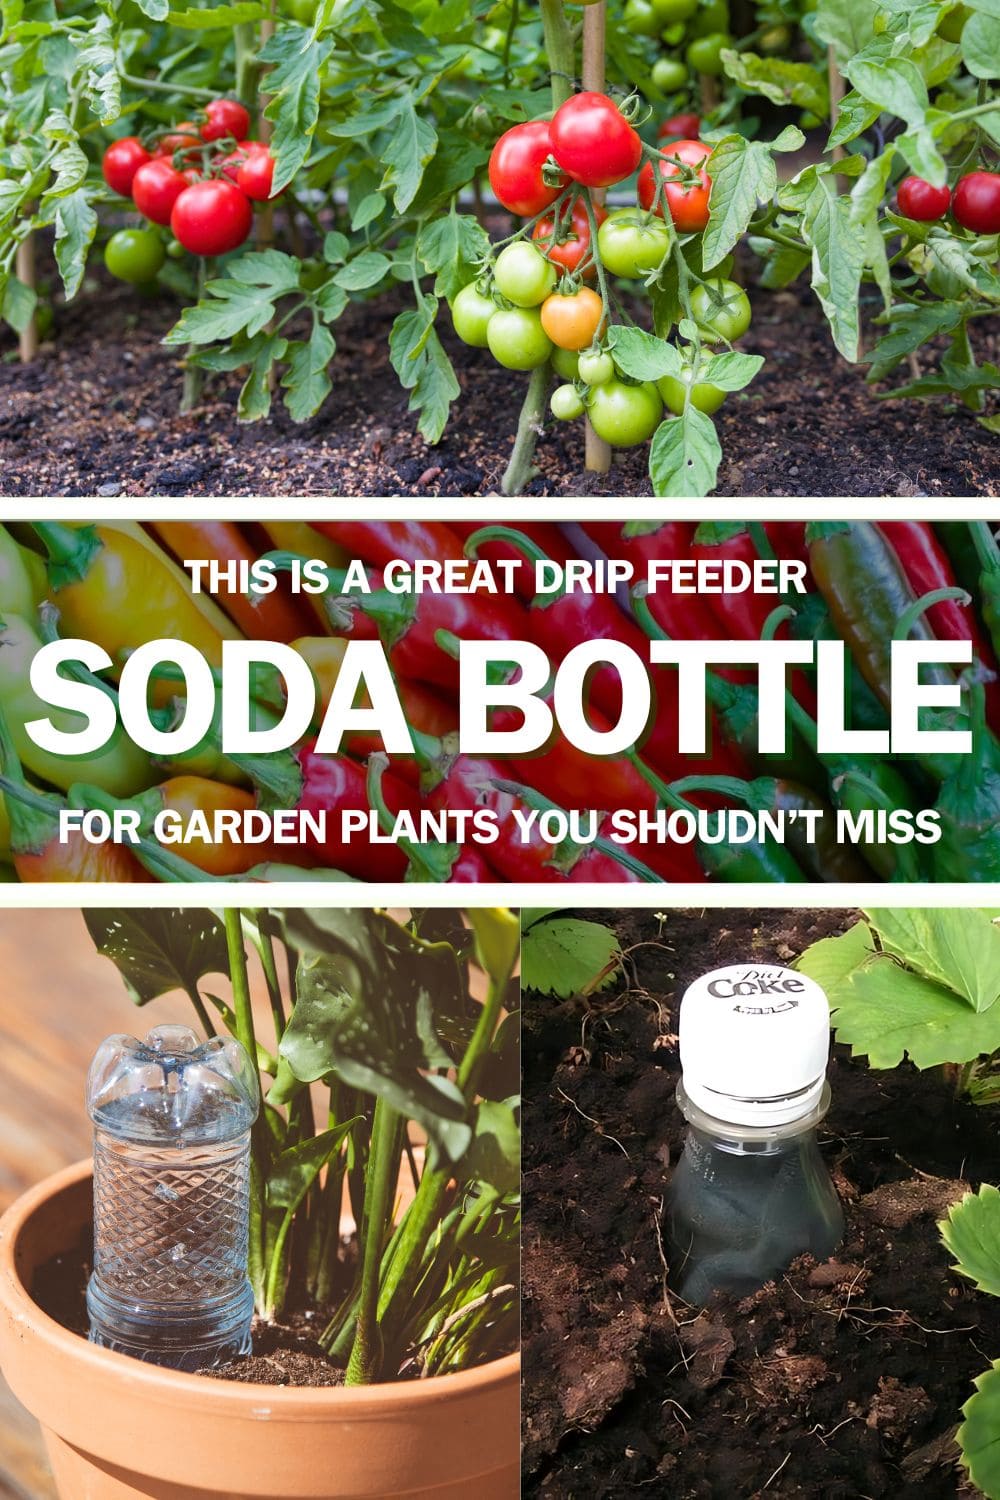
Did you know that drip feeding can transform your plant care routine? This method ensures a steady water supply, benefiting plants like tomatoes, peppers, and herbs that thrive on consistent moisture.
By reducing evaporation and runoff, drip feeders deliver just the right amount of hydration, making it easier to maintain lush, healthy plants.
It’s a time-saving solution that helps keep your garden thriving with minimal effort.
The Magic of Soda Bottles in the Garden
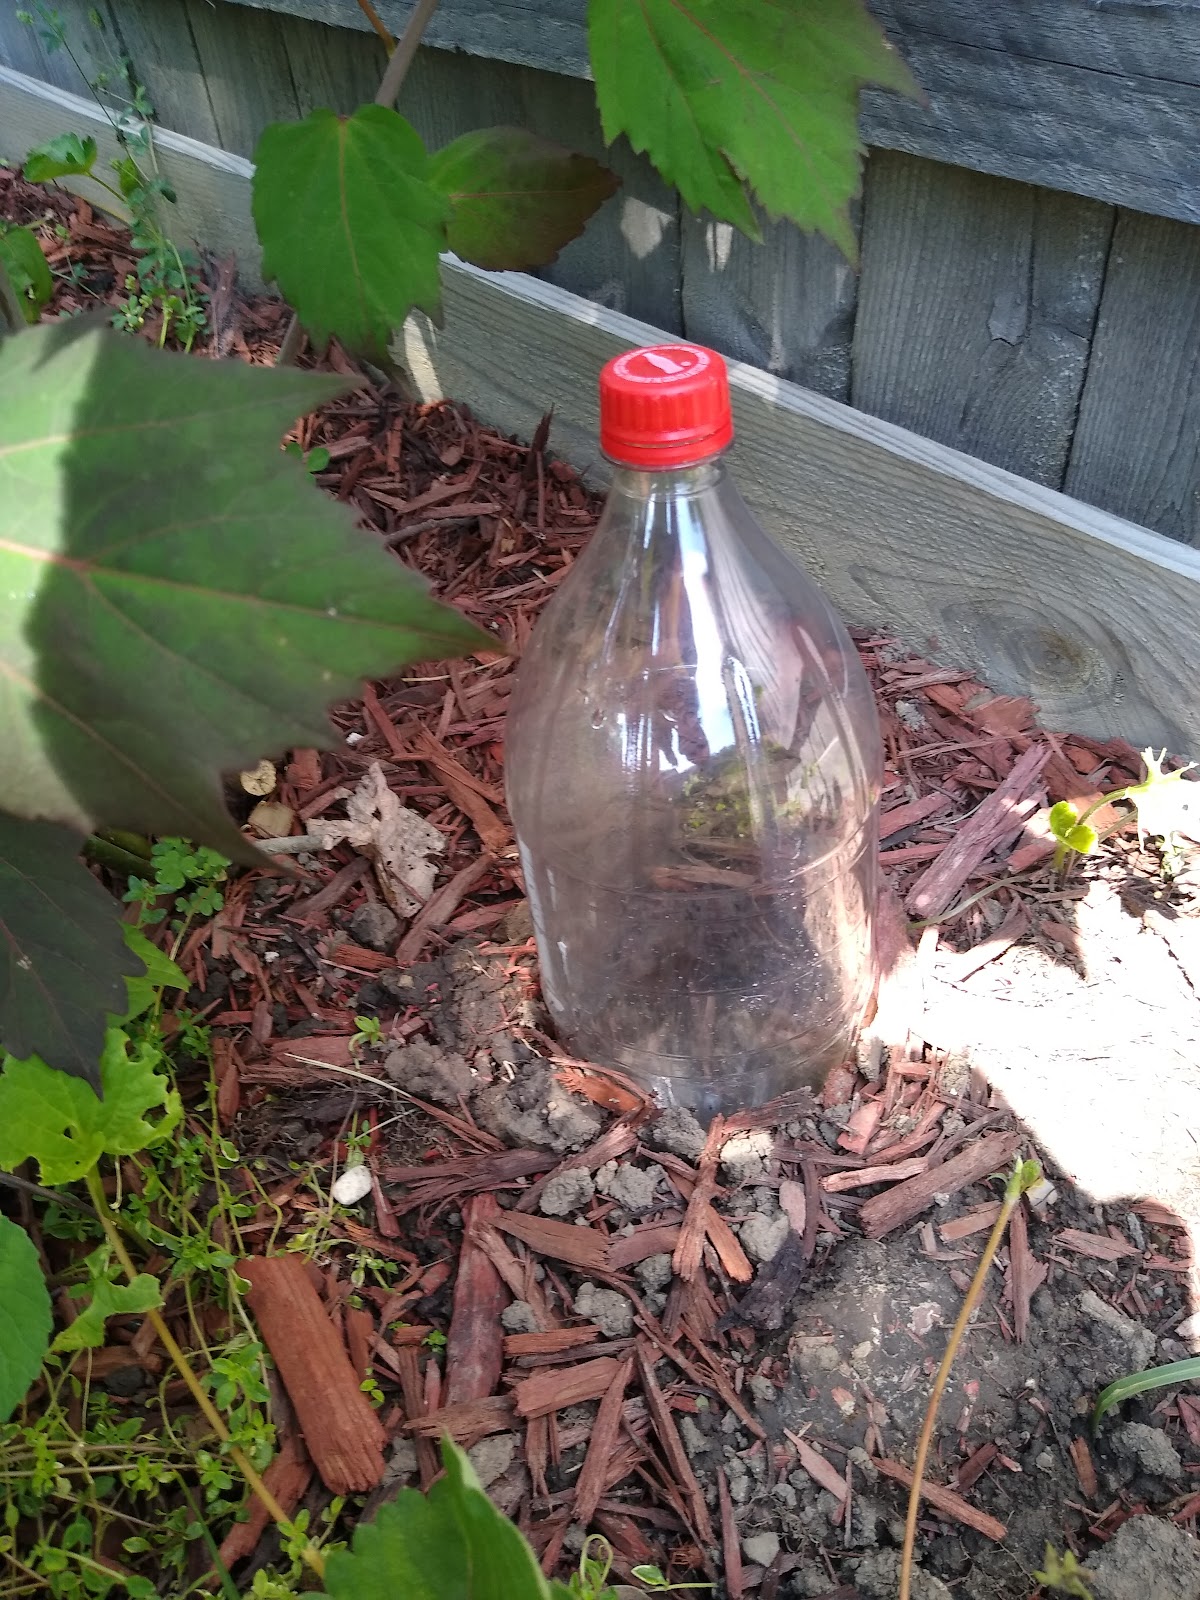
By repurposing an empty soda bottle as a drip feeder, you unlock a world of convenience and efficiency for your plants.
This clever technique involves filling the bottle with water, then allowing it to slowly drip into the soil, providing a consistent moisture level.
Not only does it conserve water and reduce waste, but it also simplifies your gardening routine.
Setting Up Your Drip Feeder
Choosing the Right Bottle
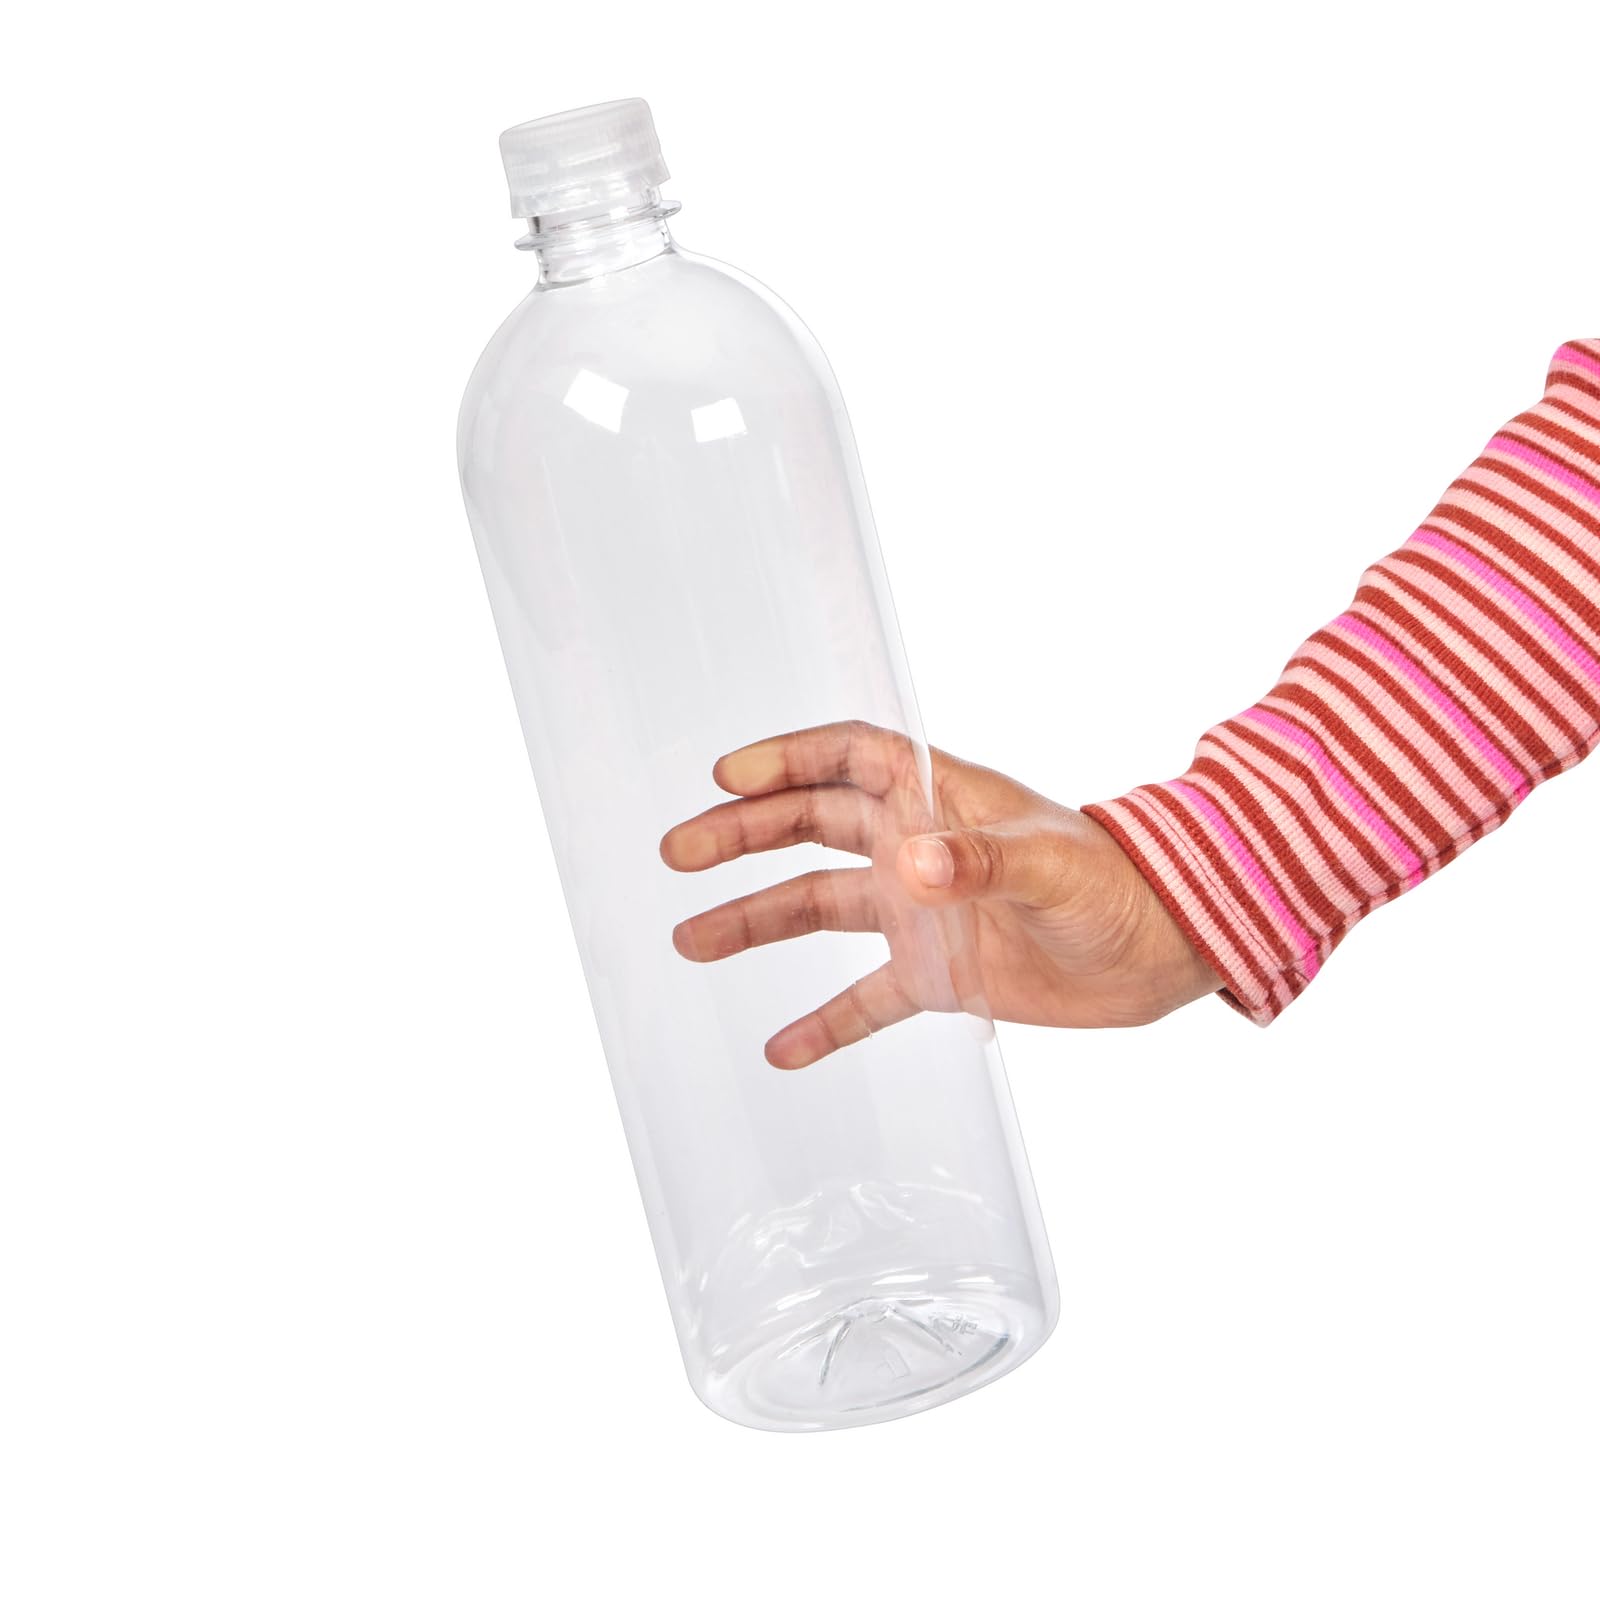
You should choose a bottle that’s sturdy and has a good cap. I usually opt for a 2-liter bottle because it holds a decent amount of water and is easy to handle.
Plus, it’s a great way to reuse those bottles instead of tossing them out.
If you have a smaller garden, a 1-liter bottle might do the trick. Just make sure the bottle is clean and free from any sticky soda residue.
Preparing the Bottle
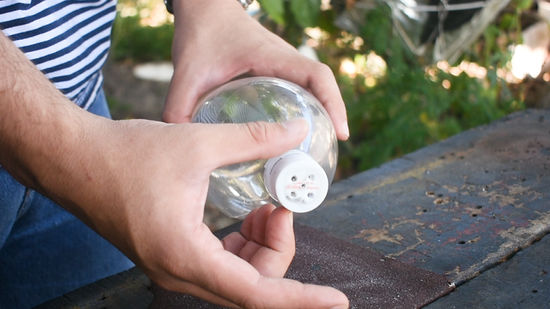
First, poke a small hole in the cap. You can use a nail or a small drill bit for this. The size of the hole will determine the drip rate, so start small.
Next, make a few tiny holes near the bottom of the bottle to help with air circulation and ensure a steady drip.
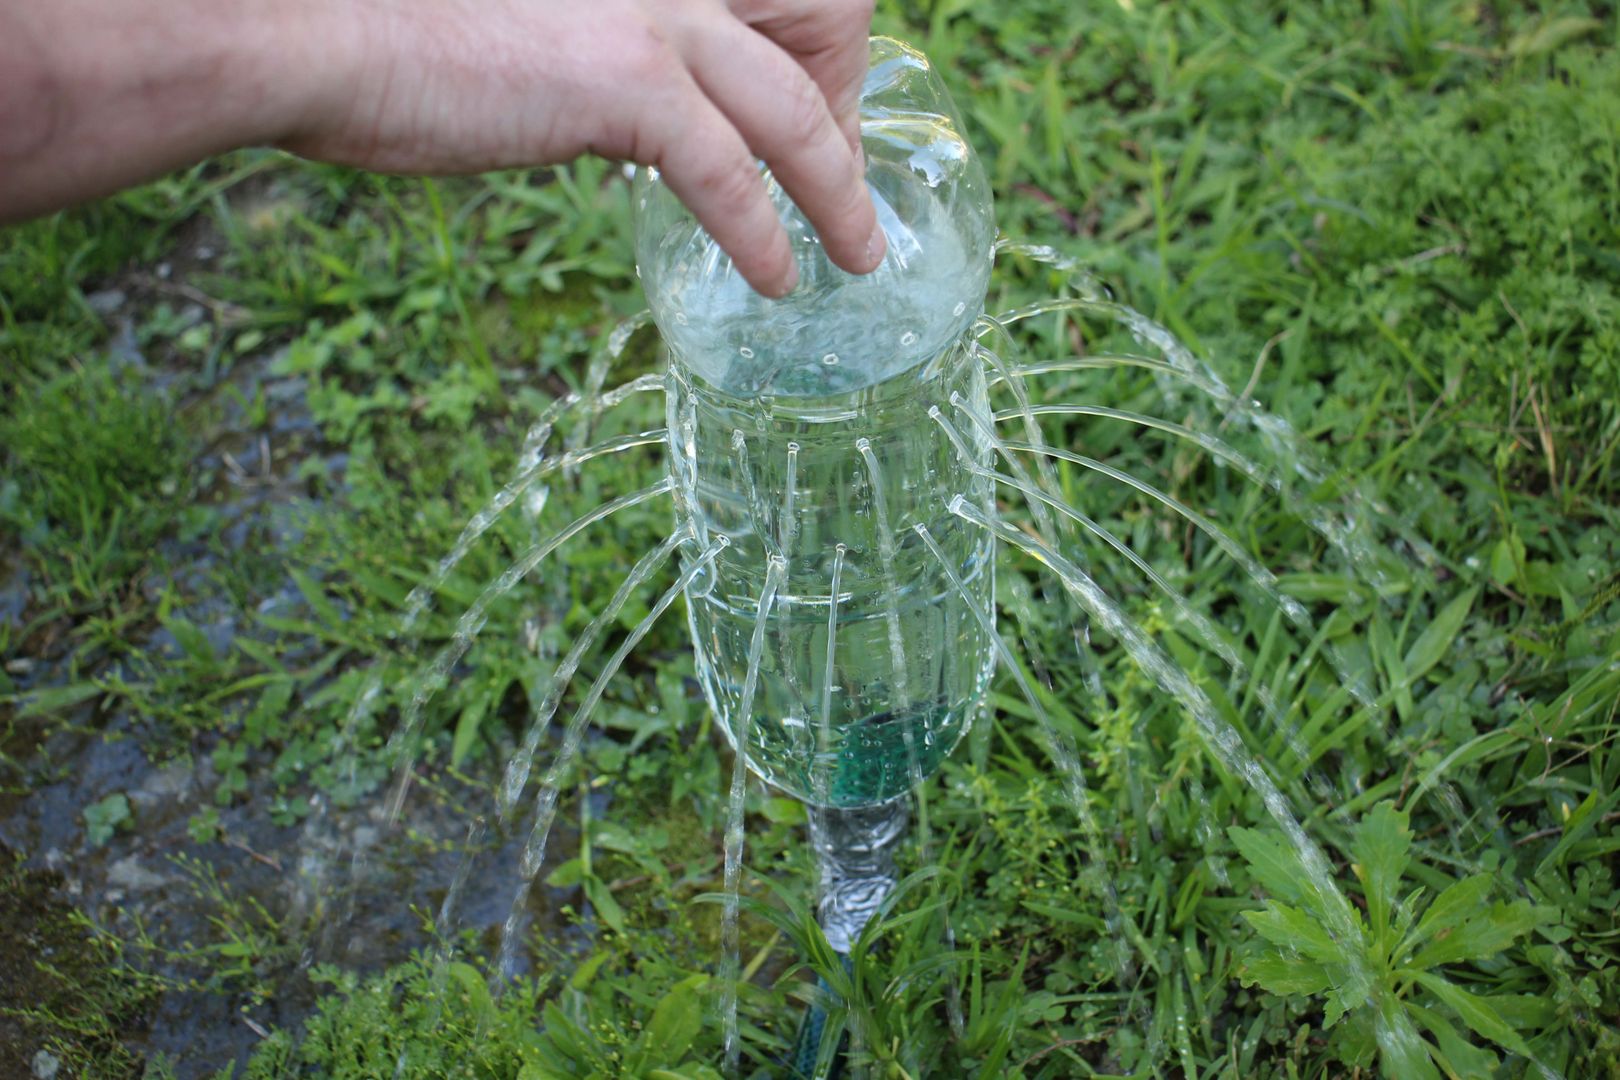
Then, fill the bottle with water, screw the cap back on, and give it a test run. If the water flows too quickly, you might need to adjust the size of the holes.
Placement Tips for Success
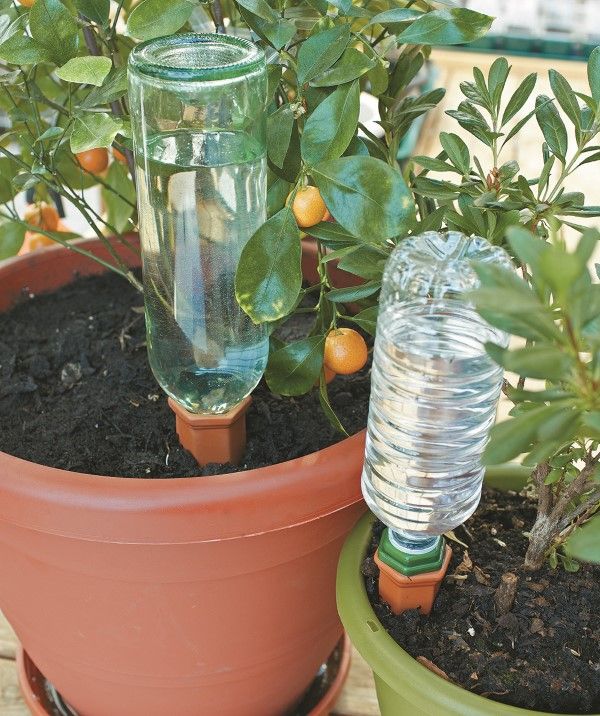
Bury the bottle neck-deep in the soil next to your plant, with the cap facing down. This way, the water will slowly seep into the soil, keeping your plant’s roots hydrated.
If you’re using multiple bottles, space them out evenly to cover more ground.
Tips for Using Soda Bottle Drip Feeder
First off, over time, salt and other residues can build up and block the tiny holes in your bottle.
A quick fix is to run some clean water through the system every now and then to flush out any gunk and keep the water flowing smoothly.
If you’re using any kind of fertilizer, be cautious. Highly concentrated doses can cause salt buildup, which can clog your feeder.
A good practice is to dilute your fertilizer and run a bottle of clean water through the system afterward.
Lastly, don’t forget to check the bottle’s condition. Over time, plastic can degrade, especially if it’s exposed to the sun.
If you notice any cracks or leaks, it’s time to replace the bottle. After all, a leaky bottle isn’t going to do much good for your plants.
