Garden & Crafty - Garden, DIY, Home
No Result
View All Result
  • GARDEN
    • Garden Tips
    • Garden Guide
    • Garden Care
    • Garden Ideas
  • DIY
    • Diy Project
    • Crafty Ideas
  • HOME
    • Decoration
    • Cleaning
    • Tips & Hacks
  • About Us
  • GARDEN
    • Garden Tips
    • Garden Guide
    • Garden Care
    • Garden Ideas
  • DIY
    • Diy Project
    • Crafty Ideas
  • HOME
    • Decoration
    • Cleaning
    • Tips & Hacks
  • About Us
No Result
View All Result
Garden & Crafty - Garden, DIY, Home
Home GARDEN Garden Guide

Step-by-Step Guide to Cultivating Clove From Seeds Successfully

Lois Capone by Lois Capone
December 20, 2024
in Garden Guide
Reading Time: 3 mins read

IN THIS ARTICLE:

Toggle
  • Step 1: Starting the Journey: Sourcing Fresh Seeds
  • Step 2: Preparing the Soil
  • Step 3: Planting the Seeds
  • Step 4: Nurturing the Seedlings
  • Step 5: Transplanting the Seedlings
  • Step 6: Long-Term Care
  • Step 7: Harvest Your Clove

Clove (Syzygium aromaticum) has always fascinated me not just for its warm, spicy flavor but also for its incredible medicinal benefits.

Known for its antimicrobial, anti-inflammatory, and digestive properties, this evergreen tree is a powerhouse in traditional medicine and culinary arts.

What captivated me most, however, was the idea of growing this tropical gem myself. The process was a mix of patience, care, and reward, and I’m thrilled to share how I cultivated clove successfully from seeds.

Step 1: Starting the Journey: Sourcing Fresh Seeds

Clove seeds lose their viability quickly, so I sourced freshly harvested seeds directly from a local farmer in a tropical region. The seeds were still moist and full of life, perfect for germination.

If you’re starting like I did, ensure you get seeds from a reliable source and plant them within 24–48 hours of harvest to maximize success.
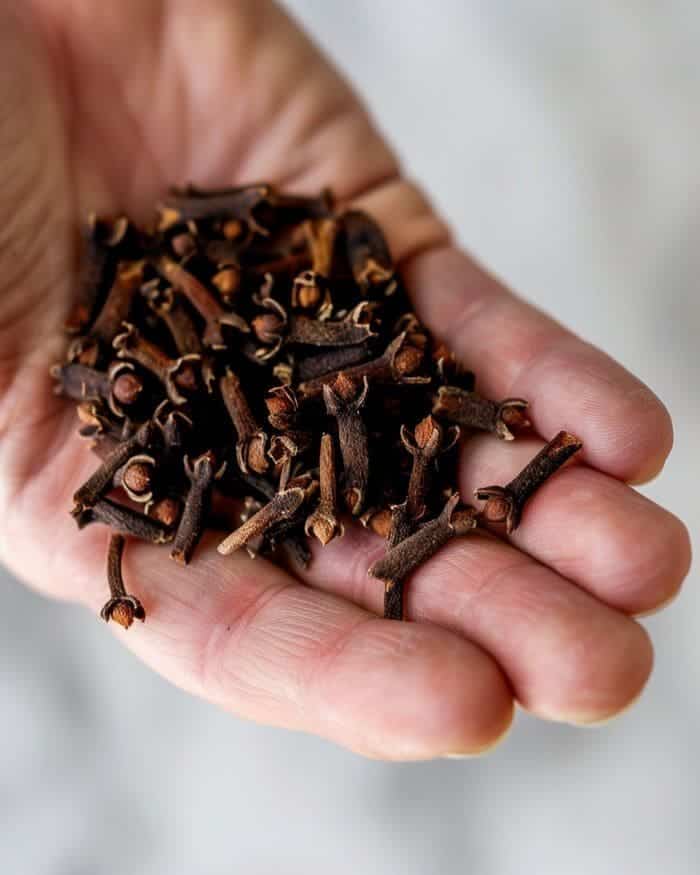
Step-by-Step Guide to Cultivating Clove From Seeds Successfully

Step 2: Preparing the Soil

Clove trees thrive in well-drained, loamy soil, so I mixed equal parts garden soil, organic compost, and a bit of sand to ensure good drainage.

The soil’s pH was slightly acidic, around 6.0, which is ideal for clove. I enriched the mixture with well-rotted manure to provide a nutrient-rich base that would support the seeds as they germinated and grew.
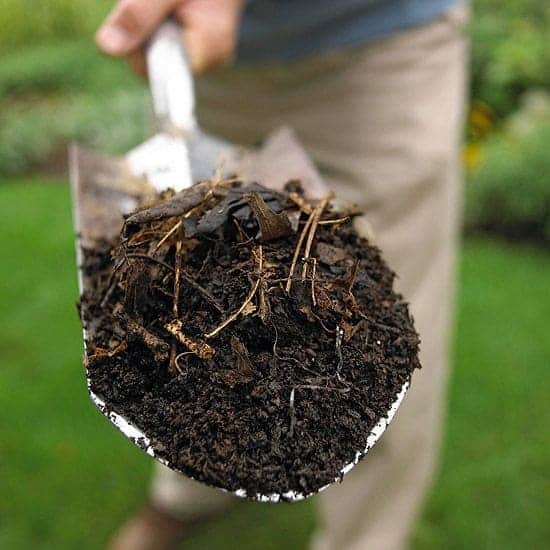
Step-by-Step Guide to Cultivating Clove From Seeds Successfully

Step 3: Planting the Seeds

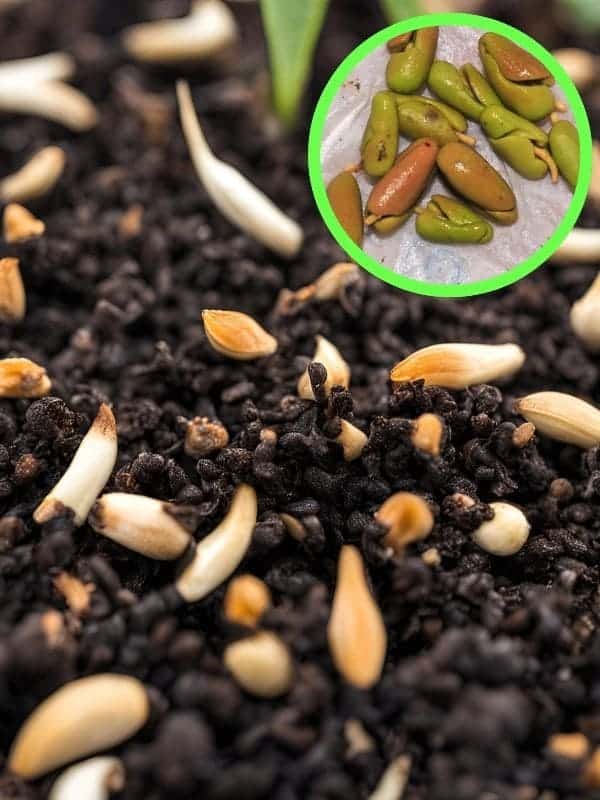
First, plant the clove seeds in small nursery bags filled with the prepared soil mix. Each seed is placed about an inch deep, with the pointed end facing upward.

After covering them lightly with soil, you can water them gently to maintain consistent moisture without waterlogging. The bags are then placed in a partially shaded area to mimic the tropical environment clove trees prefer.
Step-by-Step Guide to Cultivating Clove From Seeds Successfully

For the first few weeks, you can check the soil daily to ensure it stayed moist but not soggy. It’ll take nearly three weeks for the first tiny shoots to emerge but the sight of those green sprouts made the wait worthwhile.

Step 4: Nurturing the Seedlings

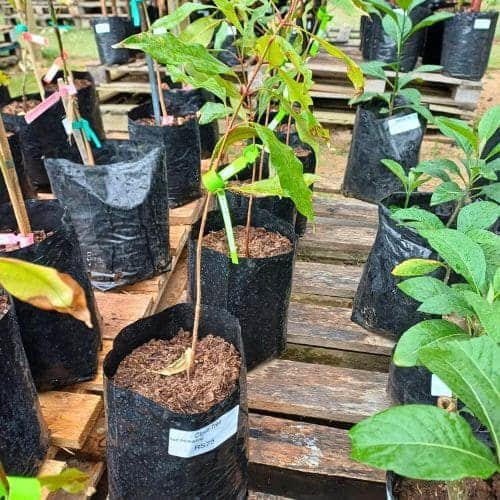
Once the seedlings emerged, they remained in the nursery bags for about six months, during which I continued watering them regularly and added a thin layer of organic mulch to retain soil moisture.

I also protected the young plants from direct sunlight, as clove seedlings are sensitive to harsh rays.

When the seedlings grew to about 8–10 inches tall and developed strong root systems, you can transplant them into their permanent spot.
Step-by-Step Guide to Cultivating Clove From Seeds Successfully

Step 5: Transplanting the Seedlings

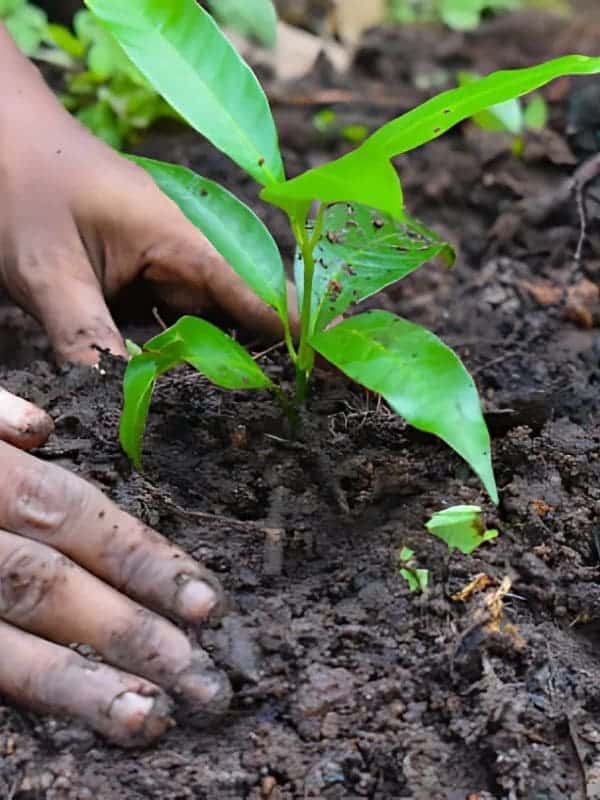
I selected a spot in my garden with partial shade and well-drained soil. Digging holes twice as wide and deep as the nursery bags, I carefully transplanted the seedlings without disturbing their roots.

After placing them into their new homes, I filled the holes with soil and watered thoroughly to help them settle in.
Step-by-Step Guide to Cultivating Clove From Seeds Successfully

Step 6: Long-Term Care

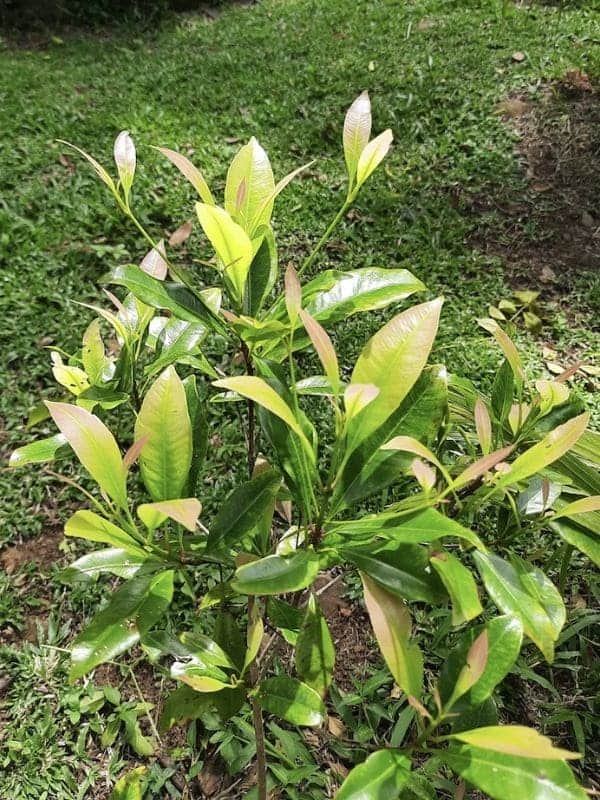
Watering was a daily ritual, especially during dry spells, as clove trees need a lot of moisture to thrive. To maintain soil health, I added organic compost every few months and mulched around the base to retain water and suppress weeds.
Step-by-Step Guide to Cultivating Clove From Seeds Successfully

Pruning became essential as the tree grew taller. You need to remove dead branches and shaped the tree to promote airflow and healthy growth. By the second year, the tree began to develop its signature glossy green leaves, a sign that it was thriving.

Step 7: Harvest Your Clove

It’ll take about five years for your clove tree to produce its first flower buds. You can harvest the buds when they turn pink but before they bloom, as this is when they are most aromatic.
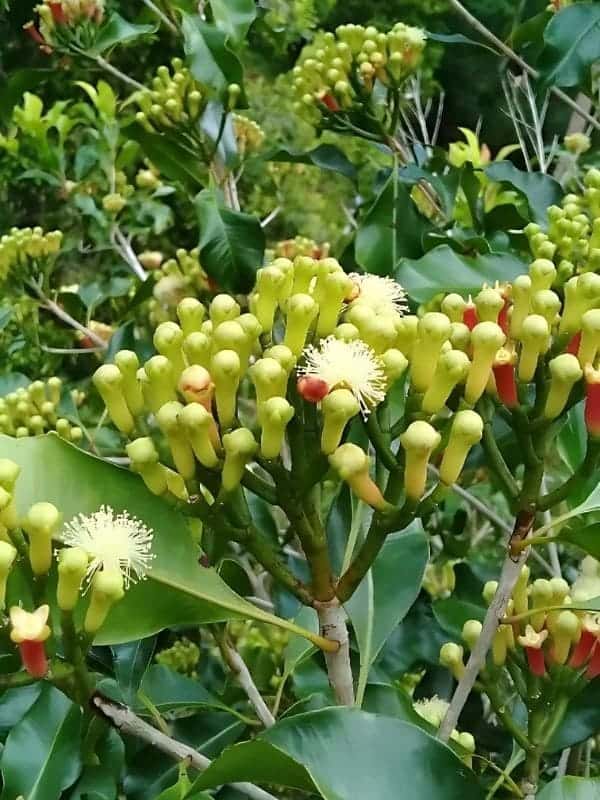
Step-by-Step Guide to Cultivating Clove From Seeds Successfully

Next, drying the buds under the sun, you watch them transform into the dark, fragrant cloves.
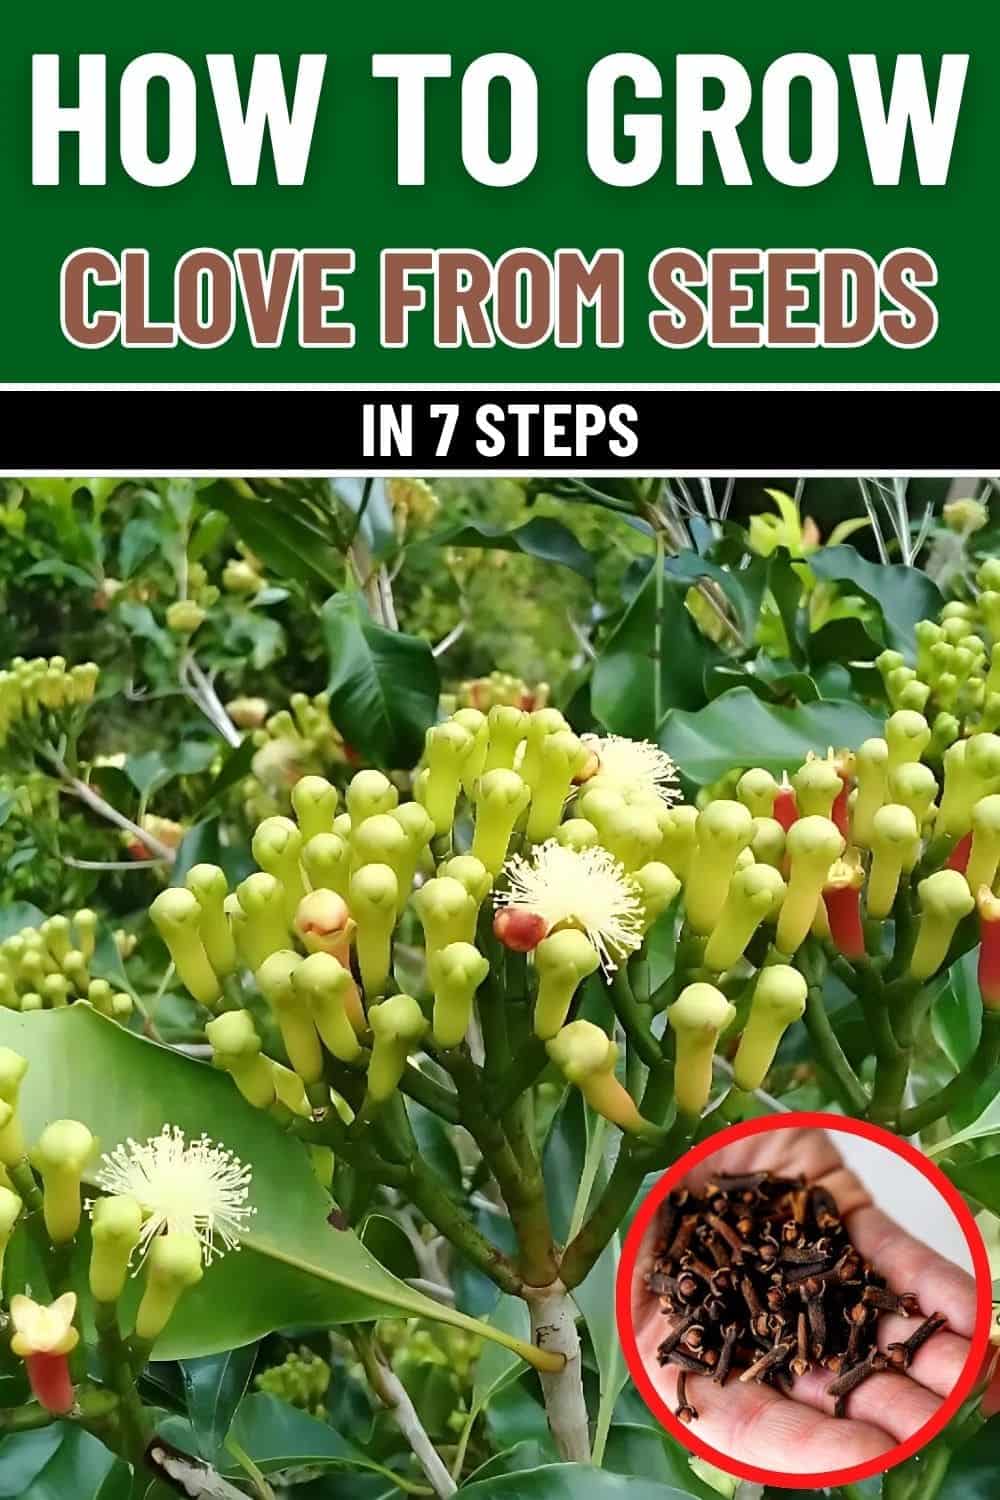
Step-by-Step Guide to Cultivating Clove From Seeds Successfully
Tags: cloveclove cultivationhow to grow clove
SharePin3
Lois Capone

Lois Capone

Lois Capone is a wife and mom in her 50s who enjoys sharing gardening, DIY tips, and home decor ideas. She believes that with some inspiration, anyone can create a special feel in their home and garden.

Related Posts

How to Build and Grow in Tiered Tire Gardens
Garden Guide

How to Build and Grow in Tiered Tire Gardens

In many gardens, space is the biggest limitation. That’s why gardeners around the world are getting creative with vertical designs,...

by Lois Capone
October 16, 2025
How to Build a Frog Hotel in Your Garden
Garden Guide

How to Build a Frog Hotel in Your Garden

Every garden needs a few quiet heroes - the ones who do their work at night, keep pests in check,...

by Lois Capone
October 12, 2025
Compost Sifter Is Becoming Common and Here’s How to DIY Yours
Garden Guide

Compost Sifter Is Becoming Common and Here’s How to DIY Yours

Every gardener knows the disappointment of pulling out compost that looks more like a pile of sticks and half-rotted clumps...

by Lois Capone
October 7, 2025
3 Easy Methods to Propagate ZZ Plants for More Green Beauty
Garden Guide

3 Easy Methods to Propagate ZZ Plants for More Green Beauty

The ZZ plant (Zamioculcas zamiifolia) is one of those houseplants that seems almost indestructible. It thrives on neglect, survives in...

by Lois Capone
October 4, 2025
How to Grow Ginger in a Glass 100% Successfully
Garden Guide

How to Grow Ginger in a Glass 100% Successfully

There’s something fascinating about growing plants where you can see both what’s happening above the surface and below it. Ginger...

by Lois Capone
October 2, 2025
5 Steps to Grow Moss on Anything
Garden Guide

5 Steps to Grow Moss on Anything

If you’ve ever walked past an old stone wall or shaded garden path and admired the soft, velvety moss that...

by Lois Capone
September 30, 2025
Load More

Leave a Reply Cancel reply

Your email address will not be published. Required fields are marked *

Recipe Rating


Categories

  • Cleaning (6)
  • Crafty Ideas (170)
  • Decoration (164)
  • DIY (8)
  • Diy Project (237)
  • GARDEN (39)
  • Garden Care (61)
  • Garden Guide (135)
  • Garden Ideas (349)
  • Garden Tips (130)
  • Guide (687)
  • HOME (90)
  • Tips & Hacks (21)


Garden & Crafty - Garden, DIY, Home

© 2024 gardenandcrafty.com

Navigate Site

  • About Us
  • Privacy Policy
  • Terms Of Service
  • Disclaimer
  • Cookie Policy
  • Webstories
  • Sitemap

Follow Us

No Result
View All Result
  • GARDEN
    • Garden Tips
    • Garden Guide
    • Garden Care
    • Garden Ideas
  • DIY
    • Diy Project
    • Crafty Ideas
  • HOME
    • Decoration
    • Cleaning
    • Tips & Hacks
  • About Us
  Â