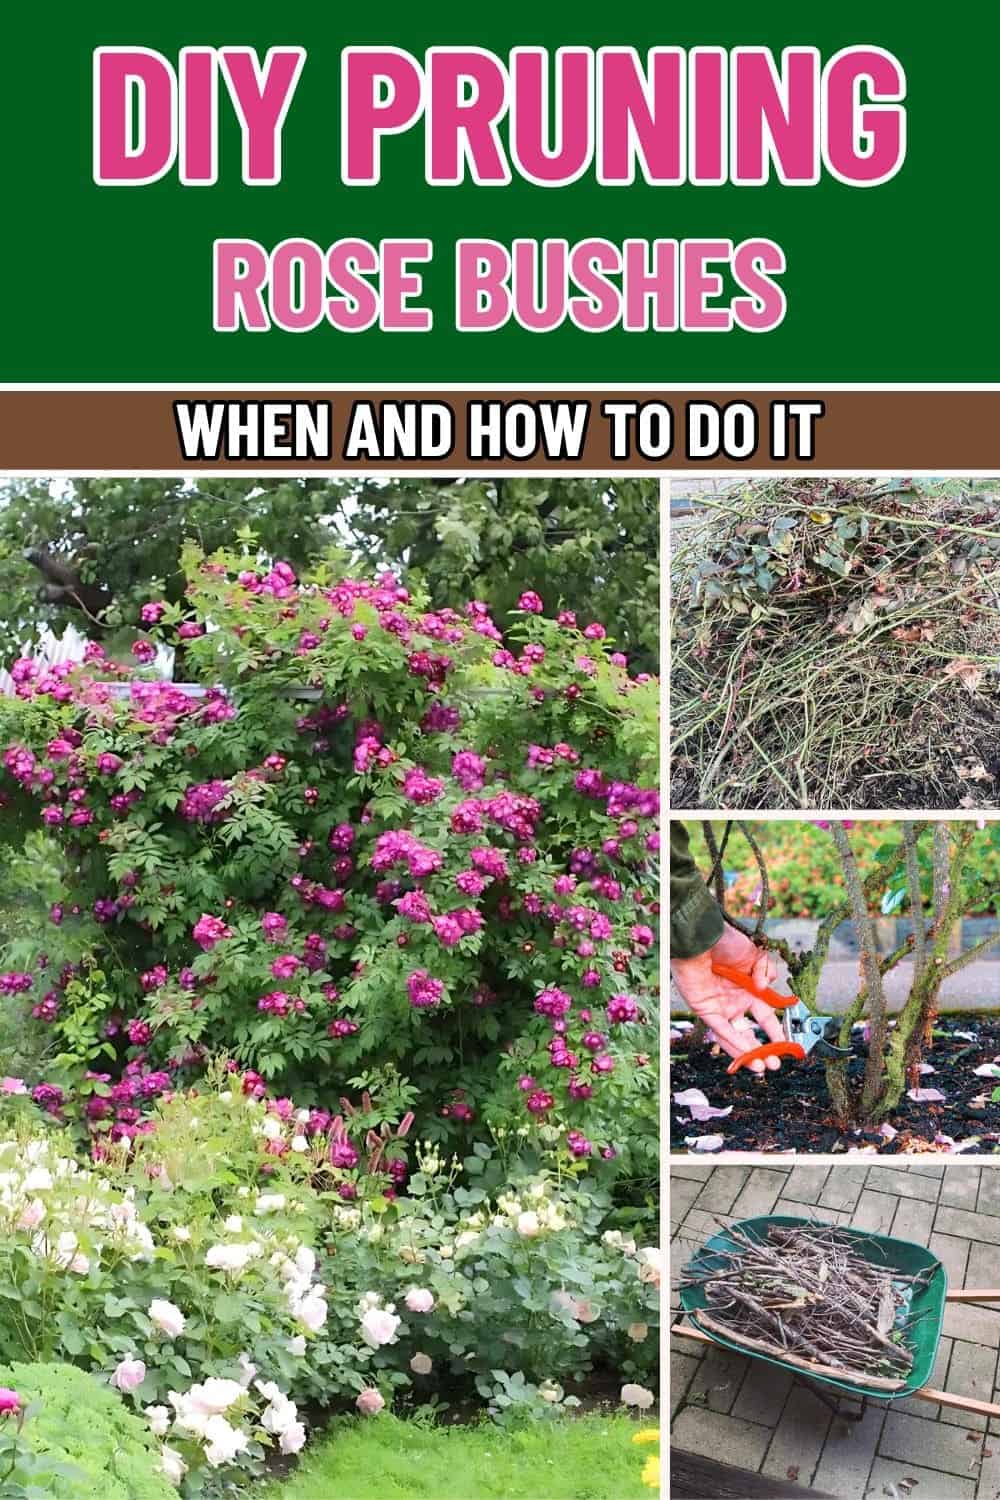
If you love roses as much as I do, you know how rewarding it is to see those vibrant blooms brighten your garden.
But like any good gardener will tell you, keeping roses healthy and thriving takes a little work. One of the most important tasks for any rose enthusiast is pruning.
At first, it might seem intimidating, but trust me, with a bit of practice and the right guidance, it becomes second nature.
When to Prune Rose Bushes
Late winter to early spring is the best time for major pruning. I usually wait until after the last frost but before new growth begins. This ensures that I’m not cutting away fresh shoots or risking frost damage.
However, you need to remember that the exact timing can vary depending on where you live. If you’re in a warmer climate, you might start earlier, while colder regions may need to wait a bit longer.

Tools You’ll Need
You need to prepare
- Sharp bypass pruners
- Loppers
- Pruning saw
- Protective gear
Step-by-Step Guide to Pruning a Rose Bush
Step 1: Prepare for Pruning
You should start by taking a good look at your rose bush. Identify any dead, damaged, or diseased branches. You’ll also want to look for any canes that are crossing or growing inward.
Step 2: Remove Dead and Damaged Canes
I always tackle the dead and damaged canes first. Dead canes are easy to spot, they’re usually brown, brittle, and dry while damaged or diseased canes might look blackened, moldy, or weak.
You need to cut these back to healthy green wood, just above a bud.
Step 3: Shape the Bush
Now comes the fun part, your goal is to create a vase-like shape with an open center to allow sunlight and air to reach all parts of the plant.
To do this, you need to remove any inward-facing branches and keep 3–5 strong, outward-facing canes as the main structure of the bush.
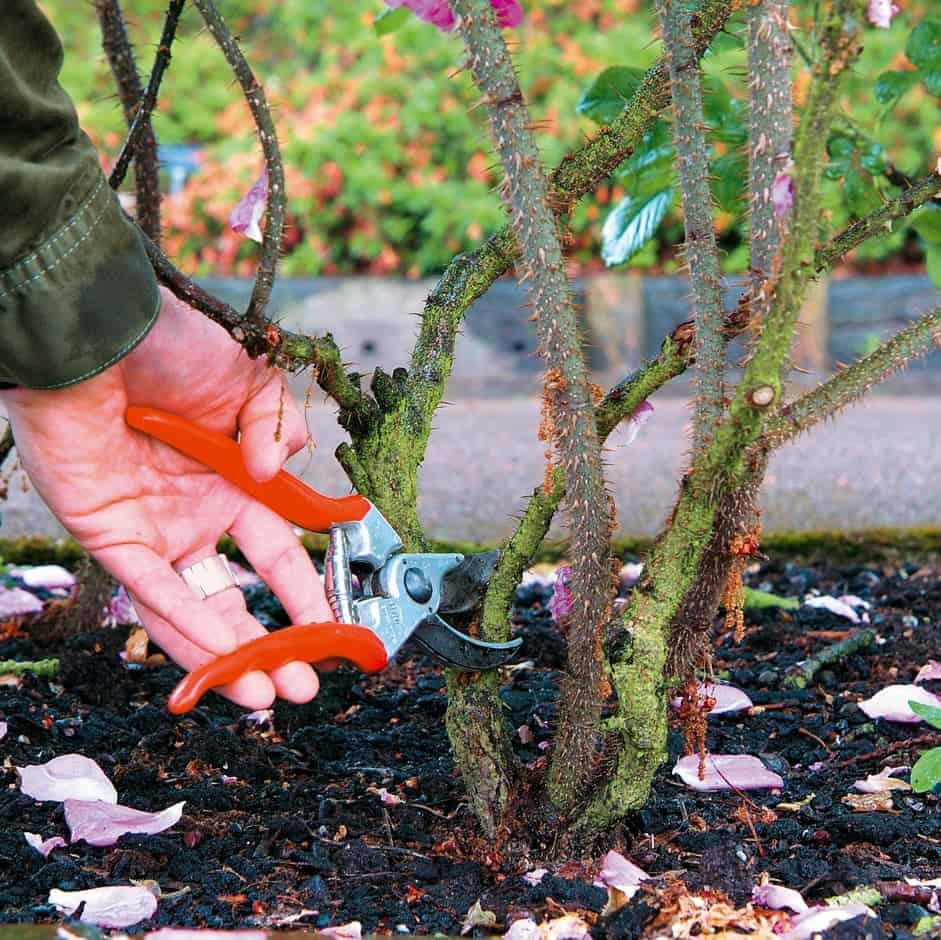
Besides, remember to make cuts at a 45-degree angle, just above an outward-facing bud. This encourages new growth to expand outward rather than crowding the center.
Step 4: Remove Old Wood
If your rose bush has been around for a few years, you might notice thick, woody canes that no longer produce much growth.
These older canes should be removed to make room for younger, more productive ones.
Step 5: Tidy Up
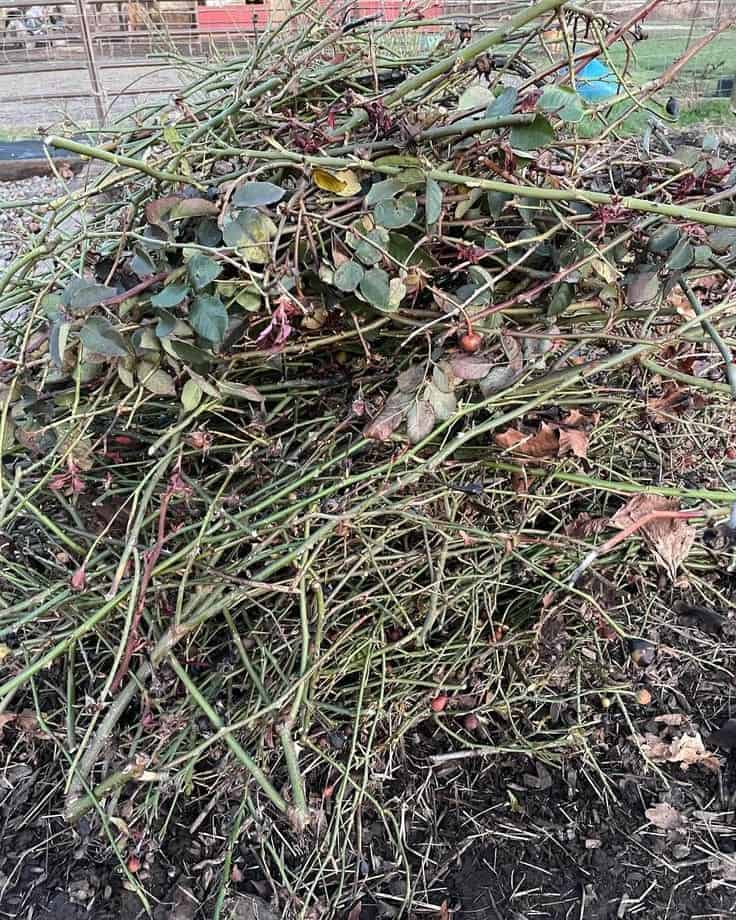
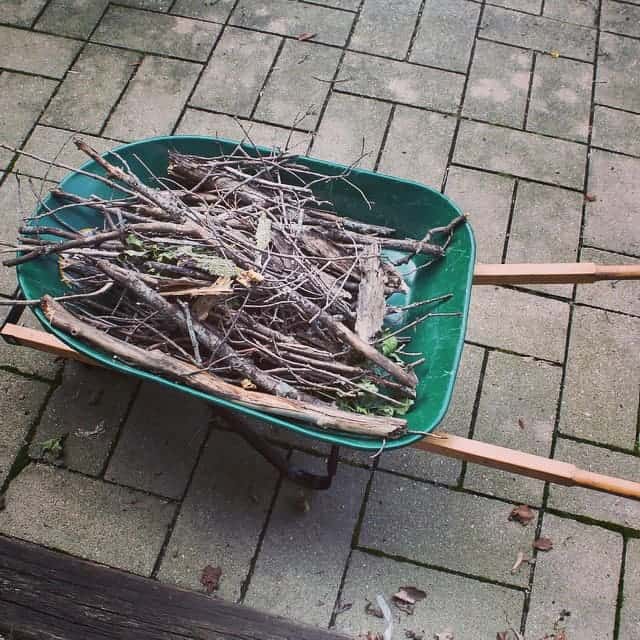
Once you’ve finished pruning, take a moment to clean up. You remove all cuttings and fallen leaves from around the base of the bush to prevent pests and diseases.
I like to add a fresh layer of mulch at this stage to protect the roots and conserve moisture.
Step 6: Aftercare for Pruned Roses
After pruning, you have to water your rose bushes deeply to support new growth. Besides, check regularly for aphids, black spot, or other common rose issues.
Specially, you should feed the bush every 4–6 weeks during the growing season for vibrant blooms.
