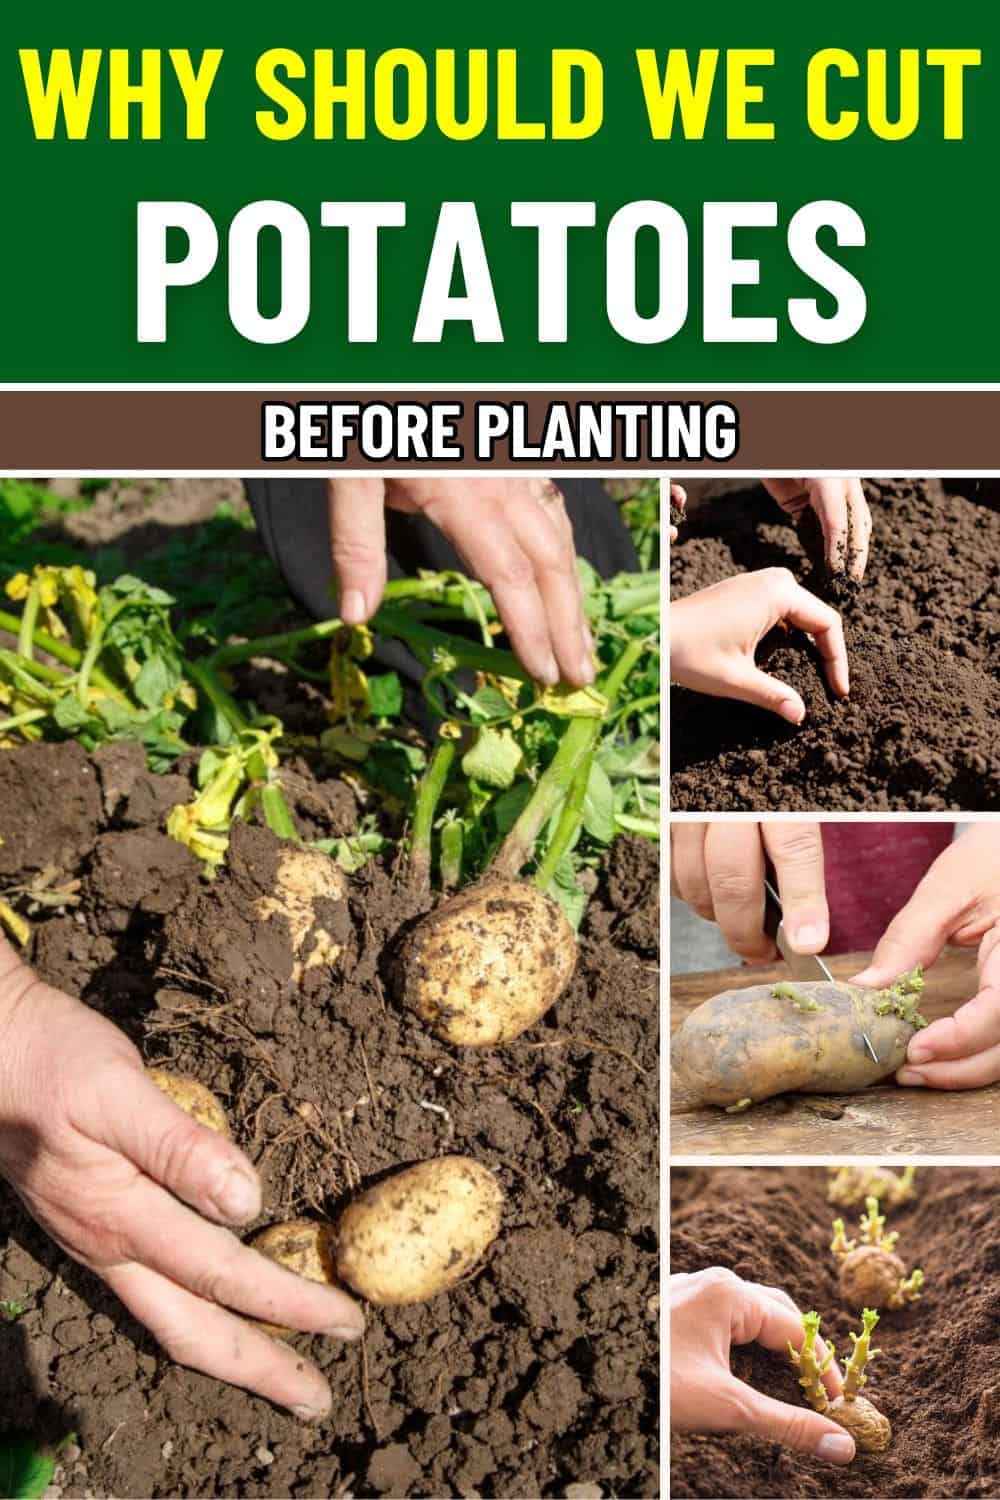
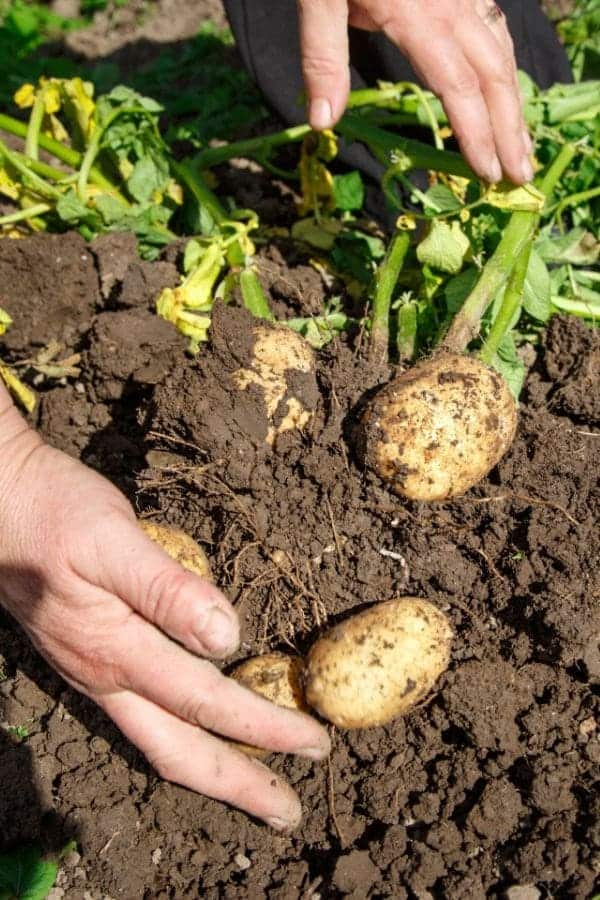
If you’ve ever tried growing potatoes in your garden, you’ll know that they can be one of the most rewarding crops. But did you know that cutting your seed potatoes before planting them can significantly boost your yield?
As a seasoned gardener, I can tell you from experience that taking a little extra time to cut your potatoes can make a world of difference when it comes to crop production.
In this post, I’ll explain why cutting your potatoes before planting is so beneficial and walk you through the proper techniques to get the most from your potato crop.
Why You Should Cut Potatoes Before Planting
Maximizing Growth Potential
When you cut potatoes into pieces before planting, you’re essentially multiplying your seed potatoes.
Each piece of potato, as long as it contains at least one or two “eyes” (the little sprouts), will grow into a new plant. This means you can use fewer potatoes to plant a larger area and still end up with a good harvest.
Disease Prevention
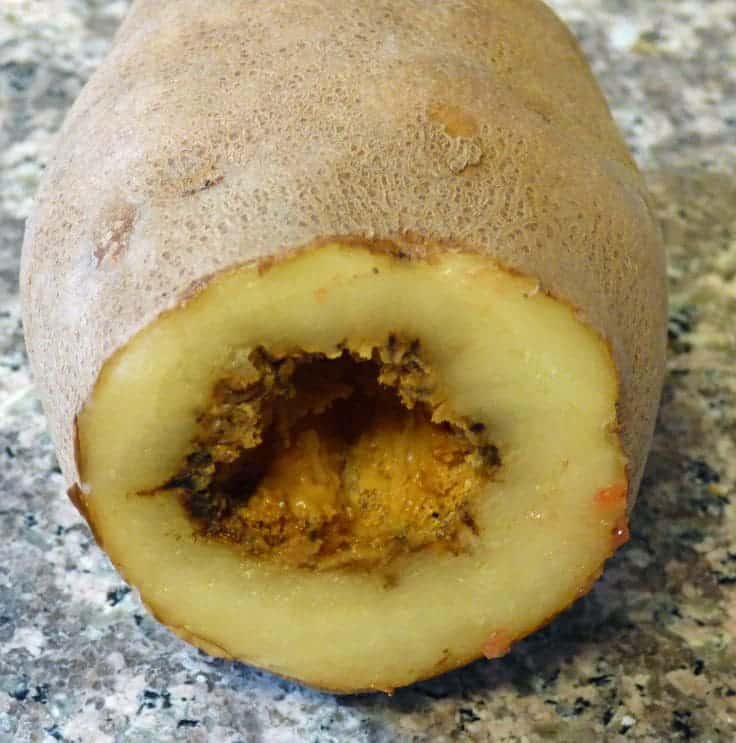
You have to allow cut pieces to cure for a day or two before planting. This curing process lets the cut edges dry out and form a protective callous, which reduces the chances of rot and infection.
It also helps guard against common diseases like blight and soft rot, which can wreak havoc on a potato crop.
Optimizing Space and Resources
Cutting your potatoes into smaller sections allows you to plant them at a greater density without overcrowding the plants. This is particularly beneficial if you have limited garden space.
It also means that the plants won’t have to compete as much for soil nutrients, water, and sunlight, leading to stronger, healthier plants.
Cost-Effective
By cutting seed potatoes, you stretch your potato supply further. Instead of purchasing a bag of seed potatoes for every plot, you can cut those potatoes into several pieces and get more bang for your buck.
How to Cut Potatoes Before Planting
Choose the Right Potatoes
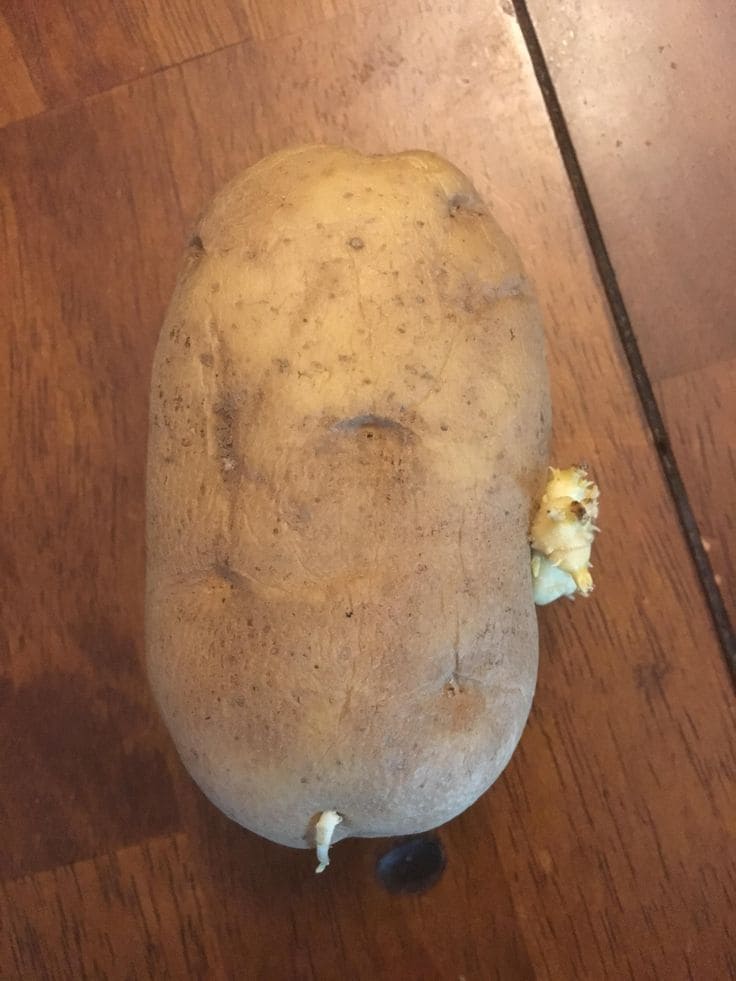
When selecting seed potatoes, always pick healthy, firm tubers with visible “eyes” that are already starting to sprout. These are your best bet for successful planting.
I’ve learned the hard way that it’s best to avoid using supermarket potatoes, as many are treated with growth inhibitors that can prevent sprouting altogether.
Proper Cutting Technique
First, make sure you have a sharp knife. Clean cuts will heal more effectively and reduce the chance of infection.
Each piece should be about 2–3 ounces (roughly the size of a golf ball), and make sure each piece has at least one or two eyes. More eyes = more plants, which is always a good thing!
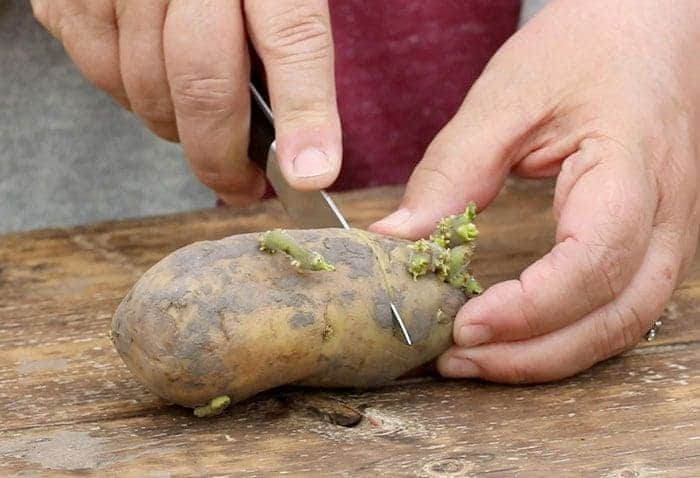
Once you’ve cut the potatoes, set them aside in a dry, cool place for about 24–48 hours. This allows the cut edges to callous over, which will help prevent rot when you plant them.
Timing of Cutting
Don’t cut your potatoes too far ahead of planting. It’s best to cut them just 1–2 days before you plan to plant them.
If you cut them too early, they may dry out too much or even start to rot before you get the chance to plant them.
How to Plant Potatoes
Prepare the Planting Site
Potatoes like well-drained, loose soil, so make sure your planting site is in a sunny spot that gets at least 6–8 hours of sunlight a day. If your soil is heavy or clay-like, you can amend it with compost or organic matter.
I like to plant potatoes in raised rows or beds, as this gives the tubers room to spread out without becoming waterlogged.
You can create rows that are about 8–10 inches high, which allows water to drain away easily and gives the potatoes plenty of room to grow.
Planting the Pieces
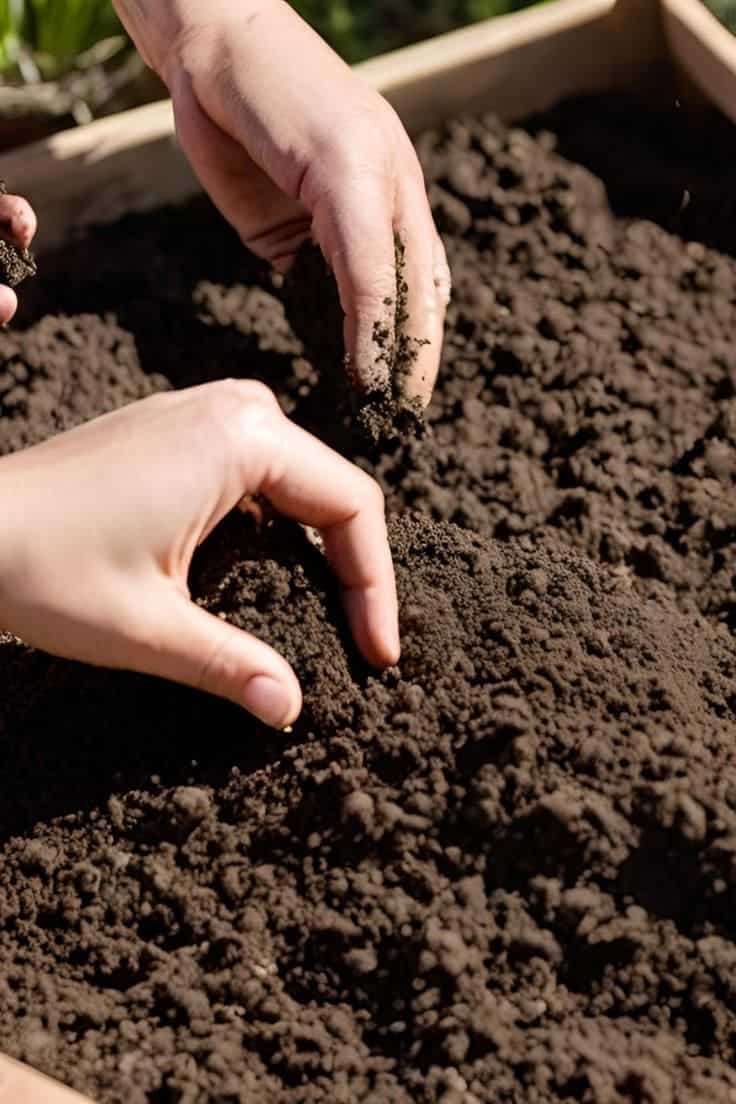
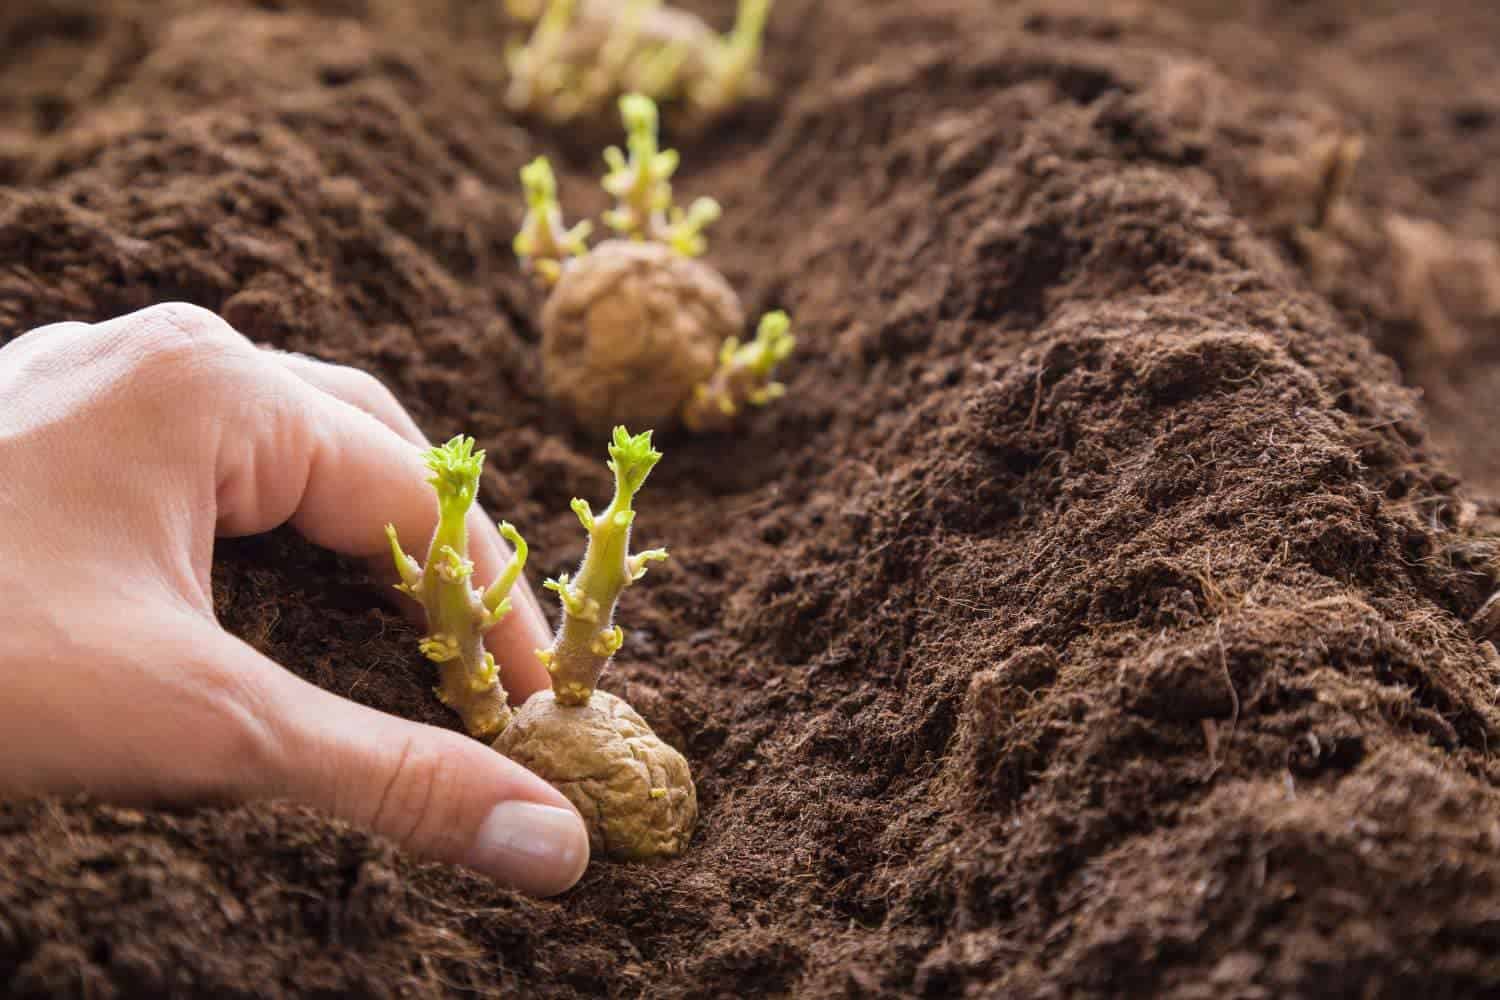
Now, space each cut piece about 12 inches apart, and make sure the eyes are facing up. This helps them sprout and grow in the right direction.
Plant the pieces 4–6 inches deep in the soil, and cover them lightly with dirt.
Care and Maintenance
After planting, keep the soil consistently moist but not soaked. I usually water deeply once a week, but if you’re experiencing a dry spell, you may need to water more often.
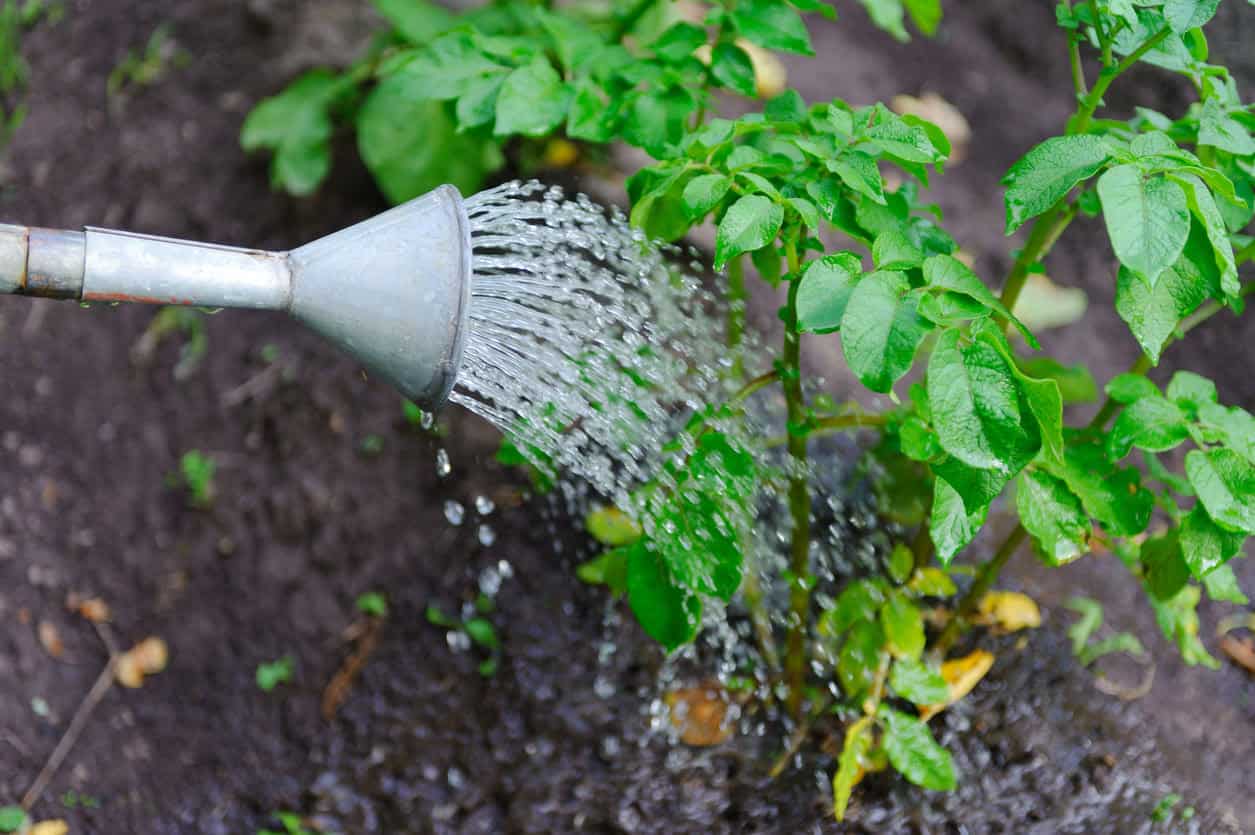
As the potato plants grow, you’ll need to hill up soil around the base of the plants. This involves mounding the soil around the stems to support growth, keep the tubers covered, and prevent them from being exposed to sunlight.
Fertilizing is also important. I recommend a balanced fertilizer or compost that’s rich in potassium, which encourages healthy tuber development.
