Garden & Crafty - Garden, DIY, Home
No Result
View All Result
  • GARDEN
    • Garden Tips
    • Garden Guide
    • Garden Care
    • Garden Ideas
  • DIY
    • Diy Project
    • Crafty Ideas
  • HOME
    • Decoration
    • Cleaning
    • Tips & Hacks
  • About Us
  • GARDEN
    • Garden Tips
    • Garden Guide
    • Garden Care
    • Garden Ideas
  • DIY
    • Diy Project
    • Crafty Ideas
  • HOME
    • Decoration
    • Cleaning
    • Tips & Hacks
  • About Us
No Result
View All Result
Garden & Crafty - Garden, DIY, Home
Home DIY Diy Project

Create a Stunning DIY Wooden Centerpiece Box for Under $30

Lois Capone by Lois Capone
September 13, 2024
in Diy Project
Reading Time: 2 mins read

IN THIS ARTICLE:

Toggle
  • Materials You’ll Need
  • Step-by-Step Guide

Transforming your home’s atmosphere doesn’t have to break the bank.

In fact, with a little creativity, you can craft a gorgeous wooden centerpiece box for less than $30!

Whether you’re setting up for a festive event or adding a touch of charm to your dining table, this simple DIY project will wow your guests and elevate your decor.


Materials You’ll Need

Here’s everything you’ll need for both building and decorating your centerpiece box:

  • 1×6 Wood Board – $8-10
  • Wood Glue – $3-5
  • Small Trim Nails – $2-3
  • Wood Stain or Paint – $4-6
  • Sandpaper – $2
  • Pumpkins, Candles, Faux Flowers – $5-10


Step-by-Step Guide

Step 1: Cutting the Wood
Cutting the Wood
Cutting the Wood

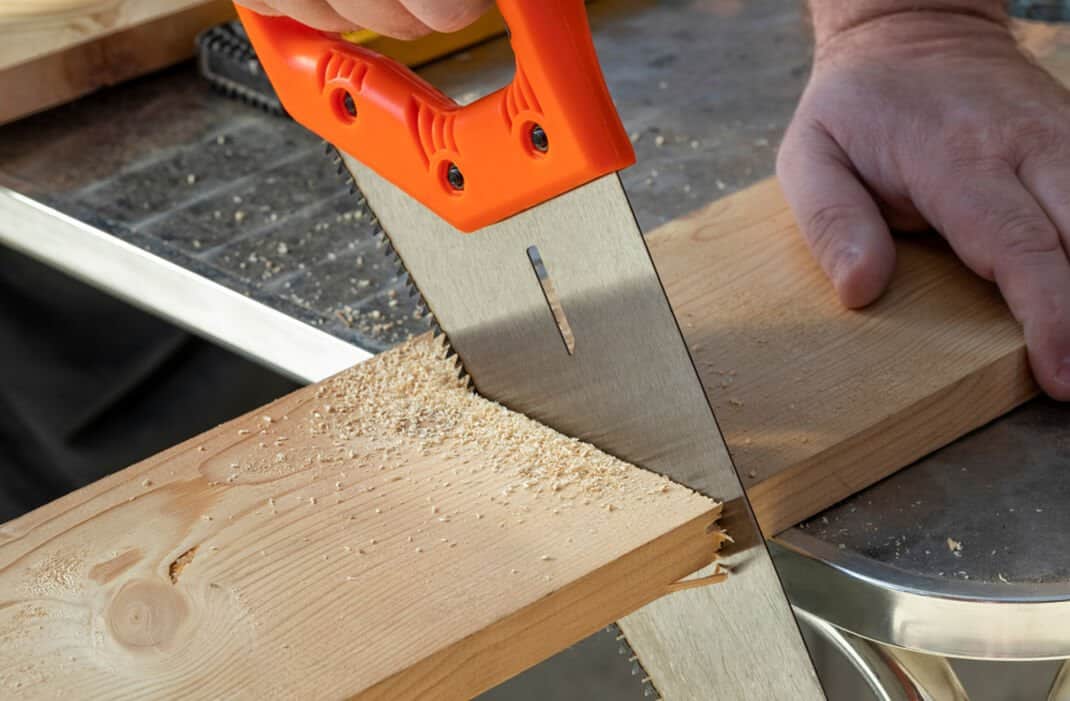
The first step is to cut your 1×6 wood board into five pieces. You’ll need three pieces at 28.5 inches for the longer sides, and two pieces at 4.75 inches for the shorter ends.

If you don’t have a miter saw, don’t worry – a hand saw works just fine as long as you take your time.

I always remind myself, “measure twice, cut once,” because it saves so much hassle in the long run.


Step 2: Assembling the Box
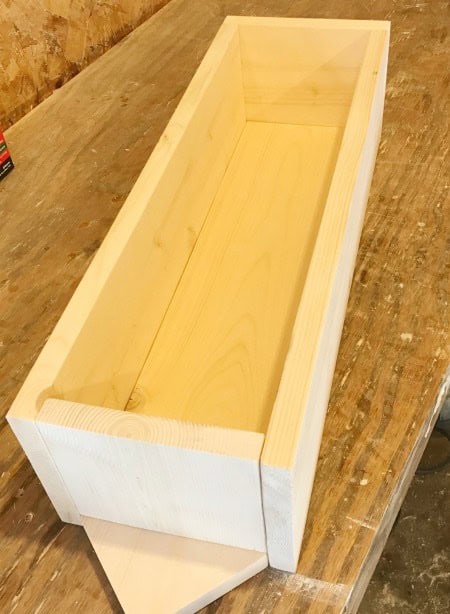
Assembling the Box
Assembling the Box

Now, you lay out the three longer pieces in a U shape, then apply wood glue along the edges of the bottom piece and position it between the two side pieces.

Next, use your nail gun or a hammer with small trim nails to secure two left pieces in place.


Step 3: Sanding
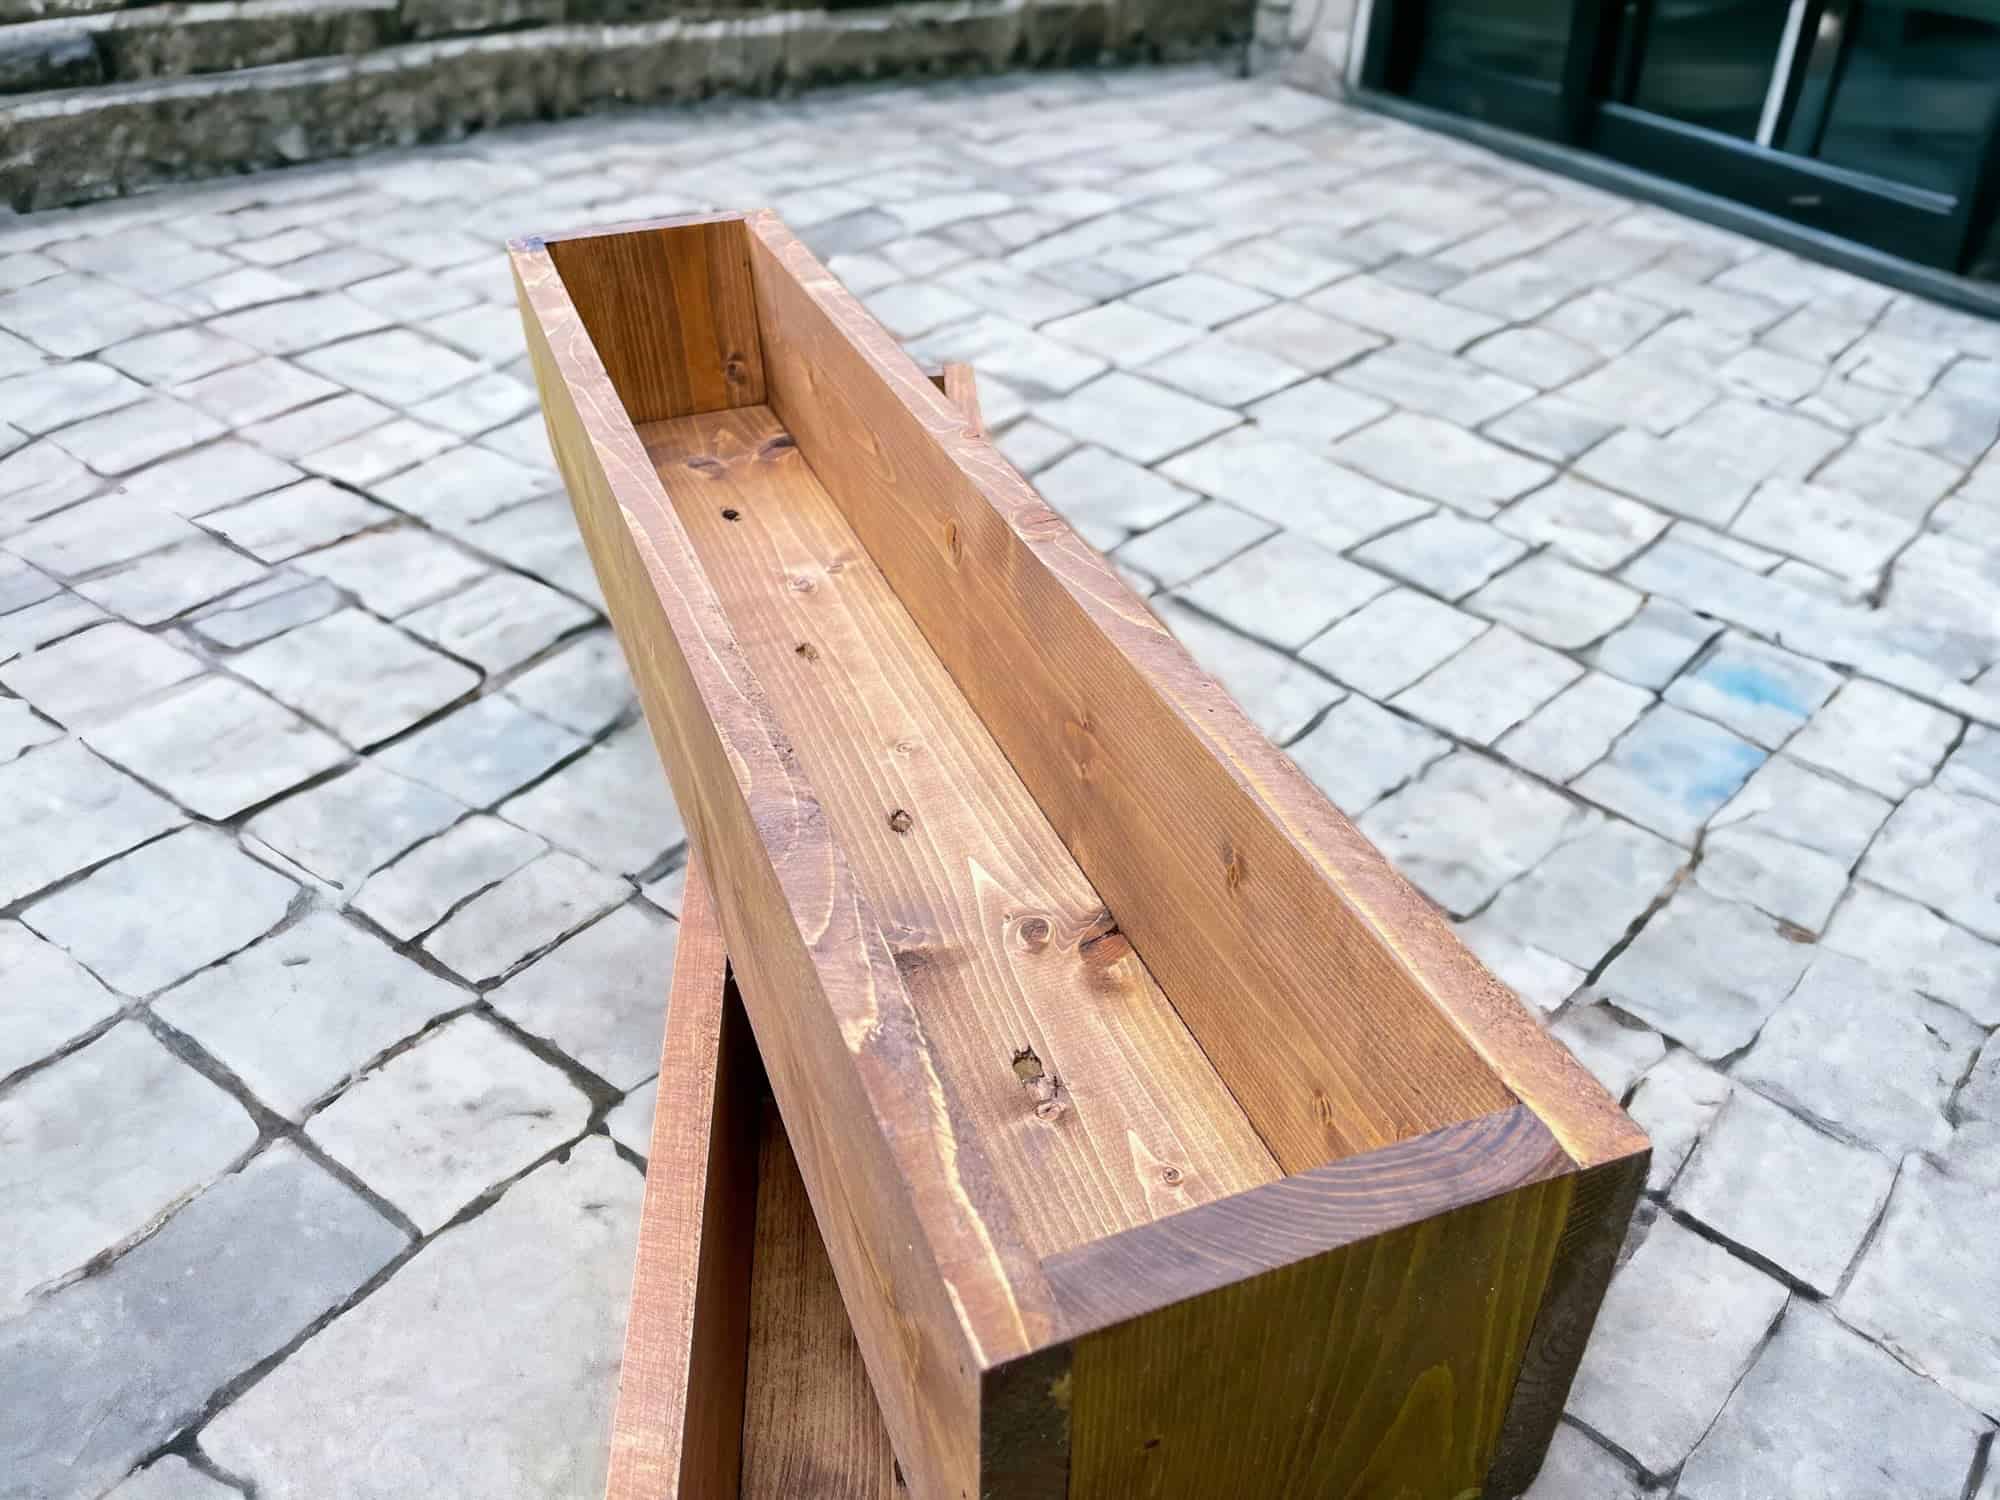
Sanding
Sanding

I usually start with medium-grit sandpaper and then move to a finer grit for a smooth finish to smooth out any rough spots.

Whether you choose to stain the wood for a natural look or paint it to match your decor, be sure to apply evenly and let it dry thoroughly.

I personally love using a rich stain like Minwax Provincial – it really brings out the grain of the wood and gives the box a warm, elegant feel.


Step 4: Decorating Your Centerpiece

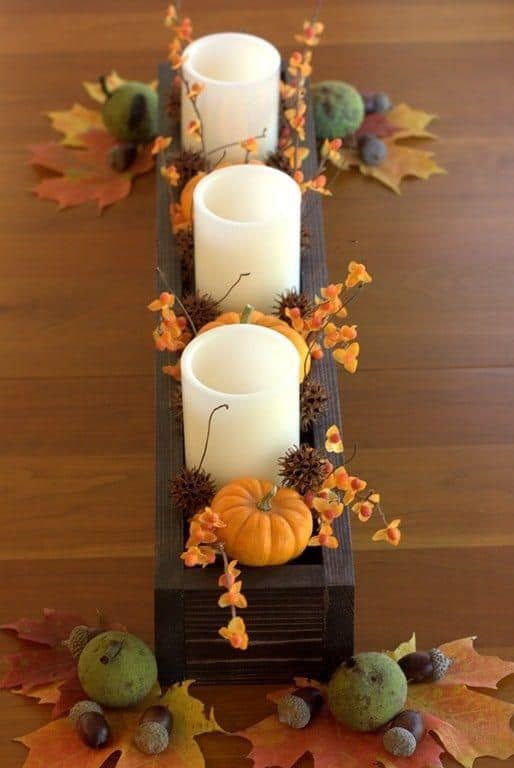
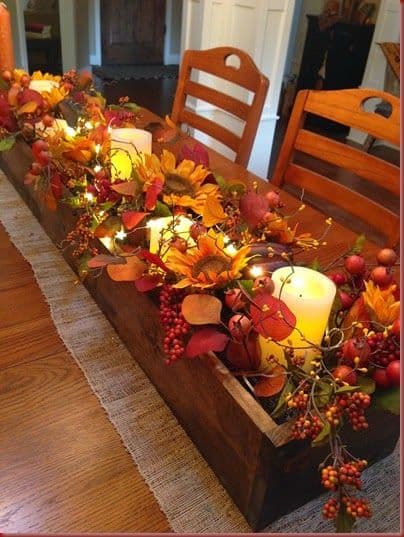
For fall, I like to add mini pumpkins ($2 for a small bag), candles ($1 each), and faux leaves or flowers ($3-5).

The key is placing taller items, like candles, in the center and arrange smaller pieces, like pumpkins or flowers, around them.

Tada! You’ve done it! Now sit back, relax, and enjoy the beauty of your new fall centerpiece box.
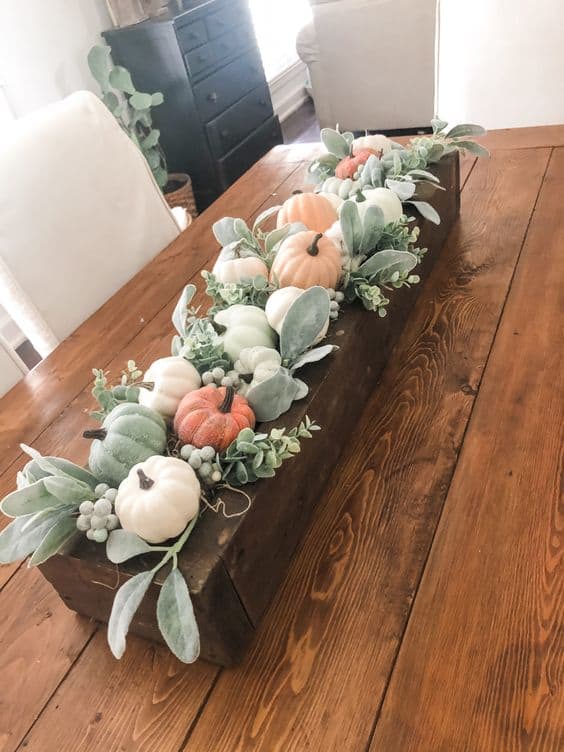
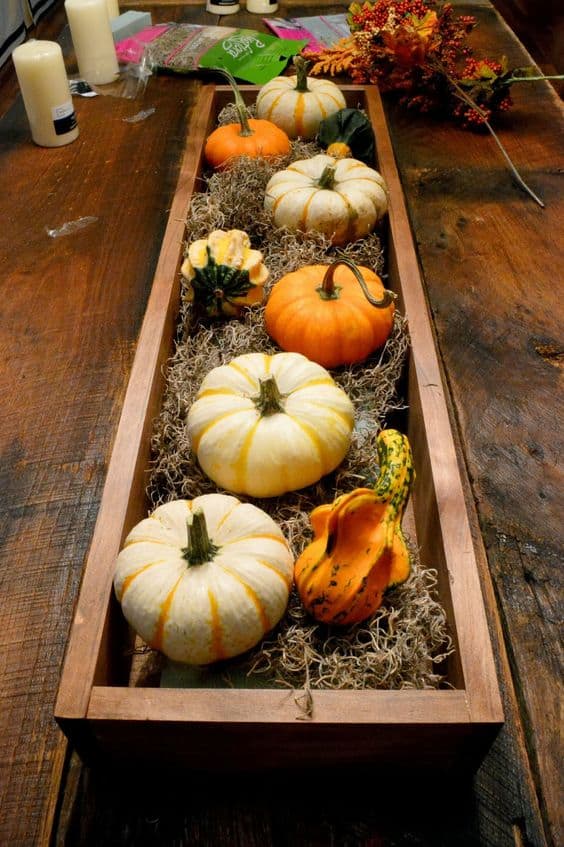
 

DIY Wooden Centerpiece Box

DIY Wooden Centerpiece Box

DIY Wooden Centerpiece Box

DIY Wooden Centerpiece Box


You Can Create a Stunning DIY Wooden Centerpiece Box for Under 30$
Tags: centerpieceFall Decoration
SharePin
Lois Capone

Lois Capone

Lois Capone is a wife and mom in her 50s who enjoys sharing gardening, DIY tips, and home decor ideas. She believes that with some inspiration, anyone can create a special feel in their home and garden.

Related Posts

20 Outdoor Hot Tub Setups That Redefine Home Relaxation
Diy Project

20 Outdoor Hot Tub Setups That Redefine Home Relaxation

When winter comes and the air turns crisp, few things feel more luxurious than sinking into a steaming outdoor hot...

by Lois Capone
October 30, 2025
20+ Practical and Creative Outdoor Wash Station Ideas
Diy Project

20+ Practical and Creative Outdoor Wash Station Ideas

Keeping dirt, mud, and messes outside isn’t always easy. Whether it’s kids running in from the yard, pets needing a...

by Lois Capone
October 30, 2025
20 Fun Christmas Footprint Crafts to Make with Little Feet
Diy Project

20 Fun Christmas Footprint Crafts to Make with Little Feet

Christmas has a way of making every little moment feel special, even the tiniest footprints. Those soft impressions, pressed in...

by Lois Capone
October 29, 2025
15 Creative Nature Collage Ideas for Inspired DIY Projects
Diy Project

15 Creative Nature Collage Ideas for Inspired DIY Projects

Have you ever looked at the beauty of nature and thought, "I want to capture this"? Collaging is a wonderful...

by Lois Capone
October 29, 2025
20 Creative Christmas Ornaments Made With Kids’ Photos
Crafty Ideas

20 Creative Christmas Ornaments Made With Kids’ Photos

If you’ve been searching for a meaningful way to capture childhood memories, these Christmas ornaments are just the thing. Imagine...

by Lois Capone
October 28, 2025
10 Holiday Plant Gifts That Bring Cheer and Greenery
Diy Project

10 Holiday Plant Gifts That Bring Cheer and Greenery

Last year, I gave my friends tiny potted evergreens instead of the usual candles and chocolates. To my surprise, they...

by Lois Capone
October 27, 2025
Load More

Leave a Reply Cancel reply

Your email address will not be published. Required fields are marked *

Recipe Rating


Categories

  • Cleaning (6)
  • Crafty Ideas (179)
  • Decoration (167)
  • DIY (8)
  • Diy Project (258)
  • GARDEN (39)
  • Garden Care (64)
  • Garden Guide (140)
  • Garden Ideas (358)
  • Garden Tips (144)
  • Guide (687)
  • HOME (90)
  • Tips & Hacks (22)


Garden & Crafty - Garden, DIY, Home

© 2024 gardenandcrafty.com

Navigate Site

  • About Us
  • Privacy Policy
  • Terms Of Service
  • Disclaimer
  • Cookie Policy
  • Webstories
  • Sitemap

Follow Us

No Result
View All Result
  • GARDEN
    • Garden Tips
    • Garden Guide
    • Garden Care
    • Garden Ideas
  • DIY
    • Diy Project
    • Crafty Ideas
  • HOME
    • Decoration
    • Cleaning
    • Tips & Hacks
  • About Us