If you’re anything like me, adding a homemade touch to winter decor makes the season feel even cozier.
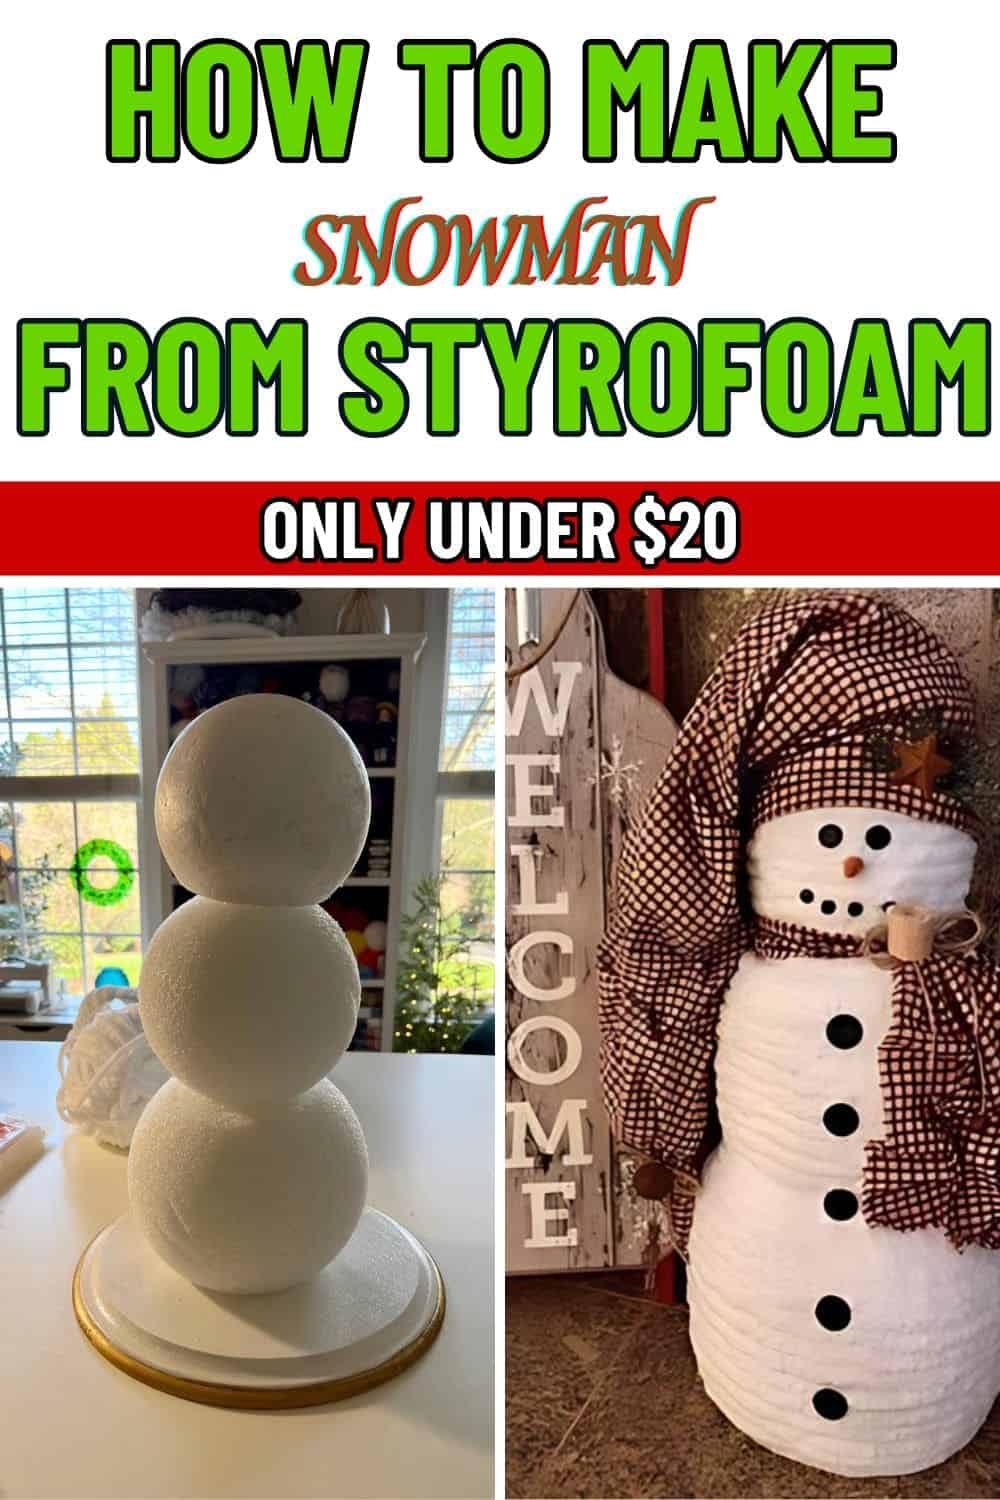
Last year, I tried making a snowman from Styrofoam balls, aiming for a warm, rustic vibe. I ended up with a charming three-tiered snowman, complete with a plaid scarf, floppy hat, and tons of personality.
Here’s a simple guide to making your own rustic snowman, perfect for adding a touch of handcrafted charm to your home.
Materials You’ll Need
First things first, gather your materials. For this snowman, you’ll need:
- Styrofoam balls – three sizes (large, medium, and small).
- Thick white yarn.
- Gingham or plaid fabric.
- Black buttons – medium and smaller sizes.
- Mini black pom-poms.
- Orange felt or clay.
- Hot glue gun.
- Optional decorations – small bells, pinecones, or rustic stars.
Guide on Making A Snowman From Styrofoam Balls
Step 1: Preparing and Stacking the Styrofoam Balls
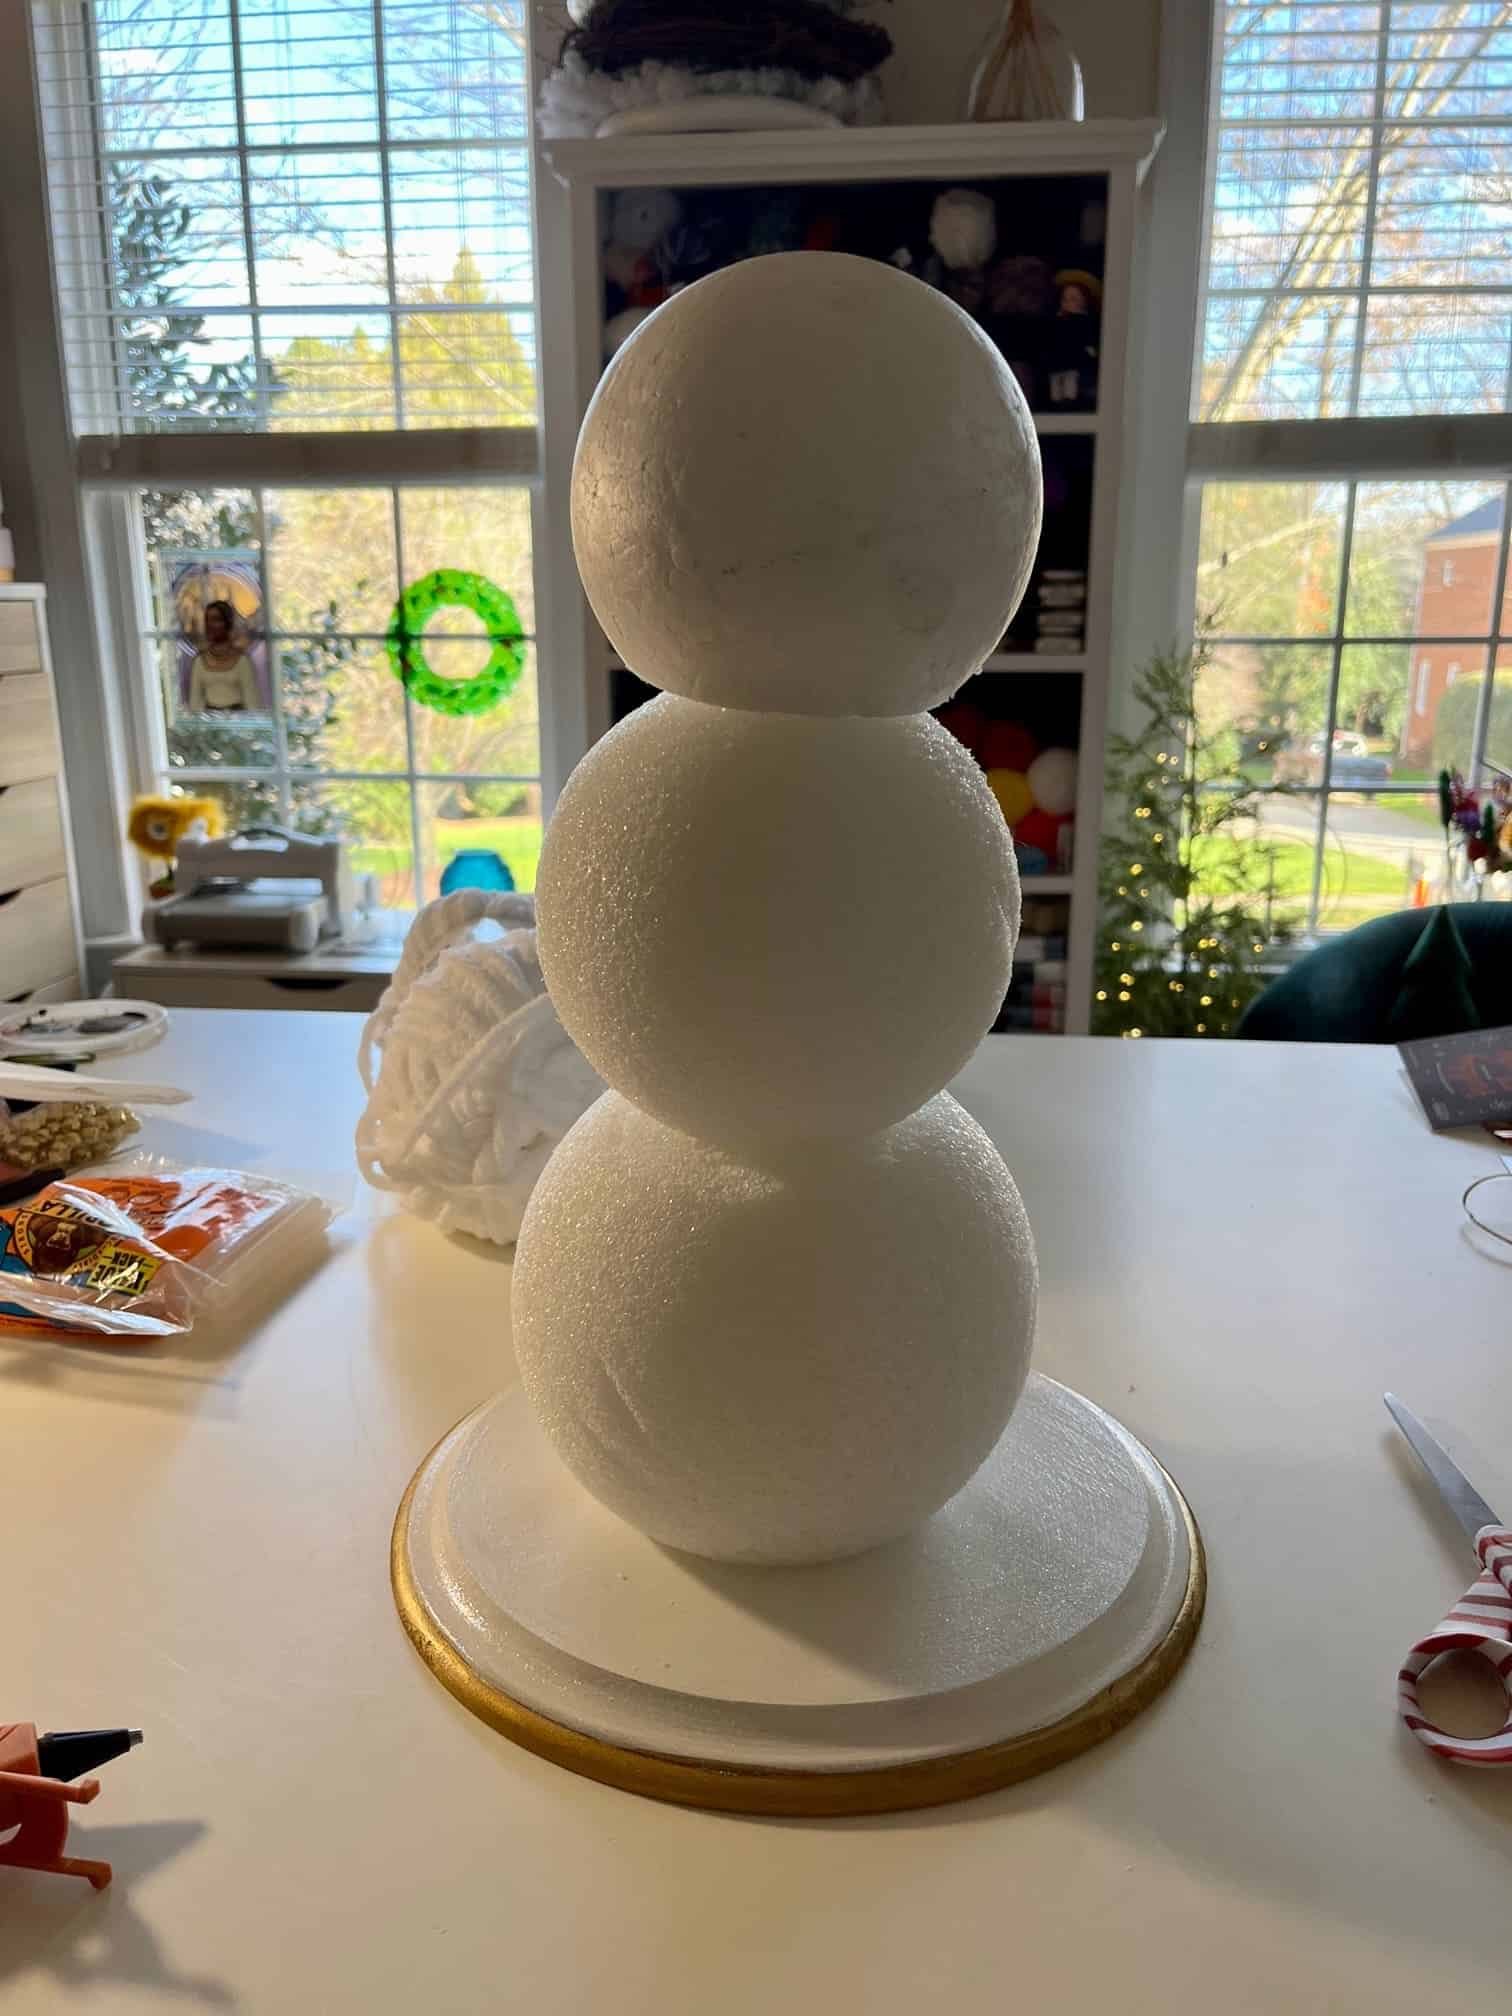
You choose three sizes to form the snowman’s body: large for the bottom, medium for the middle, and small for the head, then stack them vertically from largest to smallest to form the snowman shape.
You need to use a wooden dowel or toothpicks to secure the balls, adding a small amount of hot glue between each layer to make sure they stay in place.

Step 2: Wrapping the Balls with Yarn
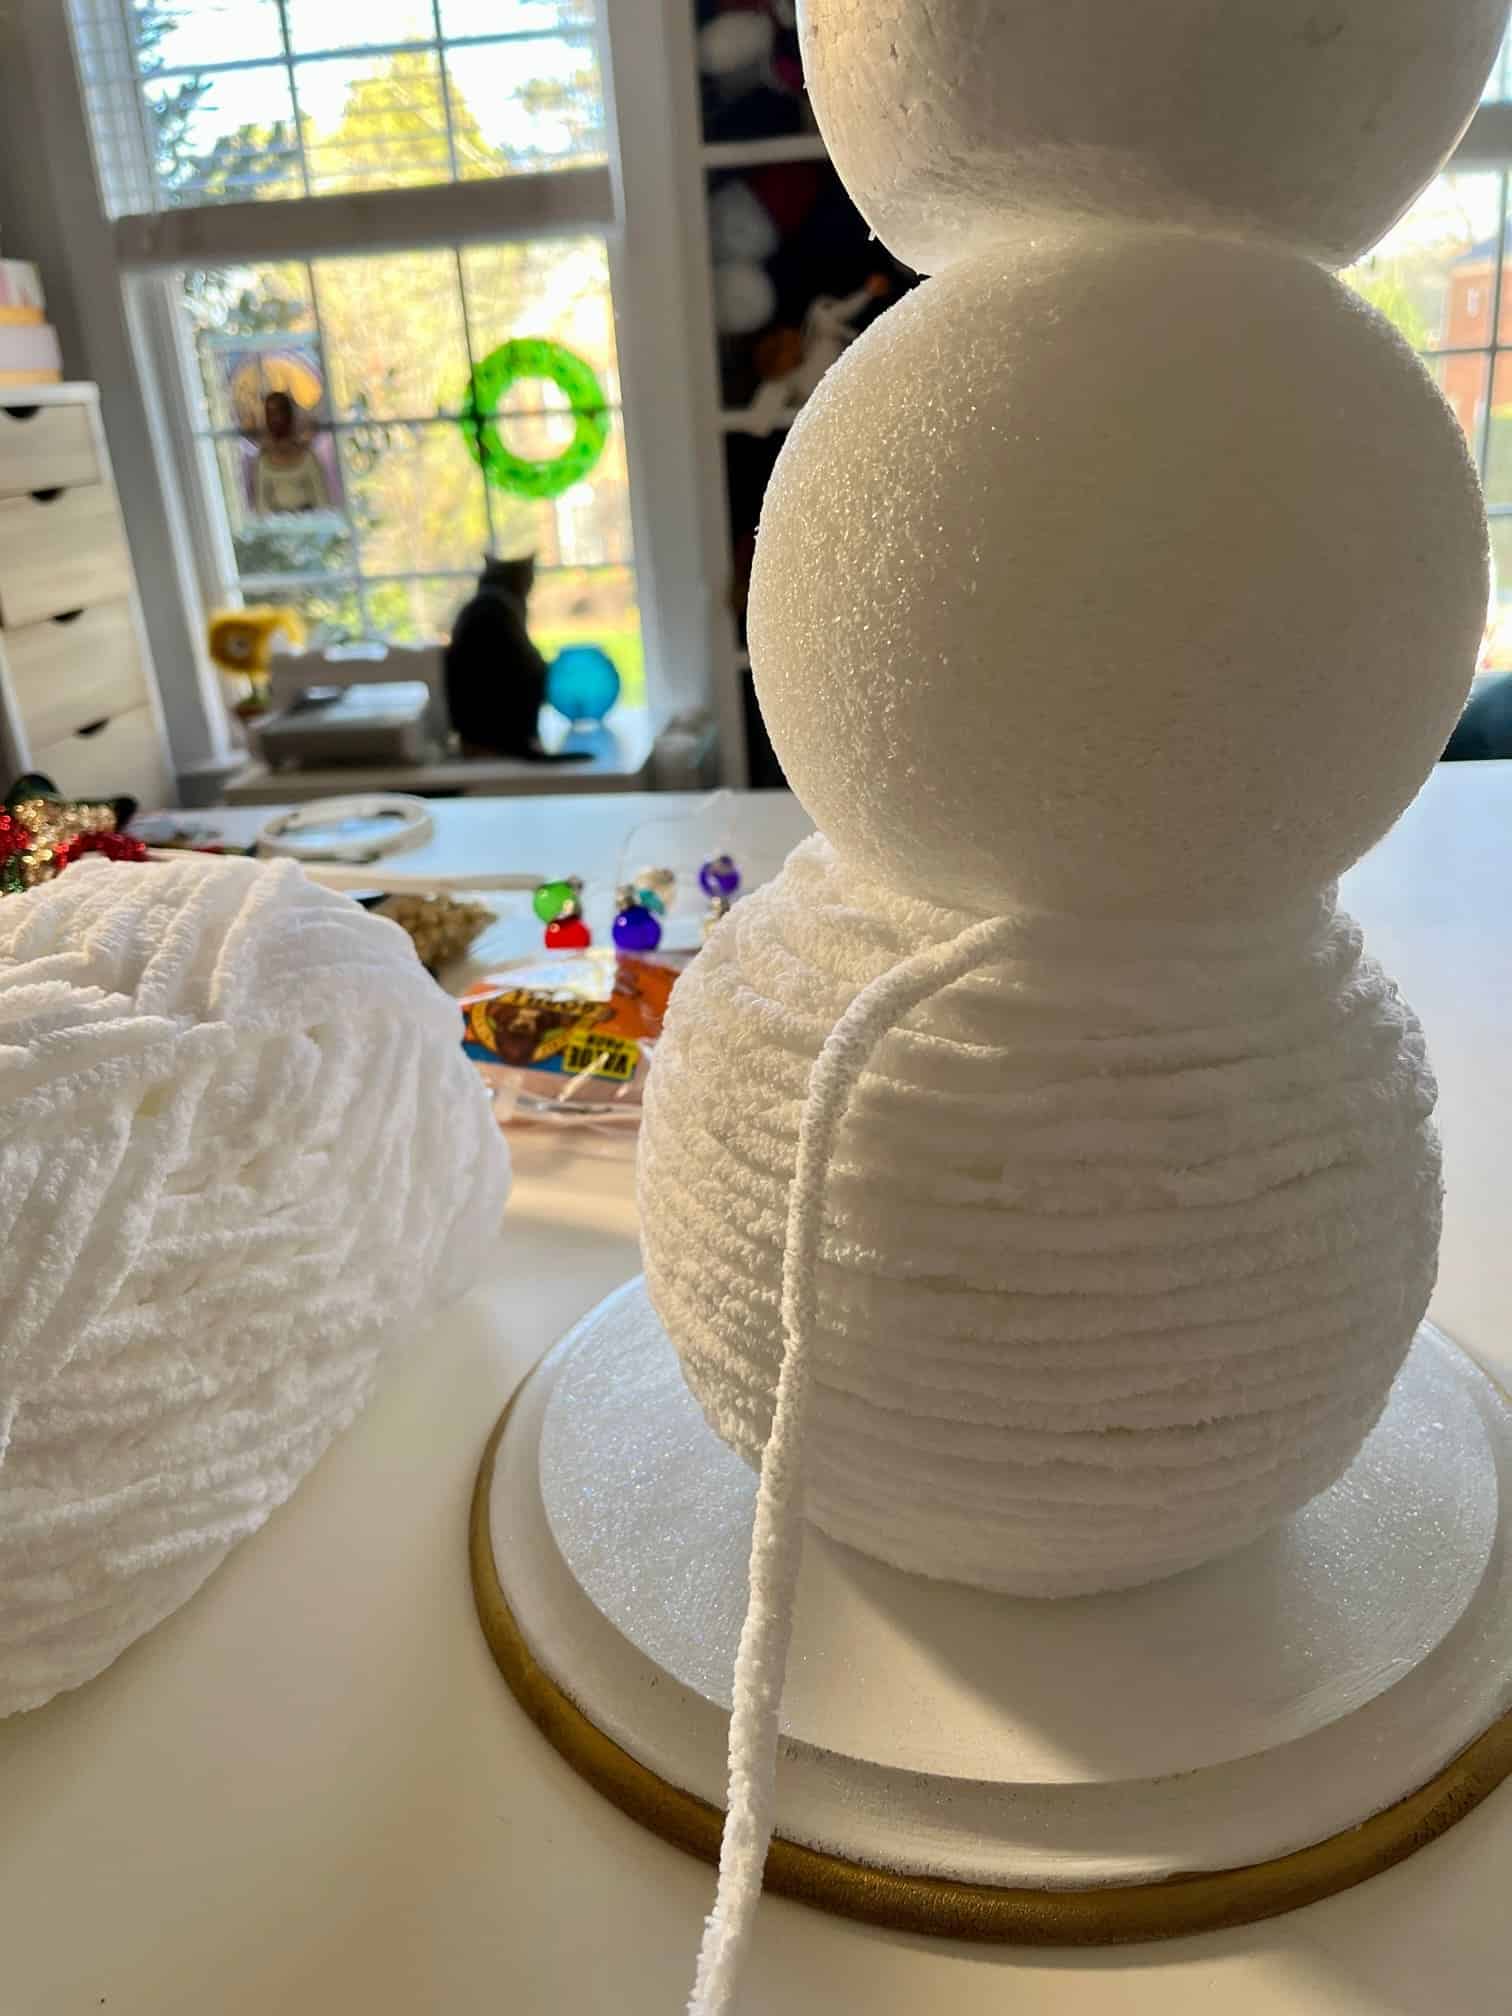
Now, take your thick white yarn and start wrapping each Styrofoam ball individually. Begin at the bottom and use a bit of hot glue to secure the end of the yarn to the Styrofoam.
Continue wrapping until the entire surface of each Styrofoam ball is hidden beneath the yarn, securing the end with glue.

Step 3: Adding the Snowman’s Face
Once the yarn wrapping is complete, start by attaching two small black buttons or pom-poms for eyes. Place them on the upper part of the head, gluing them securely.
For the nose, shape a tiny cone from orange felt or clay to resemble a carrot, and glue it below the eyes.
You use small black pom-poms or buttons to create a smiling mouth, then arrange them in a curve below the nose for a friendly expression.
Step 4: Decorating with Buttons, Scarf, and Hat
To dress up your snowman, glue three black buttons down the center of the middle ball to look like coat buttons.
For the scarf, cut a strip of gingham or plaid fabric, then wrap it around the “neck” between the head and middle sections. Tie it in a knot or a cute little bow, allowing the ends to hang down naturally for that rustic, cozy look.
If you want to add a hat, take a small piece of fabric and wrap it around the top ball as a beanie or floppy hat. You can secure it with a dab of glue and add a tiny rustic embellishment like a star, bell, or pinecone for a fun, festive look.
Step 5: Adding Final Details and Displaying Your Snowman
To add a final touch, you can glue tiny embellishments to the hat or scarf, such as a small pinecone or jingle bell.
This cozy, yarn-wrapped snowman would look beautiful on a mantel, entryway table, or even as a holiday centerpiece.


