Garden & Crafty - Garden, DIY, Home
  • GARDEN
    • Garden Tips
    • Garden Guide
    • Garden Care
    • Garden Ideas
  • DIY
    • Diy Project
    • Crafty Ideas
  • HOME
    • Decoration
    • Cleaning
    • Tips & Hacks
  • About Us
  • GARDEN
    • Garden Tips
    • Garden Guide
    • Garden Care
    • Garden Ideas
  • DIY
    • Diy Project
    • Crafty Ideas
  • HOME
    • Decoration
    • Cleaning
    • Tips & Hacks
  • About Us
No Result
View All Result
Garden & Crafty - Garden, DIY, Home
Home DIY Diy Project

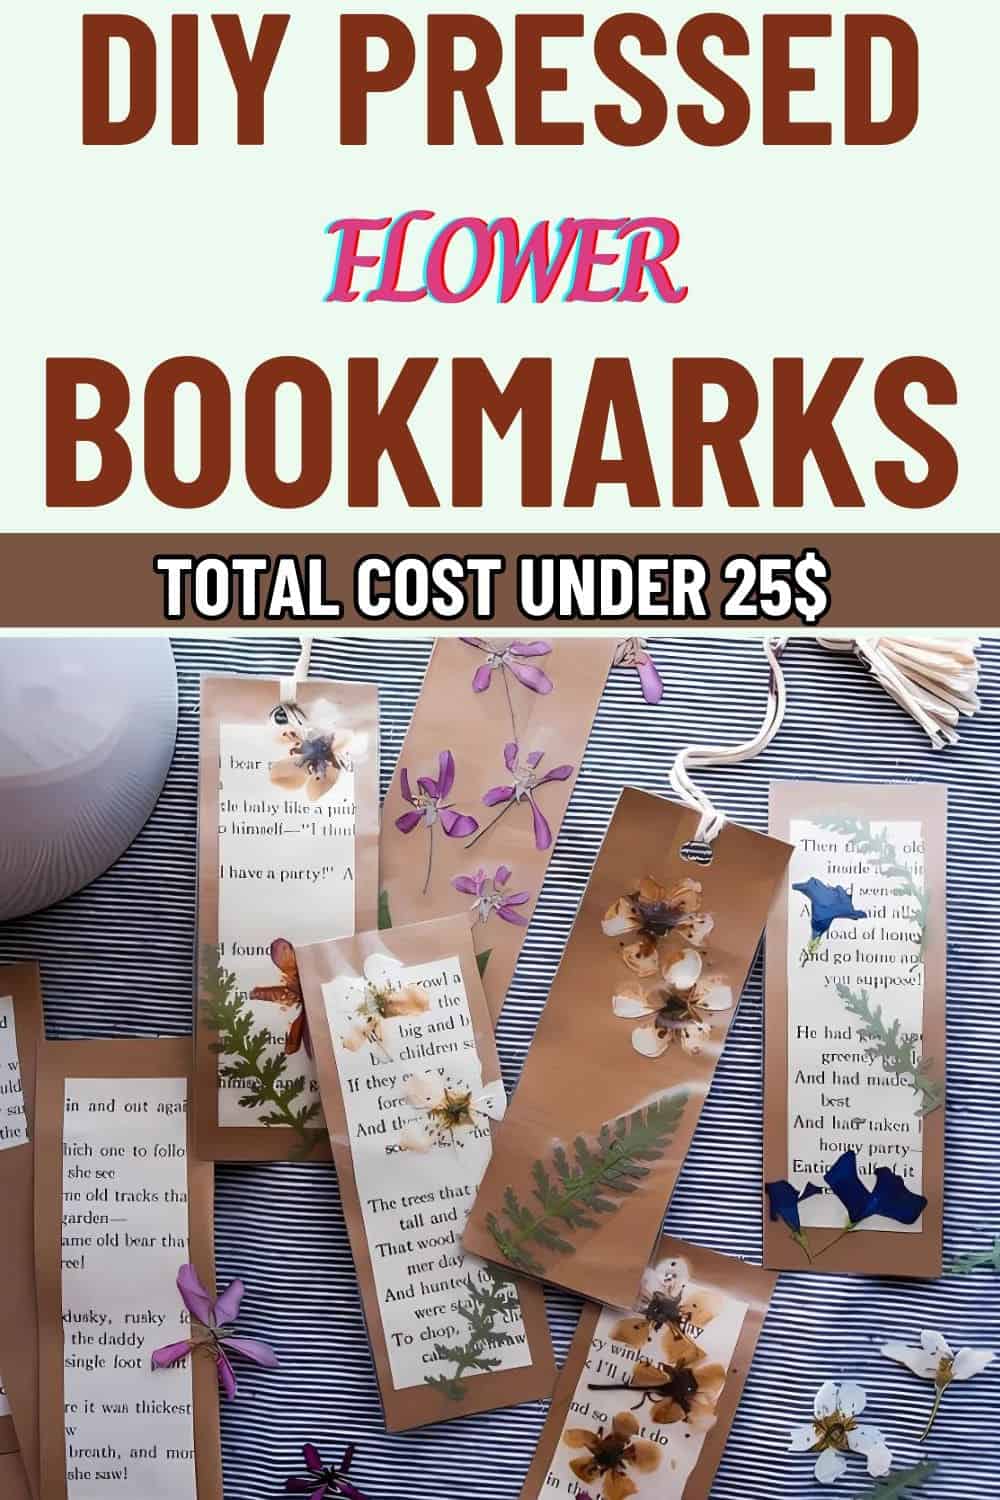
How to Make Pressed Flower Bookmarks In Just 4 Steps

Lois Capone by Lois Capone
October 4, 2024
in Diy Project
Reading Time: 2 mins read

IN THIS ARTICLE:

Toggle
  • Materials Needed
  • Step-by-Step Instructions

I believe there’s something a little heartbreaking about throwing away beautiful flowers, every time they begin to wilt, it feels wasteful.

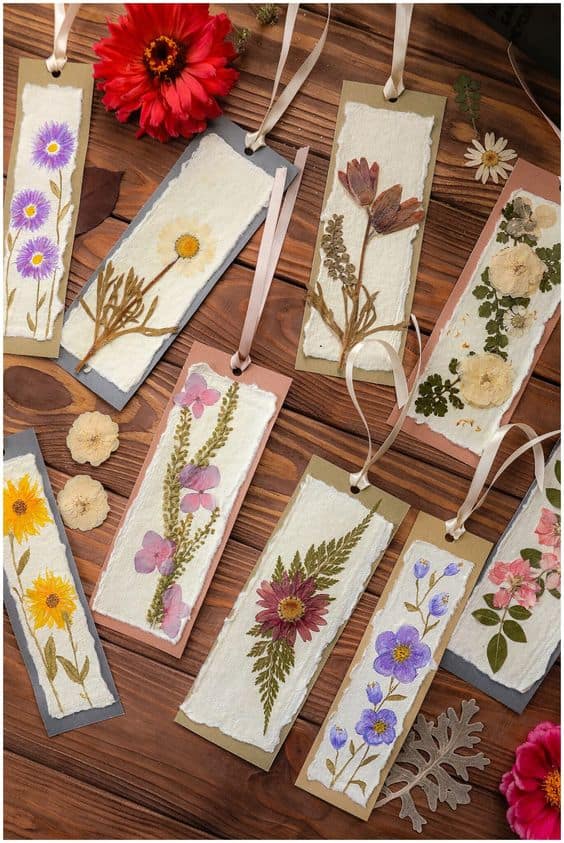
That’s why I decided to find a way to preserve their beauty, and I came across a fantastic idea – pressed flower bookmarks.

Today, I’m excited to share how I made these stunning bookmarks, and hopefully, it will inspire you to give your flowers a second life too!


Materials Needed

You’ll need:

  • Fresh flowers (I used pansies, daisies, and a few ferns)
  • Wax or parchment paper.
  • Heavy books.
  • Scissors.
  • Cardstock or watercolor paper.
  • Clear-drying craft glue (I went with mod podge).
  • Laminating sheets.
  • Optional: Hole punch and ribbon or twine for decoration.


Step-by-Step Instructions

Step 1: Pressing the Flowers
Pressing the Flowers

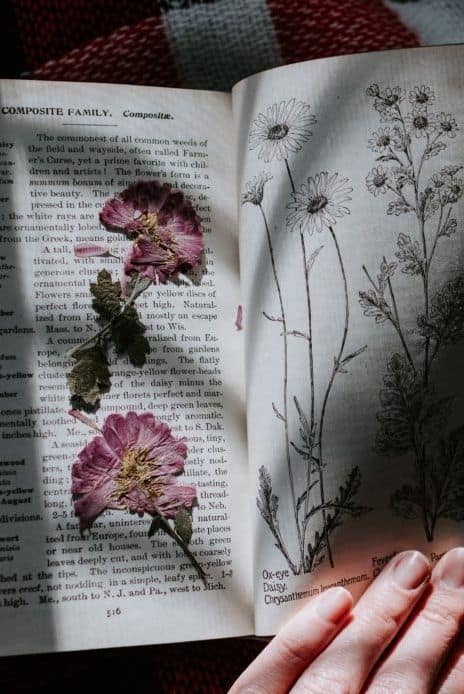
I started by collecting flowers that were just about to wilt. After drying them off, I placed the flowers between sheets of wax paper, then sandwiched them inside a heavy book.

To ensure they pressed evenly, I stacked a few more books on top and left them for about two weeks.


Step 2: Preparing the Bookmark Base
Preparing the Bookmark Base

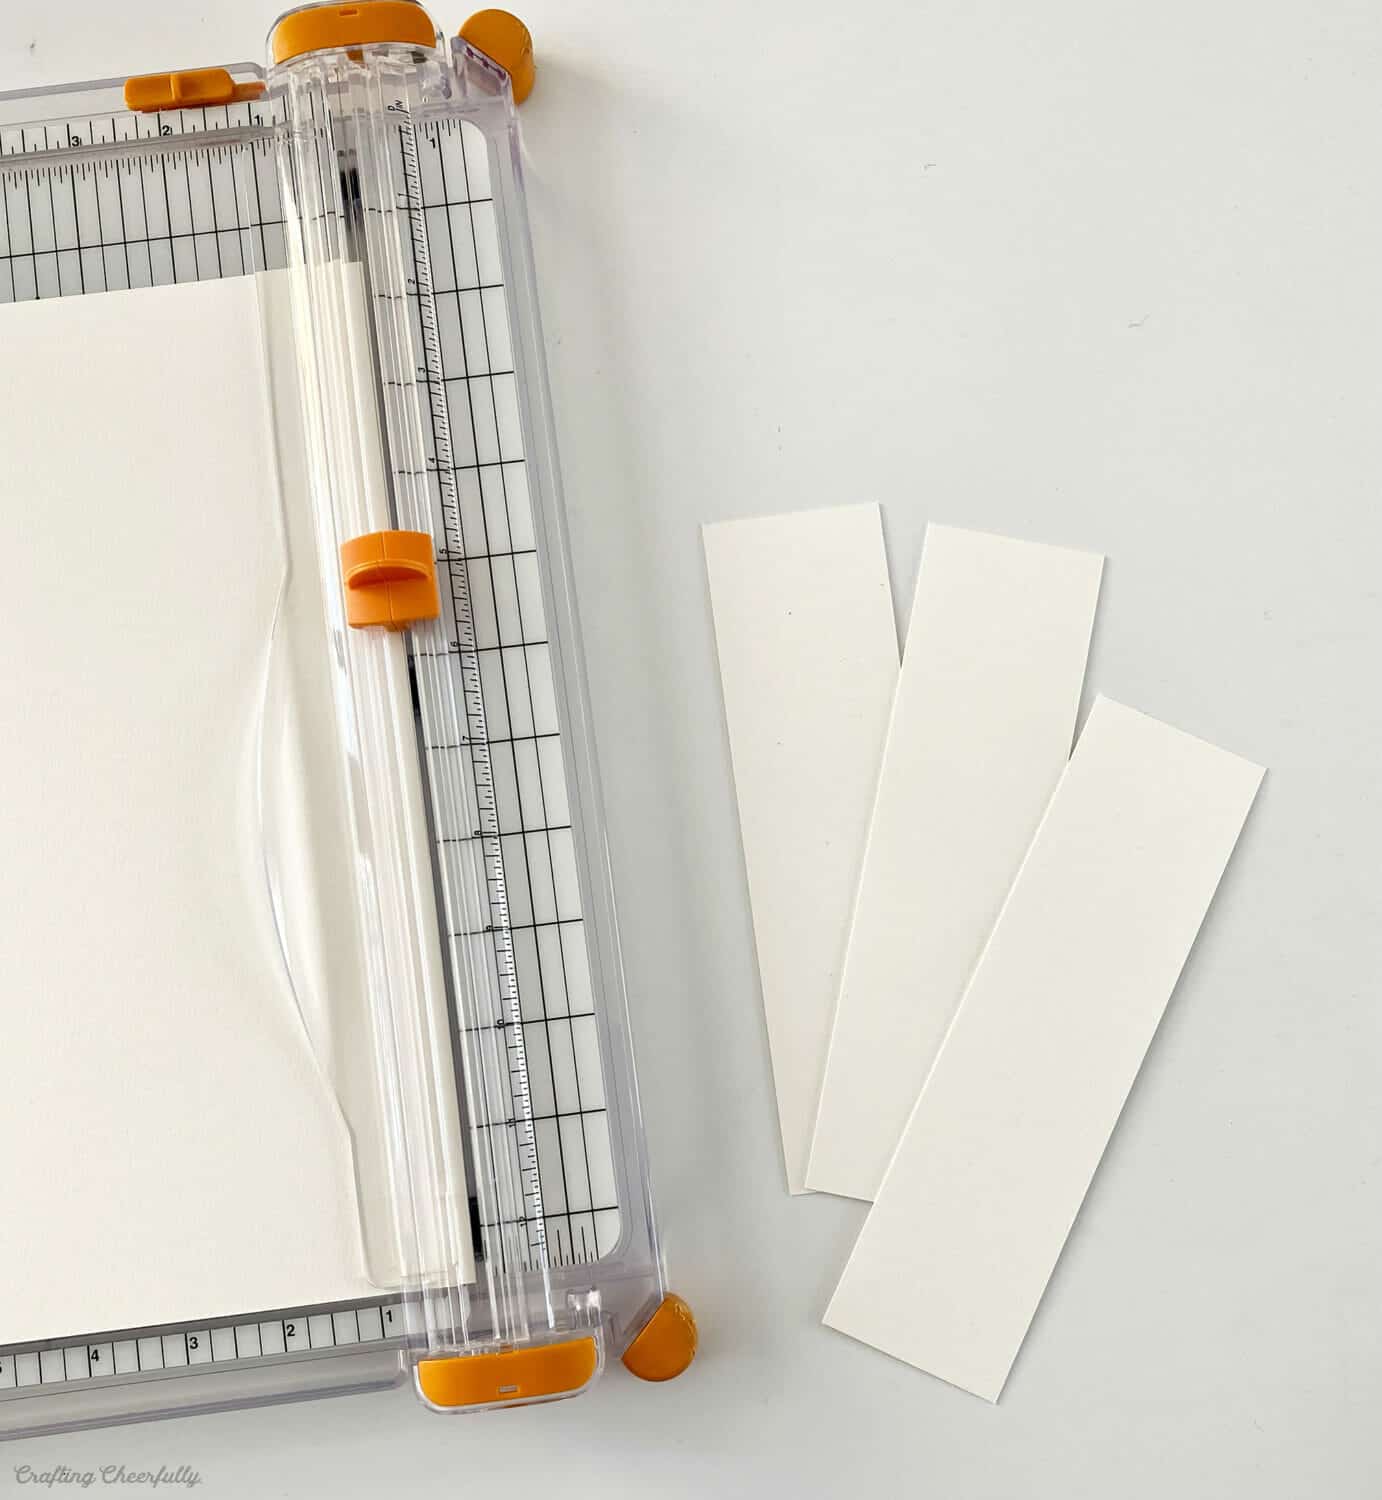
While waiting for the flowers to press, I cut out the bookmark bases. I used watercolor paper since it’s thick and sturdy.

I cut them into 2” by 6” pieces, but you can choose any size you like.


Step 3: Arranging and Gluing the Flowers
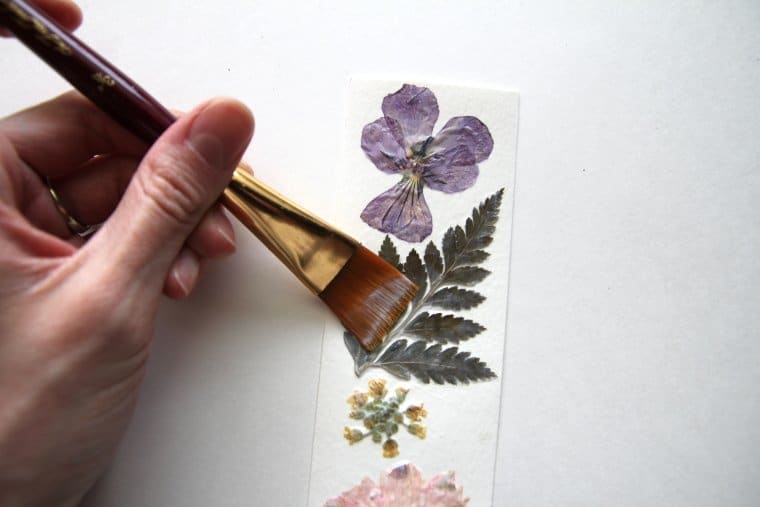
Arranging and Gluing the Flowers

I found it helpful to lay out different designs before gluing anything down.

Once I liked the arrangement, I brushed a bit of glue onto the back of each flower and pressed them onto the paper.


Step 4: Sealing the Bookmark
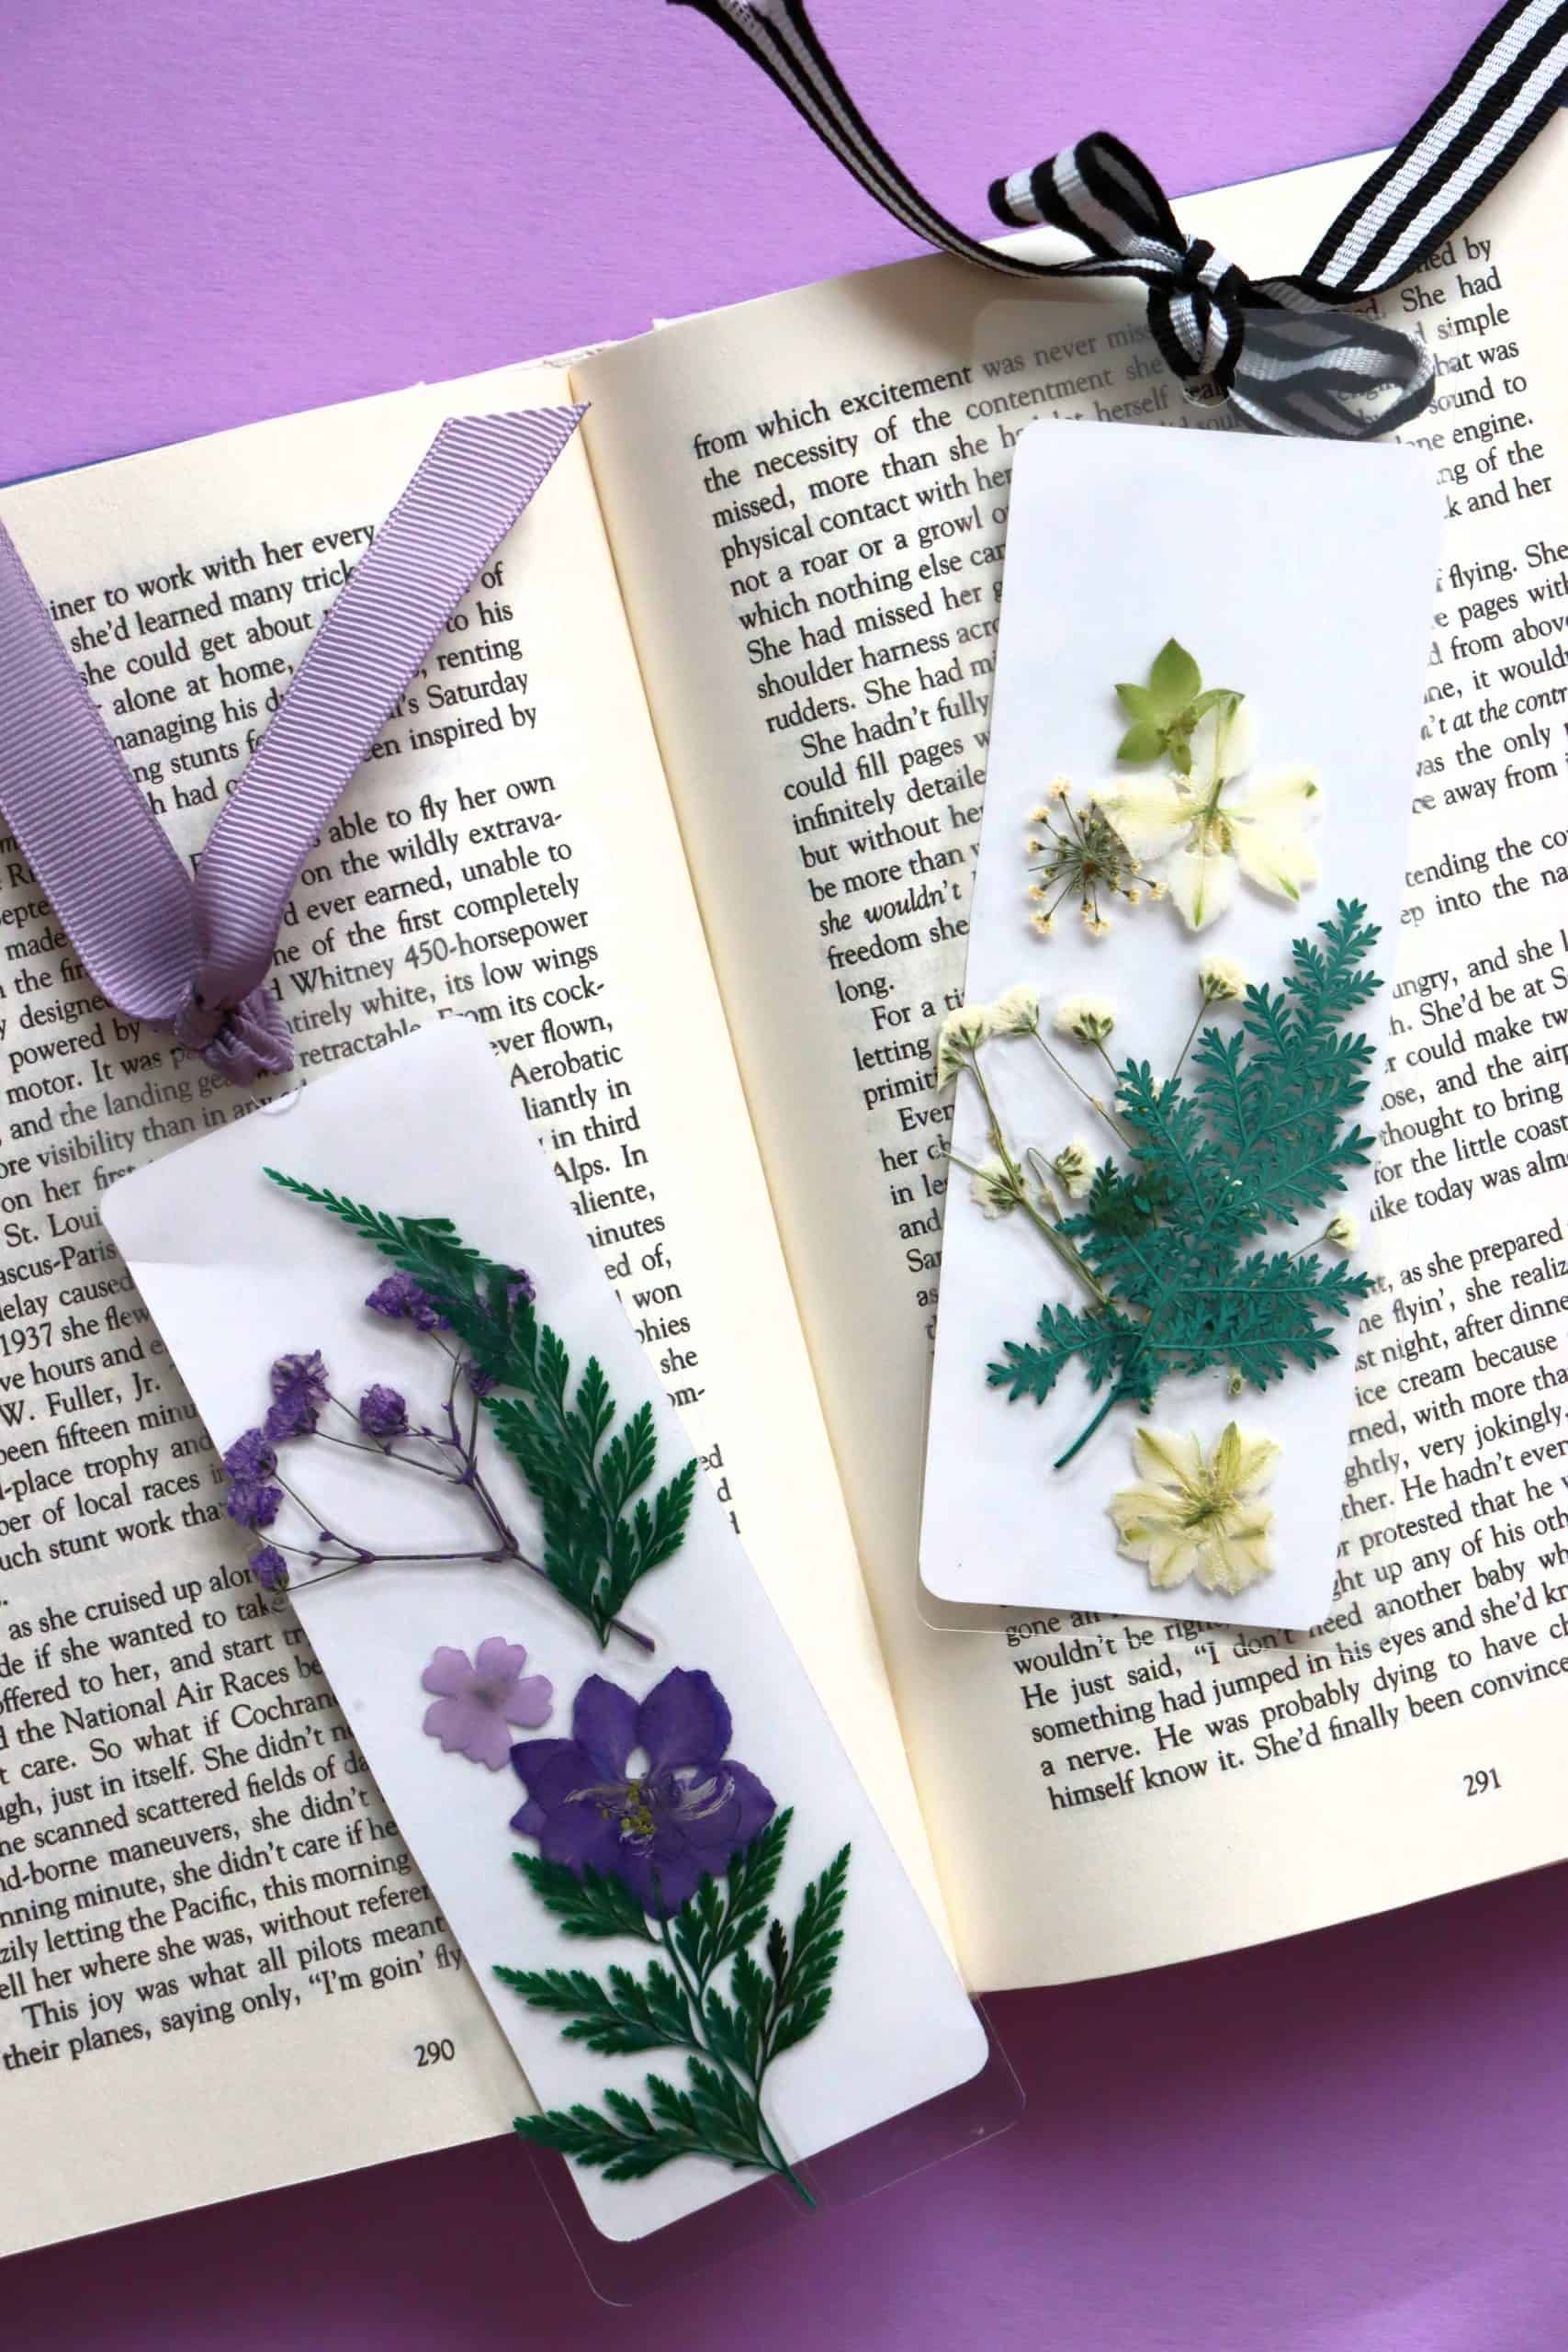
Sealing the Bookmark

To keep the flowers protected, I sealed the bookmarks with self-adhesive laminating sheets. You can also use a laminator if you have one.

After trimming the edges, you can also add a hole punch at the top and tied on some twine to give the bookmarks a little extra charm.
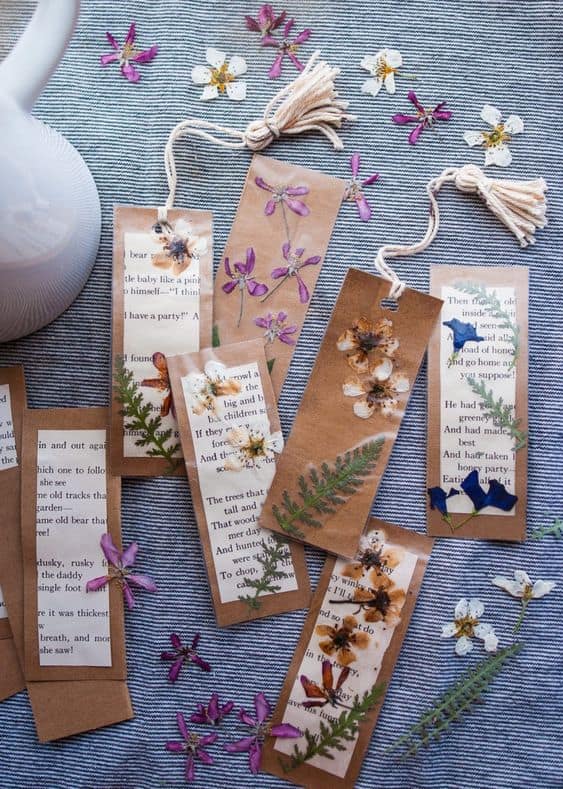
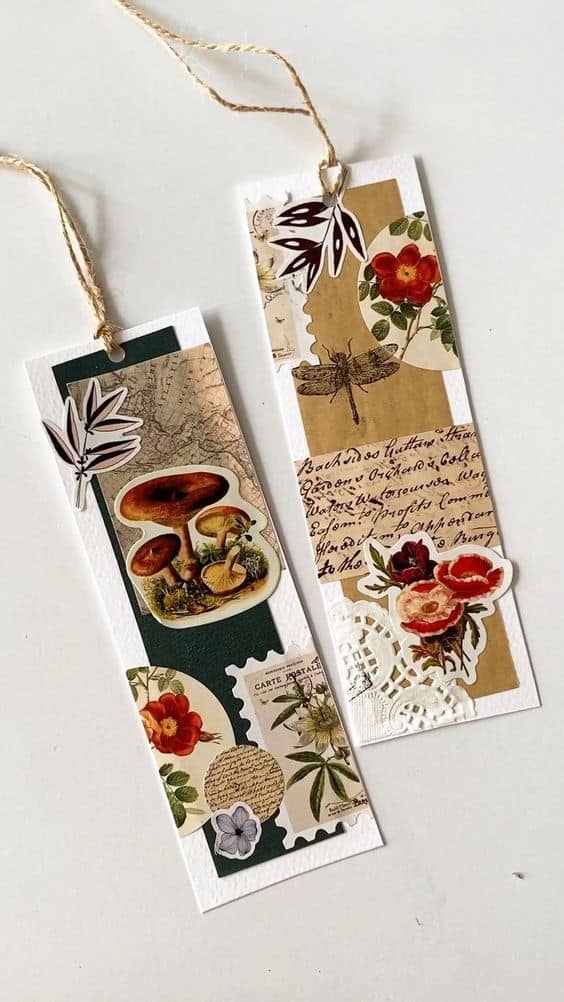
How to Make Pressed Flower Bookmarks In Just 4 Steps

How to Make Pressed Flower Bookmarks In Just 4 Steps

How to Make Pressed Flower Bookmarks In Just 4 Steps


DIY Pressed Flower Bookmarks in Just 5 Steps
DIY Pressed Flower Bookmarks in Just 4 Steps
Tags: flower bookmark
SharePin3
Lois Capone

Lois Capone

Lois Capone is a wife and mom in her 50s who enjoys sharing gardening, DIY tips, and home decor ideas. She believes that with some inspiration, anyone can create a special feel in their home and garden.

Related Posts

20 Creative Galvanized Tub Makeovers You’ll Want to Try Immediately
Diy Project

20 Creative Galvanized Tub Makeovers You’ll Want to Try Immediately

Rusty, rugged, and often forgotten, old galvanized tubs might not look like much at first glance. But with a little...

by Lois Capone
June 9, 2025
23 DIY Hanging Solutions Perfect for Jewelry, Keys, and Accessories
Diy Project

23 DIY Hanging Solutions Perfect for Jewelry, Keys, and Accessories

Tired of tangled necklaces, missing keys, or accessories scattered everywhere? These three DIY hanging solutions are the perfect fix—and they’re...

by Lois Capone
June 9, 2025
22 Brilliant Ways to Repurpose Old Picture Frames Into Stunning Decor
Diy Project

22 Brilliant Ways to Repurpose Old Picture Frames Into Stunning Decor

Before you toss that old picture frame, take a second look because it might just become your next favorite piece...

by Lois Capone
June 9, 2025
From Drawers to Decor: 21 Genius Old Dresser Makeovers
Diy Project

From Drawers to Decor: 21 Genius Old Dresser Makeovers

Before you haul that bulky old dresser to the curb, pause for a second because it might just be your...

by Lois Capone
June 8, 2025
22 Creative Ways to Upcycle Old Coins and Pennies Into Stunning DIY Projects
Crafty Ideas

22 Creative Ways to Upcycle Old Coins and Pennies Into Stunning DIY Projects

Ever wondered what to do with that jar of old coins collecting dust? Turns out, those pennies and forgotten foreign...

by Lois Capone
June 8, 2025
20 Creative Ways to Upcycle Clay Pots Into Something Amazing
Diy Project

20 Creative Ways to Upcycle Clay Pots Into Something Amazing

Clay pots aren’t just for planting anymore, they’re a blank canvas for creativity. Whether you’ve got a stack of chipped...

by Lois Capone
June 9, 2025
Load More

Leave a Reply Cancel reply

Your email address will not be published. Required fields are marked *

Categories

  • Cleaning (10)
  • Crafty Ideas (67)
  • Decoration (132)
  • DIY (8)
  • Diy Project (74)
  • GARDEN (39)
  • Garden Care (45)
  • Garden Guide (102)
  • Garden Ideas (287)
  • Garden Tips (72)
  • HOME (90)
  • Tips & Hacks (20)
Garden & Crafty - Garden, DIY, Home

© 2024 gardenandcrafty.com

Navigate Site

  • About Us
  • Privacy Policy
  • Terms Of Service
  • Disclaimer
  • Cookie Policy
  • Webstories
  • Sitemap

Follow Us

No Result
View All Result
  • GARDEN
    • Garden Tips
    • Garden Guide
    • Garden Care
    • Garden Ideas
  • DIY
    • Diy Project
    • Crafty Ideas
  • HOME
    • Decoration
    • Cleaning
    • Tips & Hacks
  • About Us