As autumn sets in and the leaves turn golden, there’s no better way to welcome the season than by crafting a beautiful DIY lighted pumpkin basket.
This charming project not only brightens up your space but also adds that perfect touch of fall elegance.
Let’s jump right in and create a stunning fall centerpiece that will surely become the heart of your seasonal decor!
Materials Needed
Here are materials to make your lighted fall pumpkin basket:
- Galvanized bucket or rustic container
- Faux or real pumpkins (various sizes)
- Faux fall leaves
- Mini lights
- Old newspapers
- Linen tea towel (optional)
Step-by-Step Guide
Step 1: Prepare the Base
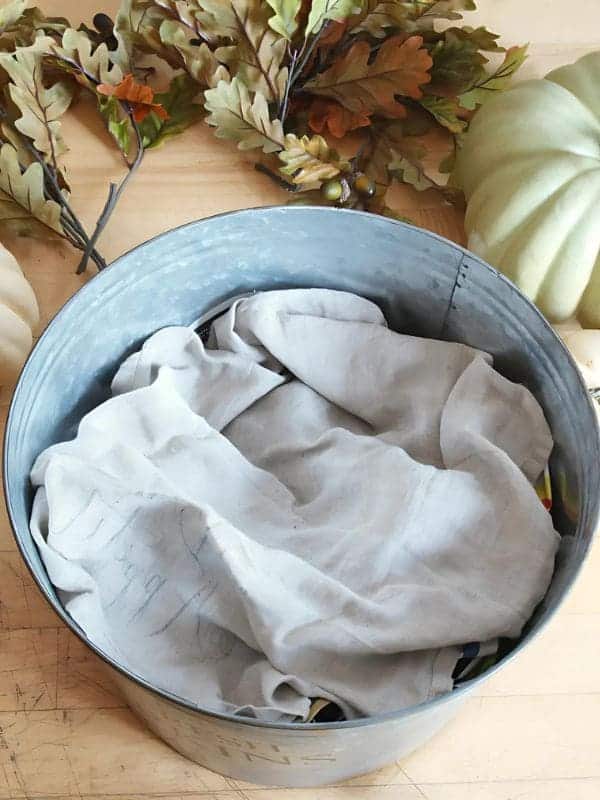
If you’re using a deep bucket, crumple up old newspapers and fill the bottom to help prop up your pumpkins so they’re visible and beautifully arranged.
Then you only need to cover the papers with a linen tea towel to keep things neat and cozy.
Step 2: Arrange the Pumpkins
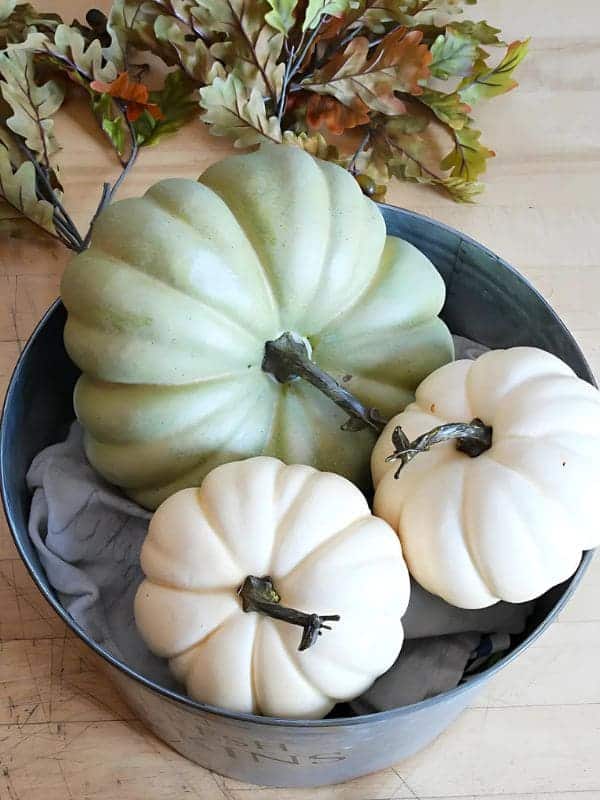
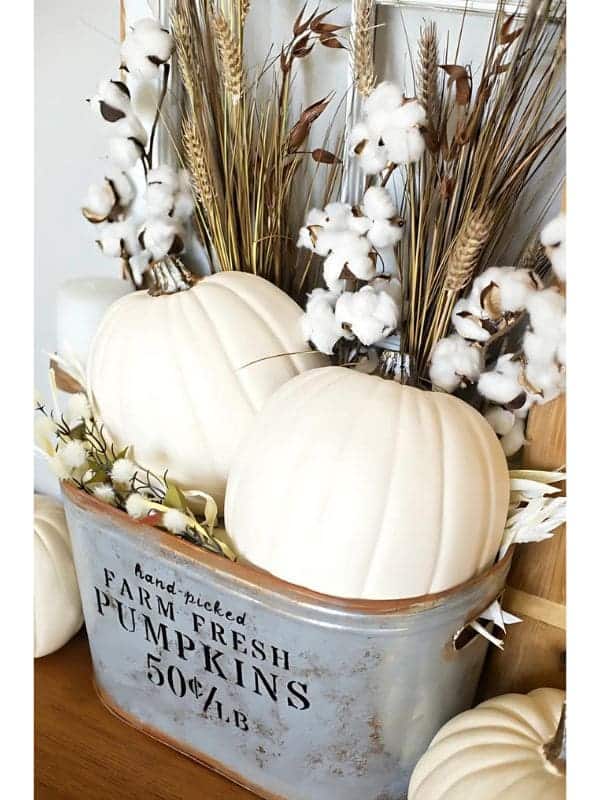
Now, you place the largest one in the center or at the back of the bucket. Then, arrange the smaller pumpkins around it.
Don’t be afraid to rearrange a few times until you’re happy with the setup.
Step 3: Add the Faux Leaves
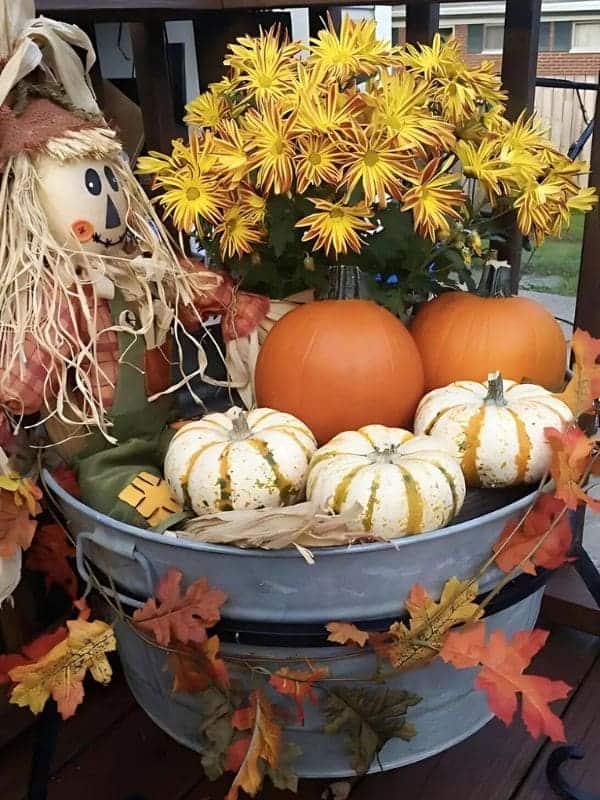
You break the stems into smaller pieces and tuck them between the pumpkins and use the bendable leaves to fill in gaps, adding height and depth.
For an extra touch of nature, I sometimes mix in real leaves from my yard. It’s a small detail, but it makes the arrangement pop!
Step 4: Weave in the Mini Lights
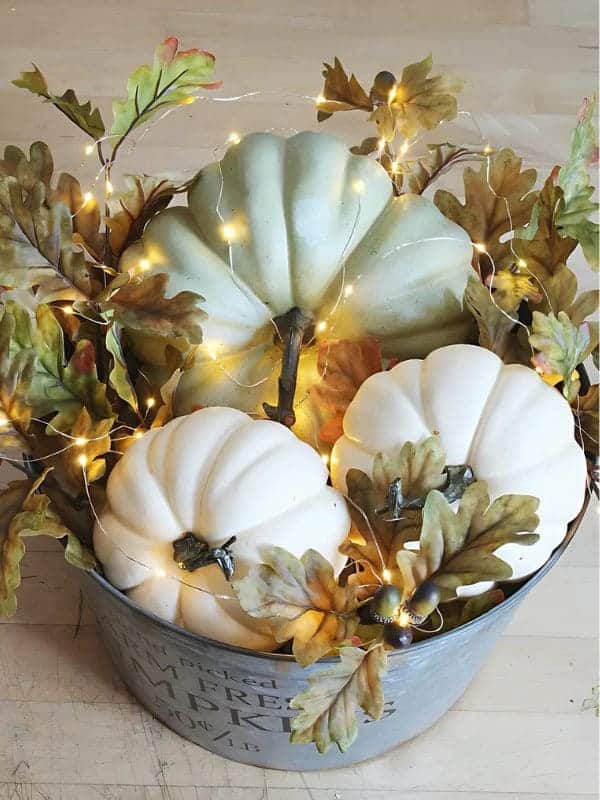
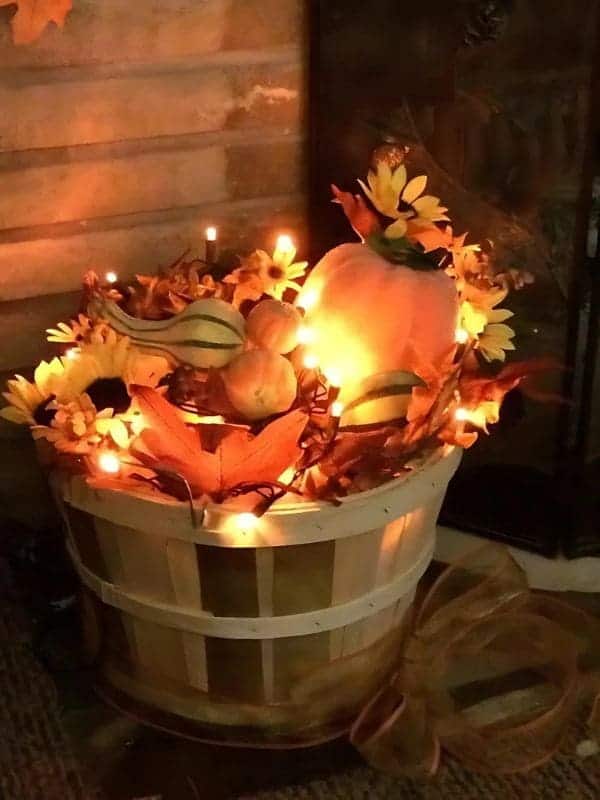
Finally, weave the mini lights throughout the arrangement, tucking them between pumpkins and leaves.
This project takes less than 10 minutes to assemble, and it’s so rewarding to see it light up your space every night.
