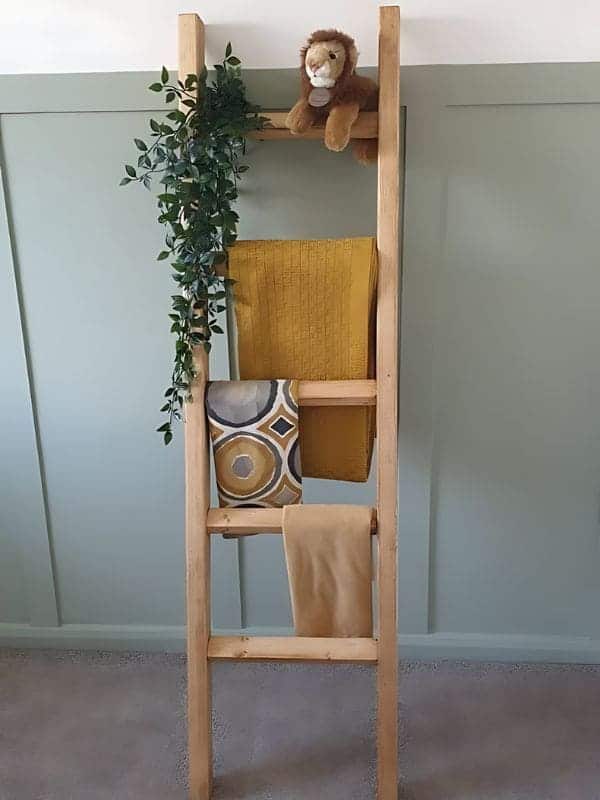
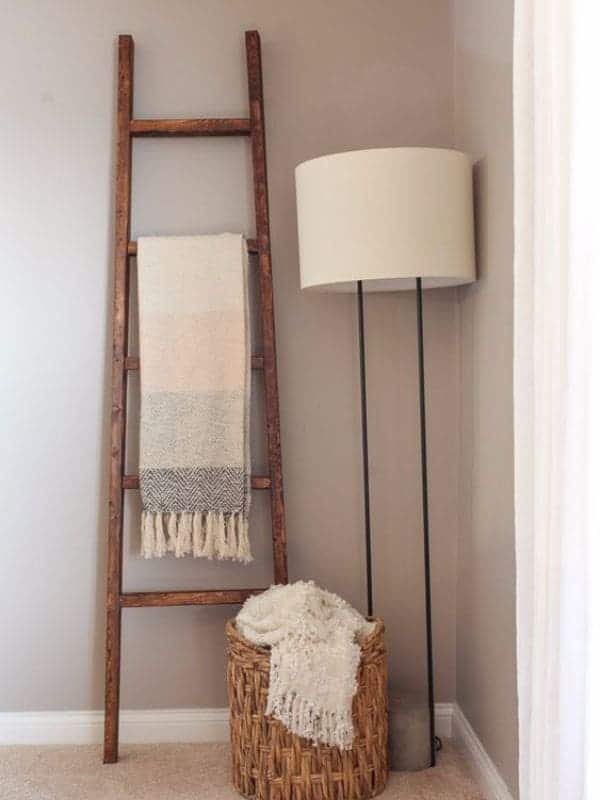
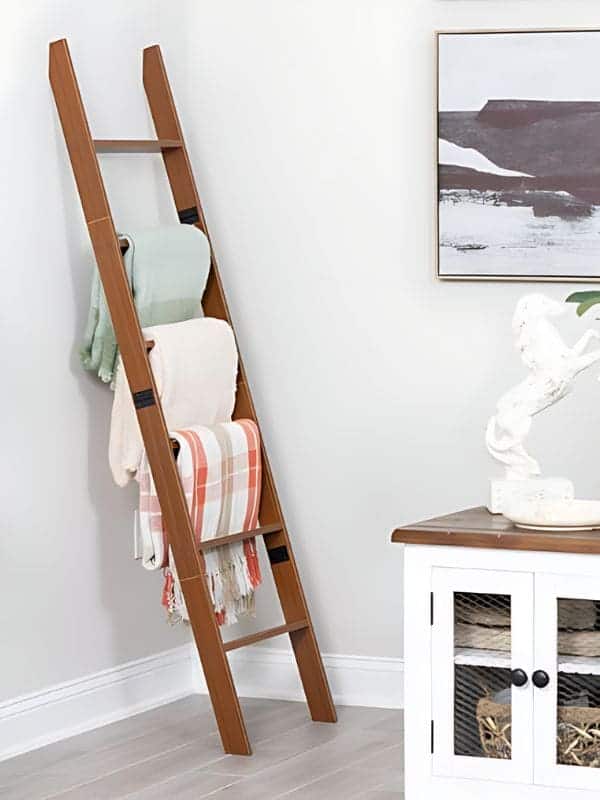
If you want to add both charm and functionality to your home without breaking the bank, this DIY blanket ladder is perfect for you.
With just a few materials costing under $10, you can create a beautiful piece that adds warmth and style to any room.
Whether you’re displaying your favorite blankets or seasonal decor, this budget-friendly project will transform your space and show off your personal style.
Materials Needed
- Furring strips (1 ⅜ x 1 ⅜ inches) – 16 feet total ($4)
- Wood screws – eight 2 ½ inch screws ($2)
- Wood glue – ($2)
- Stain (optional) – ($1 for a small sample pot)
- Felt pads (optional) – ($1 for a pack)
- Non-slip pads (optional) – ($1 for a pack)
How to Make DIY Blanket Ladder
Step 1: Cut the Wood
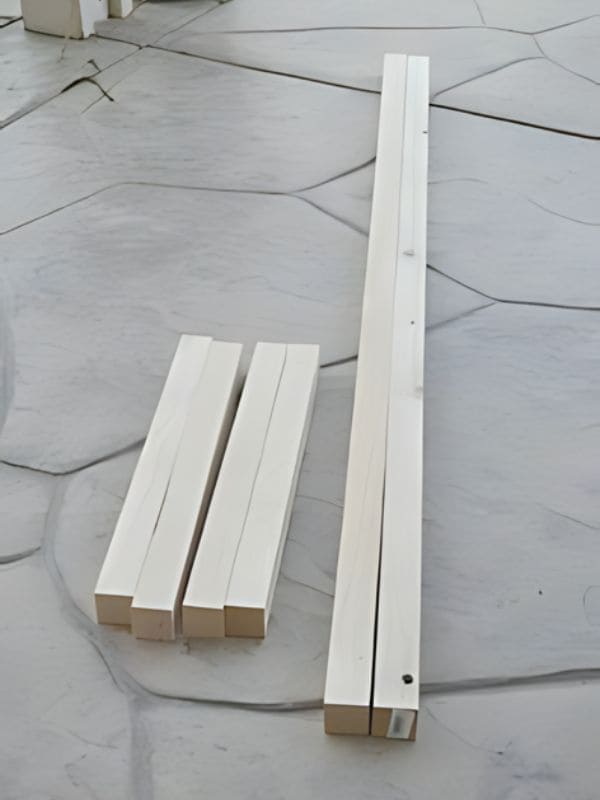
Begin by cutting two 5-foot pieces for the sides of your ladder and four 18-inch pieces for the rungs.
These affordable furring strips cost just a few dollars at any hardware store.
Step 2: Arrange Your Ladder
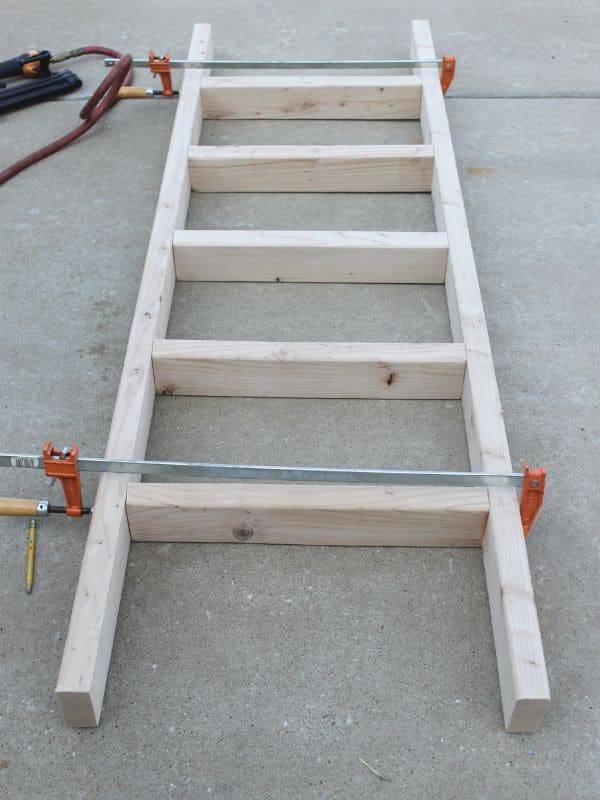
You lay out the pieces on the ground, spacing the rungs about 12 inches apart.
Whether you want a compact or tall ladder, it’s all about your preference, and arranging it first ensures everything fits perfectly.
Step 3: Assemble with Glue and Screws
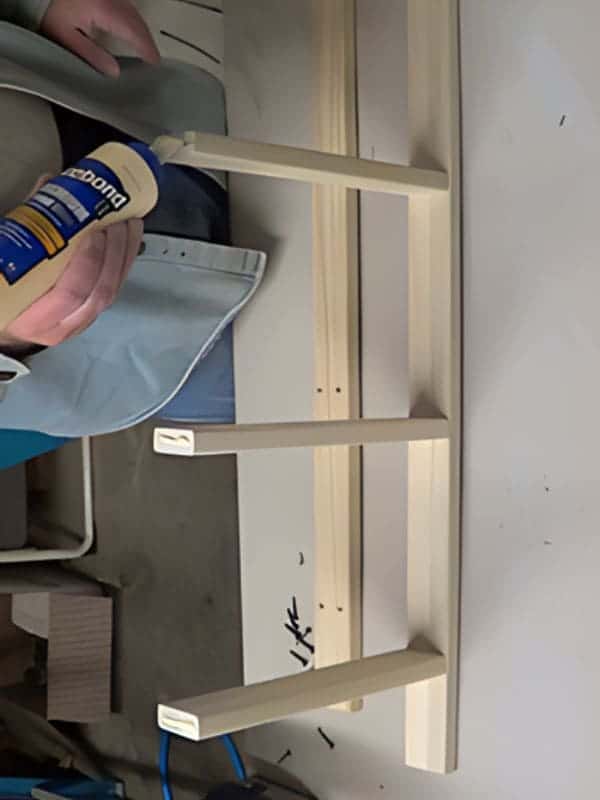
Now you only need to apply wood glue to the ends of the rungs, then secure each rung with wood screws.
Step 4: Optional Stain for Style
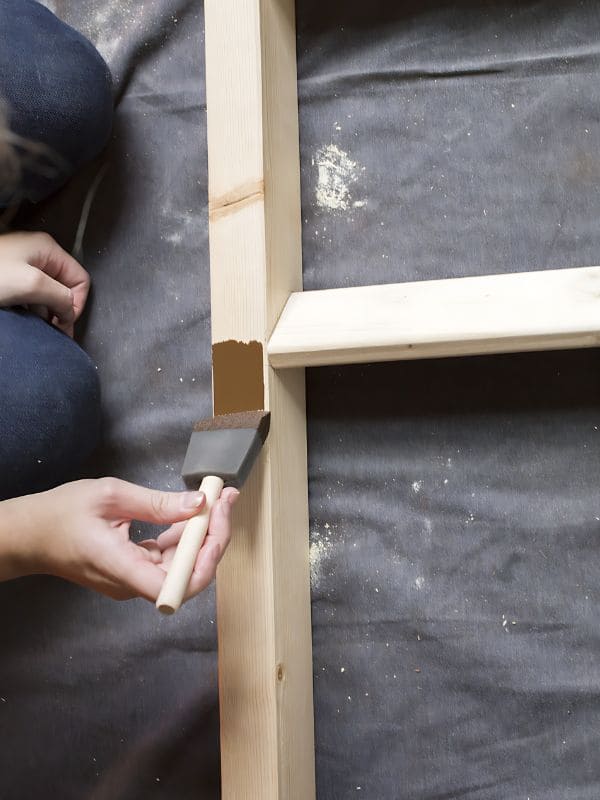
Adding stain can enhance the natural look of the wood.
You can pick a color that suits your home’s decor, test it on a scrap piece of wood, and apply it to your ladder.
Step 5: Style and Enjoy
Tada! Your DIY blanket ladder is complete! Now, drape your favorite throws, towels, or decor over the rungs.
