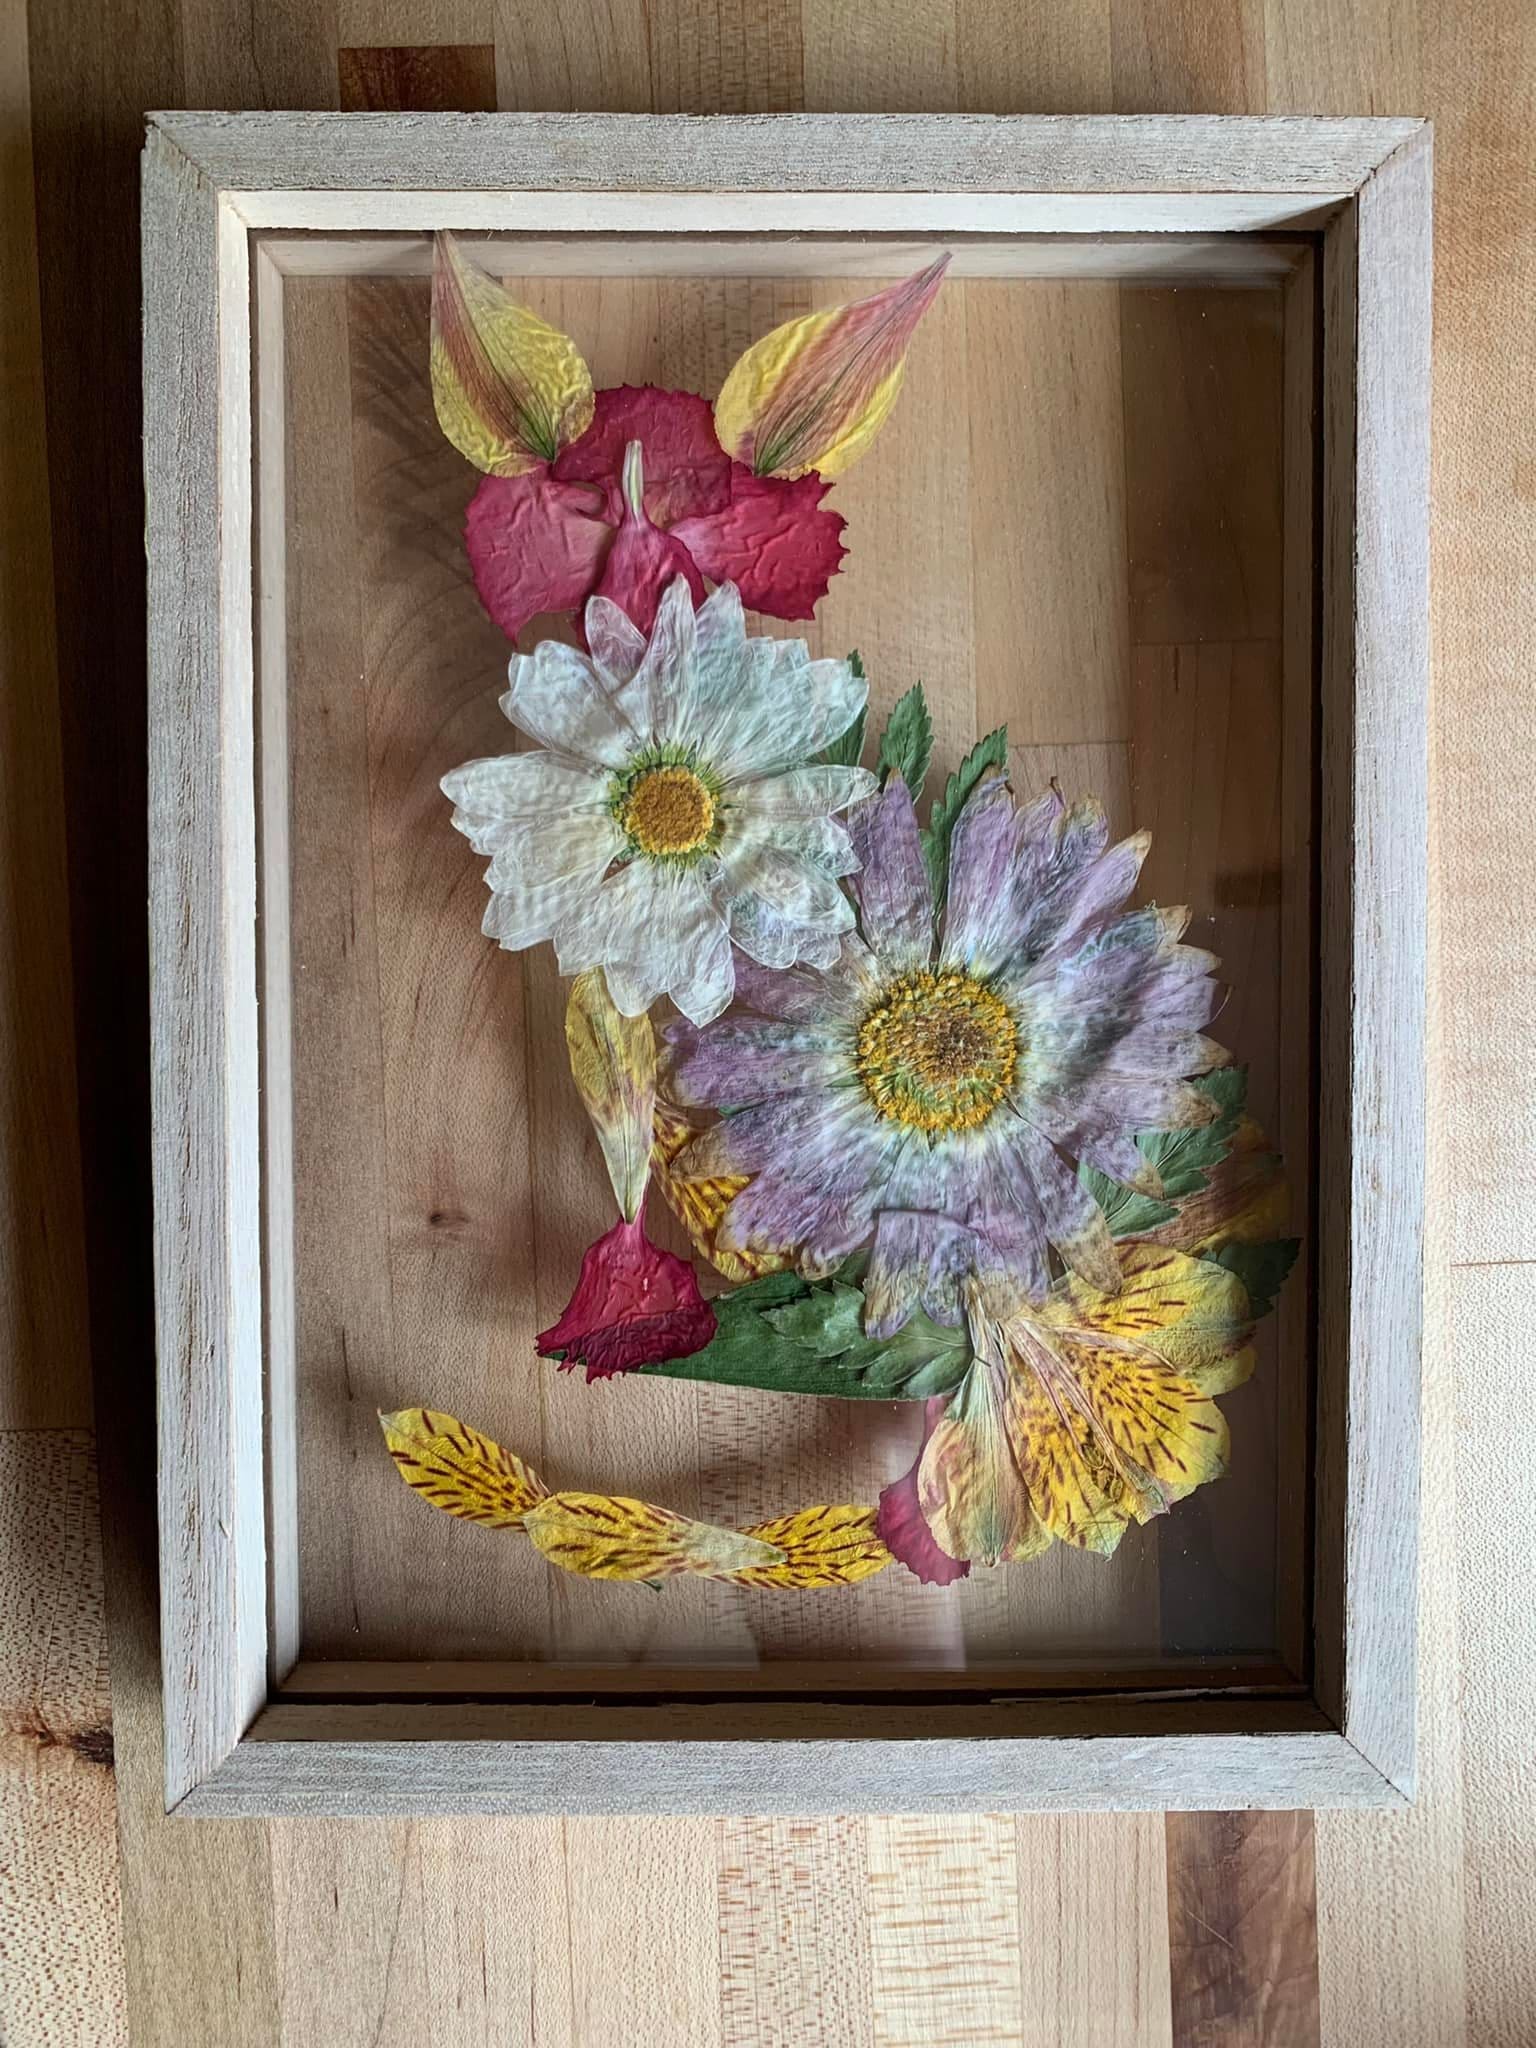
 Have you ever saved flowers from a walk or bouquet, wondering how to make them last forever?
This project turns them into a scene you can treasure every day.
You can see a shadow box lets you arrange petals, stems, and leaves in layers, giving them depth and character.
Instead of hiding your pressed blooms in a book, you display them proudly like a secret garden framed in wood and glass.
Materials Needed
- 1 wooden shadow box frame (8”×10” or 10”×12” works beautifully)
- Pressed flowers and leaves (15-20 mixed petals in varied colors and sizes)
- Plain background paper (white, cream, or wood grain texture)
- Craft glue (clear-drying, acid-free)
- Fine-tipped tweezers
- Small paintbrush
- Scissors
Step-by-step Guide
Step 1: Open your shadow box and cut a background paper to fit snugly inside. Light neutrals allow flower colors to shine the best.
Step 2: Lay out your pressed flowers before gluing. Play with arrangements, try forming an animal, a floral mandala, or an abstract pattern.
Step 3: Once you’re happy with your design, use a small paintbrush to apply a thin layer of glue.
Next, place each petal carefully with tweezers to avoid tearing.
Step 4: Work in layers for a three-dimensional feel.
For example, large blossoms form the body, while small petals can add details like ears, tails, or accents.
Step 5: Let everything dry fully, then close and secure the shadow box.
The glass will protect your flowers while still showing off their delicate beauty.
Step 6: Display your creation on a wall, a shelf, or as a centerpiece. It’s not just art, it’s a little window into nature’s imagination.
Tip:
For a playful twist, involve kids or friends in designing the character your flowers become.
Everyone sees something different in petals, it might be a fox to you, a cat to them, or just a burst of color that feels alive.
