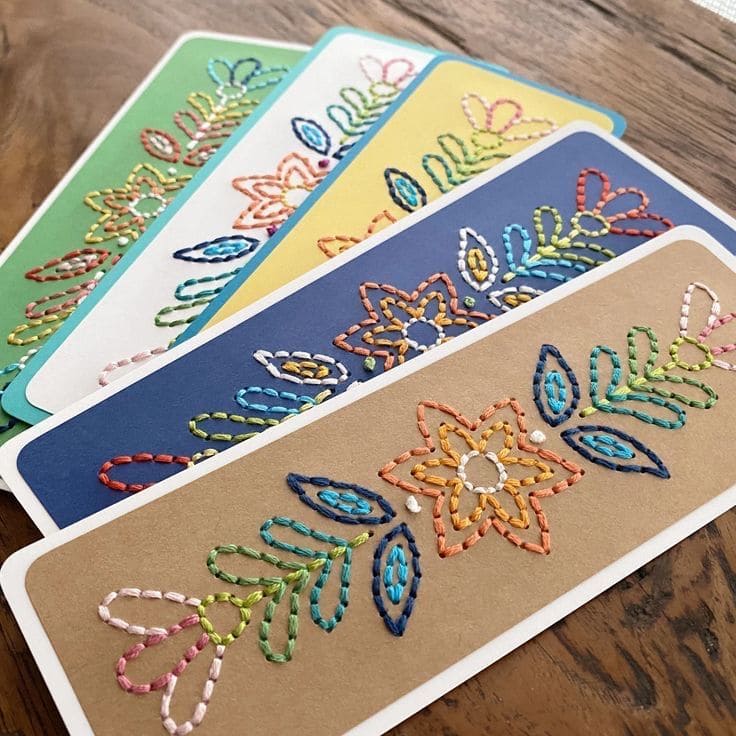
 Imagine picking up your book and finding a little garden stitched into your bookmark. That’s the magic of embroidered paper bookmarks.
Using colorful threads, you can turn simple cardstock into a lively canvas for flowers, leaves, or even geometric patterns.
It’s a brilliant way to experiment with embroidery without committing to fabric projects.
The result is bright, textured, and full of personality, perfect for gifting or keeping all to yourself.
Materials Needed
- Cardstock sheets (8.5″ × 11″, cut into strips 2″ × 6″)
- Embroidery floss (assorted colors, 6-strand skeins)
- Embroidery needle (size 5 or 7, sharp tip)
- Pencil for sketching patterns (1 piece)
- Ruler for measuring and centering designs (1 piece)
- Awl, safety pin, or thumbtack
- Scissors (1 pair for thread and paper)
- Optional: Backing paper or washi tape to cover stitches on reverse side
Step-by-step Guide
Step 1: Cut your cardstock into bookmarks (2″ × 6″). Then round the corners with scissors for a softer look if desired.
Step 2: Lightly sketch your embroidery design on the paper with pencil. Simple floral or leaf patterns work beautifully.
Step 3: Use an awl or thumbtack to punch small holes along your drawn lines, spacing them about 1/8″ apart to guide your stitching.
Step 4: Thread your needle with embroidery floss (use 2-3 strands for cleaner lines). Start stitching through the pre-punched holes using a backstitch or running stitch.
Step 5: Continue stitching along your design, switching colors to add contrast and detail. Knot securely at the back after each section.
Step 6: If the reverse side looks messy, glue a piece of plain cardstock over the back to hide knots and give extra durability.
Step 7: Press the finished bookmark under a heavy book overnight to flatten any slight warping from stitching.
Tips:
Use bright, contrasting thread on darker cardstock for a bold look, or soft pastels on white for something delicate.
You can even try metallic thread for a festive shimmer.
