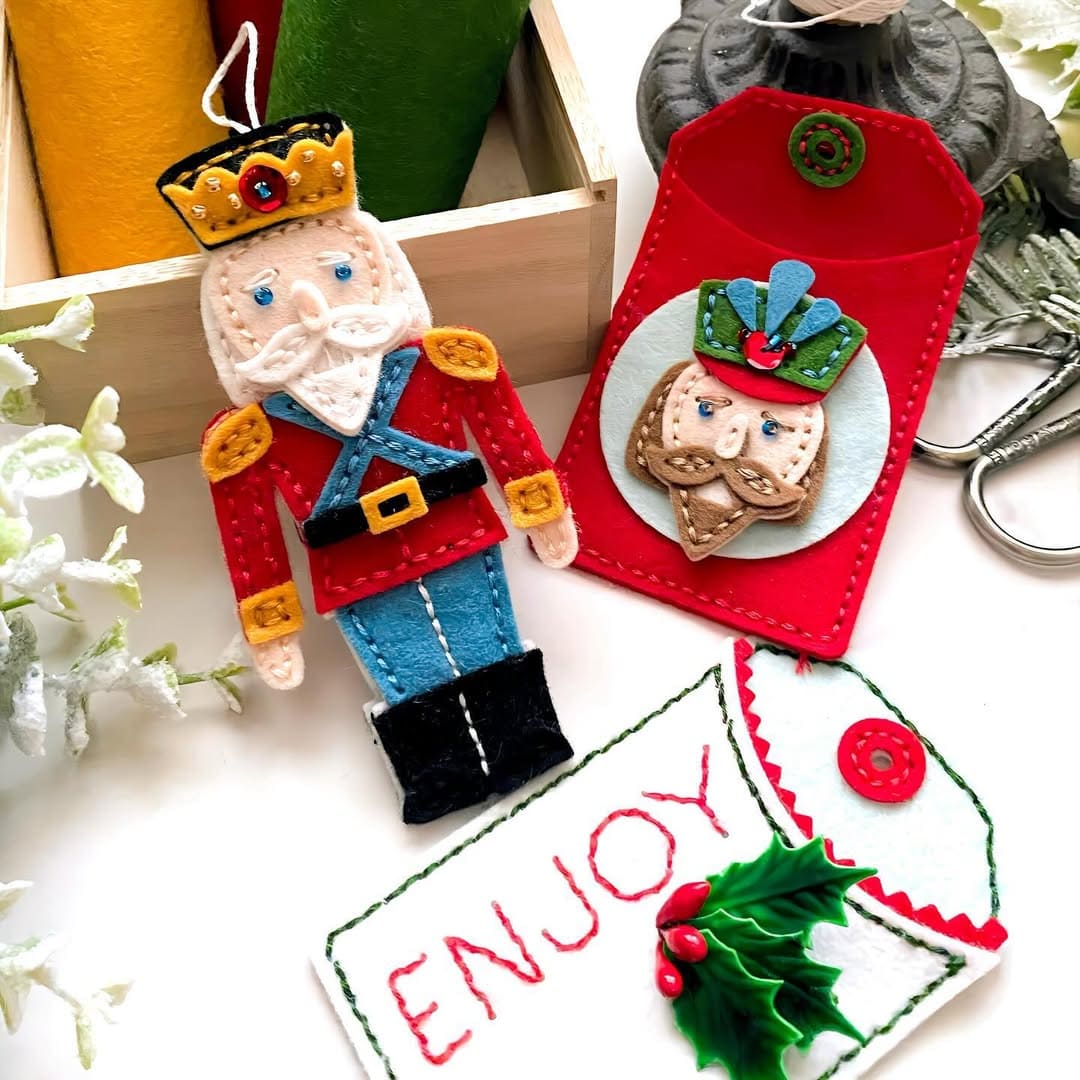
 The Nutcracker has marched across stages for centuries, guarding sugarplum dreams and holiday stories. Now, imagine him guarding your tree.
With felt, thread, and a few buttons, you can craft your own mini soldier who looks ready to spring to life at midnight.
Each stitch adds character like his rosy cheeks, golden crown, and bold jacket until you’ve created not just a decoration but a tiny hero of Christmas wonder.
Materials Needed
- Assorted felt sheets (red, blue, black, white, gold, and skin-tone)
- Embroidery floss (red, black, white, gold)
- Hand-sewing needle
- Sharp scissors
- Small buttons or beads (4-6 pcs.)
- Black marker or fabric pen
- Stuffing (polyester fiberfill or cotton)
- Ribbon or string (6” long)
- Hot glue gun (optional)
Step-by-step Guide
Step 1: Start by cutting out your felt pieces: body (red), pants (blue), boots (black), arms (red), face (skin-tone), beard (white), crown (gold), and small decorative shapes for buttons and shoulder pads.
You should keep the shapes simple, rectangles and triangles can go a long way.
Step 2: Layer the body, pants, and boots together.
Next, use a simple whip stitch or blanket stitch to connect them neatly. This will form the main torso of your Nutcracker.
Step 3: Attach the face piece onto the top of the body.
With black thread or a fine marker, create eyes, eyebrows, and a mustache. Now, add small pink felt circles or embroidery for rosy cheeks.
Step 4: Sew on the white felt beard, tucking it under the chin. This instantly gives your soldier that classic Nutcracker look.
Step 5: Position the arms on either side of the body and stitch them securely. Next, add felt or embroidered cuffs to give them more detail.
Step 6: Place the crown on top of the head and embellish it with tiny felt gems or sequins. If you want, glue on a small bead in the center for extra sparkle.
Step 7: Add buttons down the front of the jacket using either real mini buttons or small felt circles. Embroider lines to mimic a soldier’s uniform.
Step 8: Once all pieces are stitched together, lay the front and back body pieces together. Sew around the edges, leaving a small opening.
You then fill lightly with stuffing to give your Nutcracker some dimension, then sew the gap closed.
Step 9: Attach a ribbon loop at the back so you can hang your Nutcracker proudly on the tree.
Step 10: Step back and admire, your felt Nutcracker now stands tall, ready to bring Christmas magic to your home.
Tips:
If you’re short on time, you can hot-glue decorative details instead of stitching.
Try making a set of Nutcrackers in different colors including one in royal blue, another in green, maybe even one in sparkling silver for a full Nutcracker brigade.
