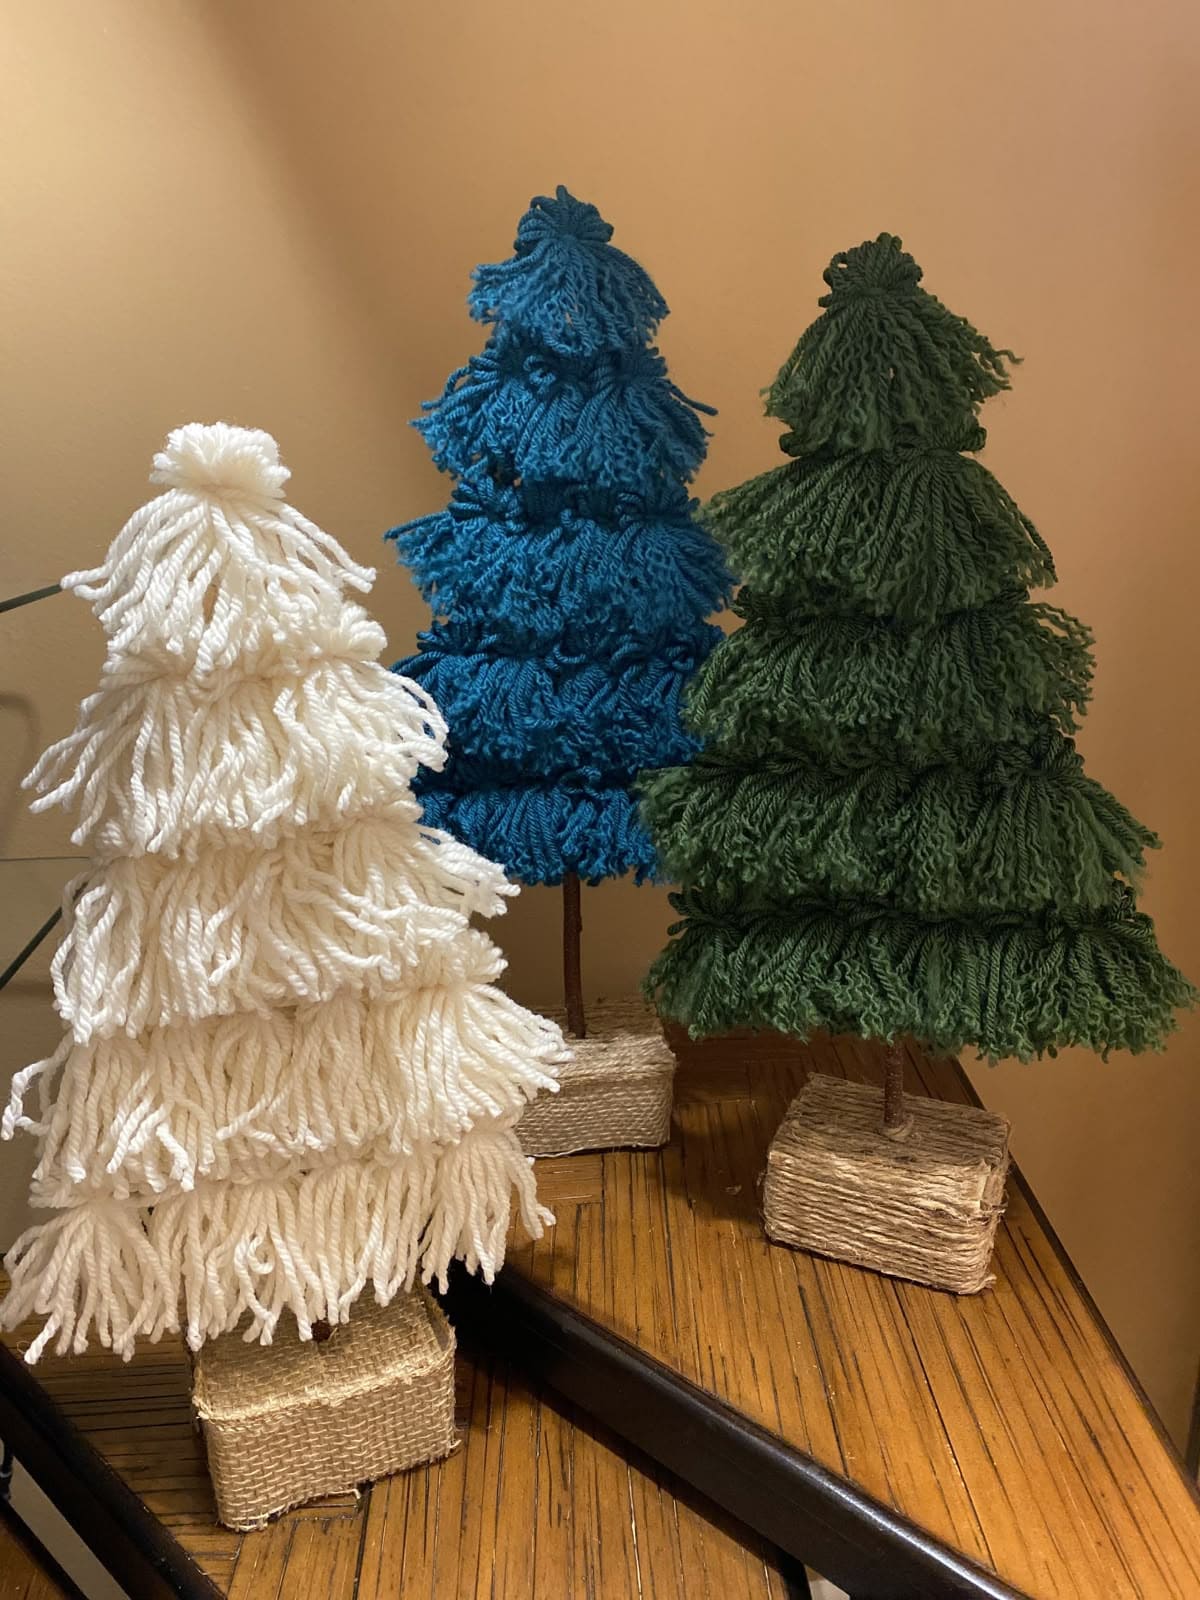
 Imagine building a little winter forest out of yarn. Each tree stands tall and soft, its shaggy loops reminding you of cozy scarves and knitted blankets.
With just a bit of tying, trimming, and stacking, yarn suddenly becomes a tree that feels alive with personality.
You can even mix different colors or yarn textures to create your own woodland scene.
It’s the kind of DIY project that makes you smile every time you walk past it.
Materials Needed
- Yarn skeins (2-3 colors of your choice, 150-200 yards each)
- Wooden dowels (12” long, ½” thick)
- Wooden blocks or foam bases (3” × 3” × 2” size)
- Hot glue gun and glue sticks
- Scissors
- Small drill (for securing dowels in bases)
Step-by-step Guide
Step 1: Prepare your base by drilling a small hole in the wooden block or foam base and securing the dowel upright with glue.
Step 2: Cut multiple strands of yarn, each about 10-12 inches long. You’ll need quite a few to cover the whole tree.
Step 3: Tie yarn strands in bunches around the dowel, stacking layers as you go up. The more bunches you add, the fluffier the tree looks.
Step 4: Once you reach the top, knot a final bunch and leave some ends long to form a pom-pom tip.
Step 5: Trim the yarn evenly to shape the tree layers, giving it a neat triangular outline.
Step 6: Place your trees in a grouping for a woodland display, or decorate them with mini stars or tiny ornaments if you’d like more sparkle.
Tips:
For a rustic finish, wrap the base block with burlap or twine. You can also use metallic yarn for a shimmering holiday look.
