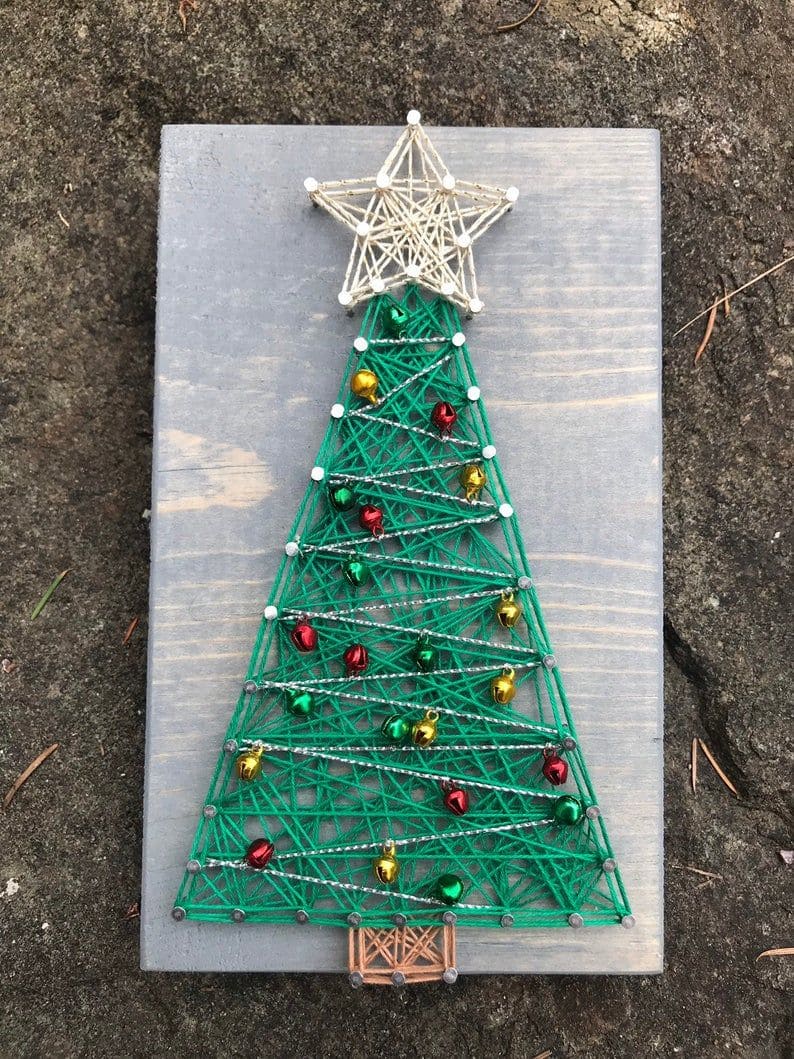
 If you’ve ever wanted to try string art, Christmas is the best time to start.
You’ll be mapping out the outline with nails, then crisscrossing green thread to fill in the shape.
Add a gold or white string star at the top, hang a few mini ornaments or bells, and suddenly you have a handmade decoration that feels personal and festive.
It’s a project you can proudly display year after year.
Materials Needed
- 1 wooden board (10” × 14” recommended)
- Green embroidery thread (1 spool, 50-60 yards)
- Gold or white embroidery thread (1 spool, 30 yards)
- Mini nails (30-35 pieces, ½” long)
- Small hammer
- Pencil and ruler
- Mini jingle bells (12-15 assorted colors)
- Hot glue gun or craft glue
Step-by-step Guide
Step 1: Place your wooden board on a flat surface.
Next, use a pencil and ruler to draw a triangle outline for the tree, plus a star shape at the top if you’d like to include one.
Step 2: Hammer nails along the outline, spacing them about ½” apart.
Youi should keep them tall enough to wrap string around but short enough to stay secure.
Step 3: Tie your green thread to the bottom nail and begin crisscrossing across the tree shape. Work in random patterns until the inside feels full and textured.
Step 4: Switch to gold or white thread for the star outline at the top. Wrap and cross until the star feels filled in.
Step 5: Attach mini bells with glue or loop them onto the threads to decorate the tree like ornaments.
Step 6: Add a small brown thread rectangle at the bottom for the tree trunk if desired, then step back and admire your finished piece.
Tips:
For a polished look, sand and stain your wooden board before starting.
If you plan to give this as a gift, wrap the edges with holiday ribbon for an extra festive touch.
