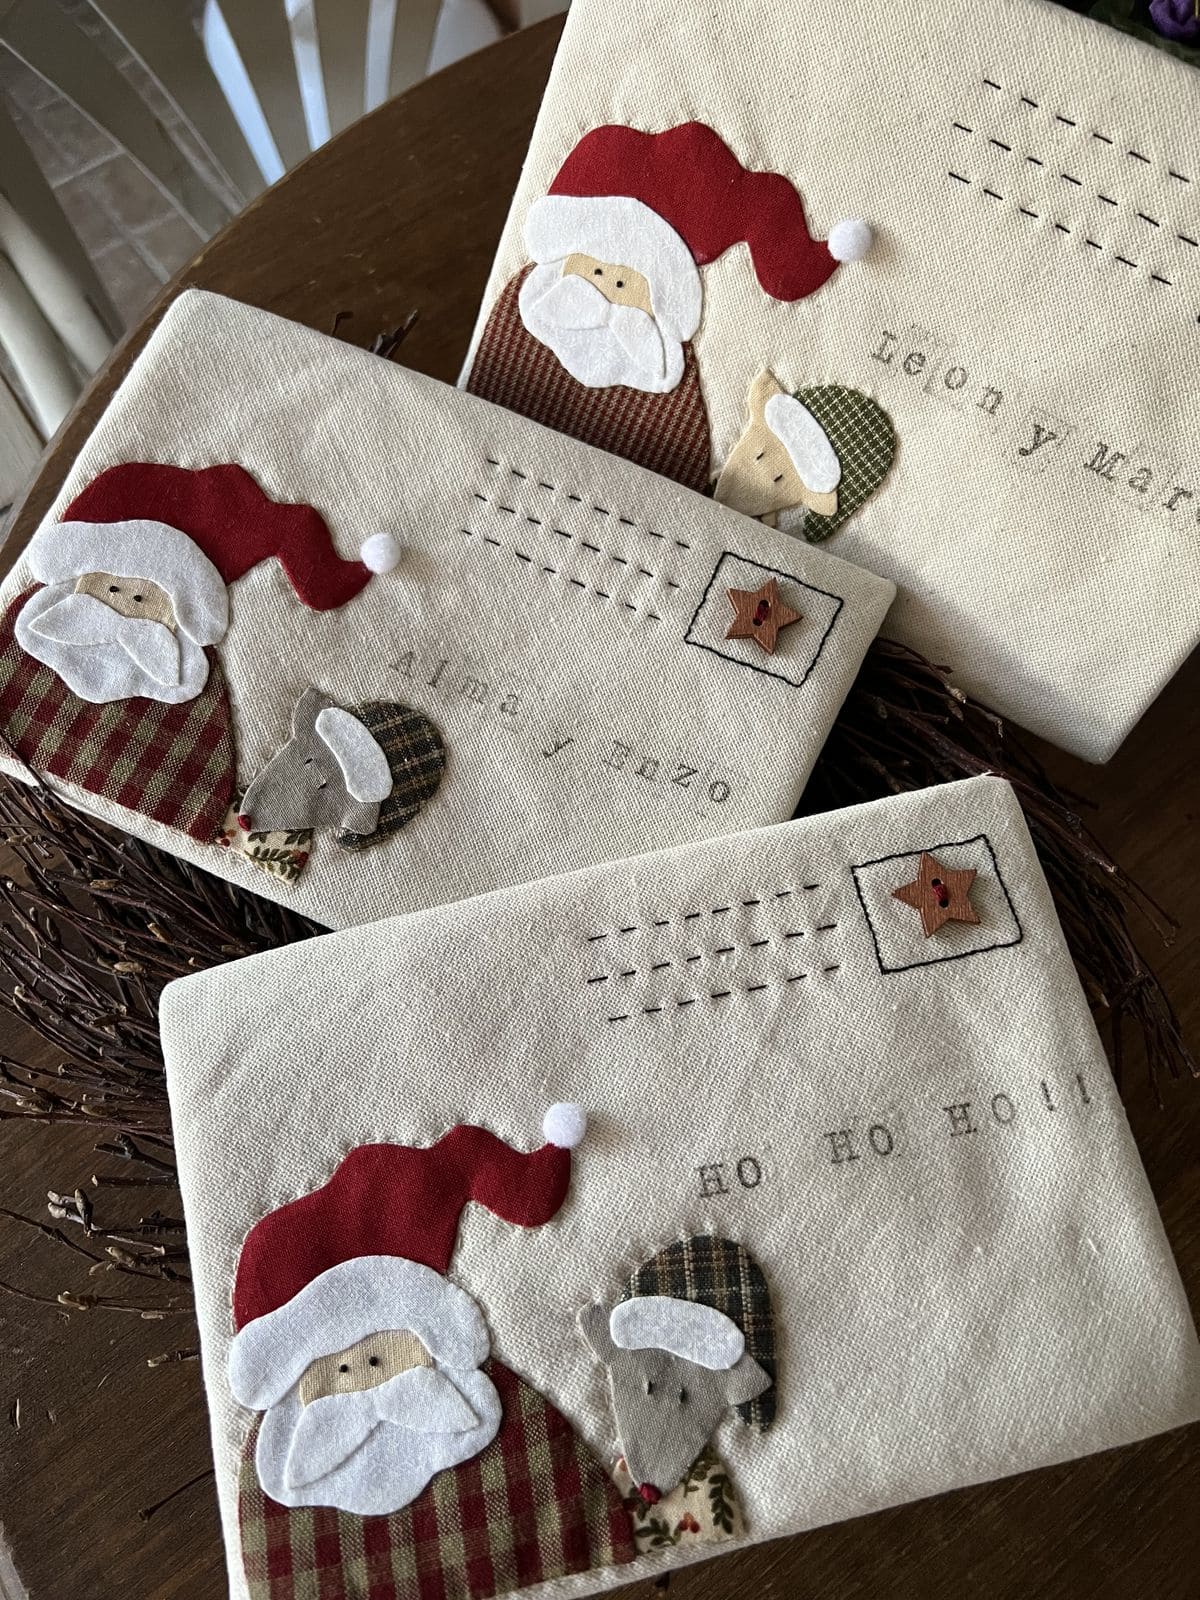
Handing someone a plain white envelope doesn’t feel very magical but imagine passing them one of these soft fabric creations.
Santa’s little face stitched on the front brings a smile before the gift is even opened.
I love that you can personalize them with names, holiday sayings, or tiny stitched stars.
It feels like sending a letter straight from the North Pole, but with your heart stitched into every detail.
Materials Needed
- Fabric pieces (cotton or linen, 8”×10” for each envelope)
- Felt sheets (red, white, beige, green for Santa and details)
- Fabric scraps in plaid or patterned prints
- Embroidery thread (black, red, brown)
- Needle or sewing machine
- Fabric scissors
- Hot glue gun or fabric glue
- Buttons or small embellishments (e.g., wooden stars)
- Iron-on adhesive (optional)
Step-by-step Guide
Step 1: Cut your base fabric into a rectangle (approx. 8”×10”). Then fold it like an envelope, with one flap at the top for closure.
Step 2: Cut felt pieces to form Santa’s hat, beard, and face. Then add extra shapes like a little elf, reindeer, or tree using patterned scraps.
Step 3: Arrange the appliqué on the envelope front. Once you’re happy with the layout, sew or glue each piece into place.
Step 4: Stitch Santa’s eyes, nose, or other details using embroidery thread.
For extra personality, add rosy cheeks with a dab of pink fabric paint or stitched circles.
Step 5: Sew the edges of the fabric envelope together, leaving the top flap free to open and close.
Step 6: Add embellishments like buttons, stitched postage stamps, or hand-stamped holiday phrases such as “Ho Ho Ho.”
Step 7: Press the finished piece with a warm iron (avoid embellishments) to smooth it out and make it gift-ready.
Tip:
Add a Velcro dot or snap button under the flap if you want it to stay closed securely.
