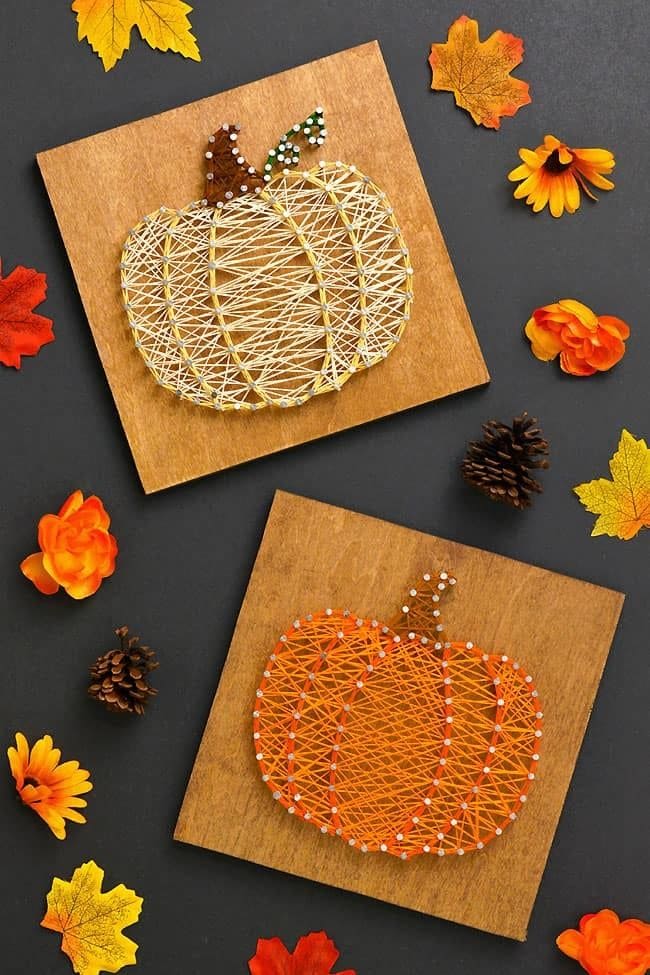
There’s something magical about watching a pumpkin take shape from nothing more than thread and tiny nails.
As you weave the string back and forth, the image builds slowly, almost like sketching with yarn.
Each pumpkin looks slightly different, which makes them feel alive with personality.
It’s the kind of project you’ll love doing on a cool evening, and once finished, your handmade pumpkins will glow with warmth on your wall or holiday table.
Materials Needed
- 2 wooden boards (8”×8” or 10”×10” each)
- Small nails or brads (approx. 50-60 per pumpkin)
- Hammer
- Orange, white, and green embroidery floss or string (20-30 yards each)
- Printable pumpkin template
- Tape (to hold template in place)
- Scissors
Step-by-step Guide
Step 1: Print and tape a pumpkin template onto your wooden board.
Step 2: Carefully hammer nails along the outline of the pumpkin, spacing them about ½ inch apart.
Step 3: Remove the paper template, leaving just the nails in place.
Step 4: Tie your string to one nail, then begin weaving back and forth across the design, filling in the pumpkin shape.
Step 5: Switch to green or brown string for the stem and vine details.
Step 6: Once you’re happy with the fullness, tie off and trim the string. Display proudly!
Notes:
If you’re making this with kids, let them choose bright, non-traditional colors like teal or gold for a fun twist on the classic pumpkin look.
