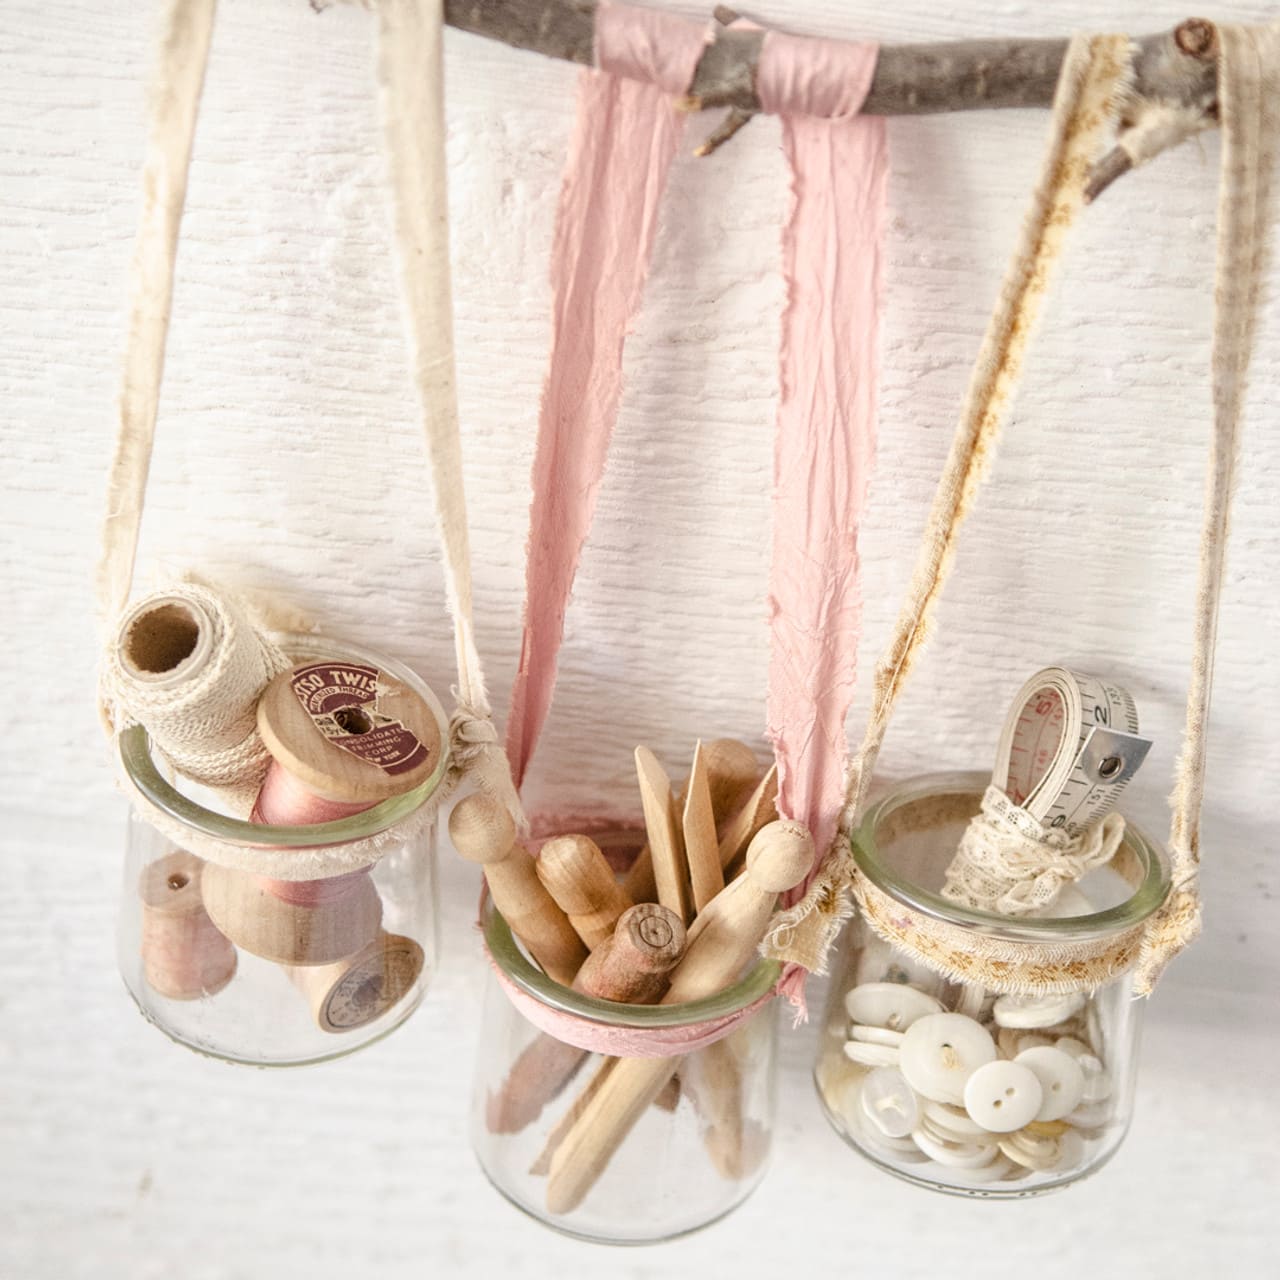
Think of these jars as tiny pockets of order suspended in midair. A piece of ribbon or fabric holds them gently, like cradles for your crafting treasures.
Also, the jars catch light, the contents shine through, and suddenly, even humble buttons or twine look like pieces of a vintage collection.
It’s organization, yes, but it’s also art, your everyday essentials woven into the rhythm of your space.
Materials Needed
- 3-4 yogurt jars (5 oz size, cleaned and dried)
- 1 sturdy branch or wooden dowel (18-24” long)
- 3-4 fabric strips or ribbons (20” each, strong enough to hold jars)
- Hot glue gun or strong knots
- Wall hooks or nails
- Craft supplies (buttons, spools, clothespins, ribbons, etc.)
Step-by-step Guide
Step 1: Wash and dry your jars thoroughly. Then remove labels for a clean look.
Step 2: Cut fabric strips or ribbons and tie them securely around the neck of each jar, leaving long ends to hang. You can knot or glue them for extra hold.
Step 3: Attach the hanging jars to a branch or dowel. Also, space them evenly so each jar has room to swing slightly without touching.
Step 4: Mount the branch on your wall using hooks or nails. Adjust the hanging lengths to keep everything balanced.
Step 5: Fill your jars with sewing supplies, craft materials, or even little trinkets.
Step 6: Step back and admire, your storage just became wall art.
Tips:
If you want to elevate the rustic charm, use torn strips of linen or cotton in soft hues. You can even paint the branch white or leave it natural for a woodland look.
