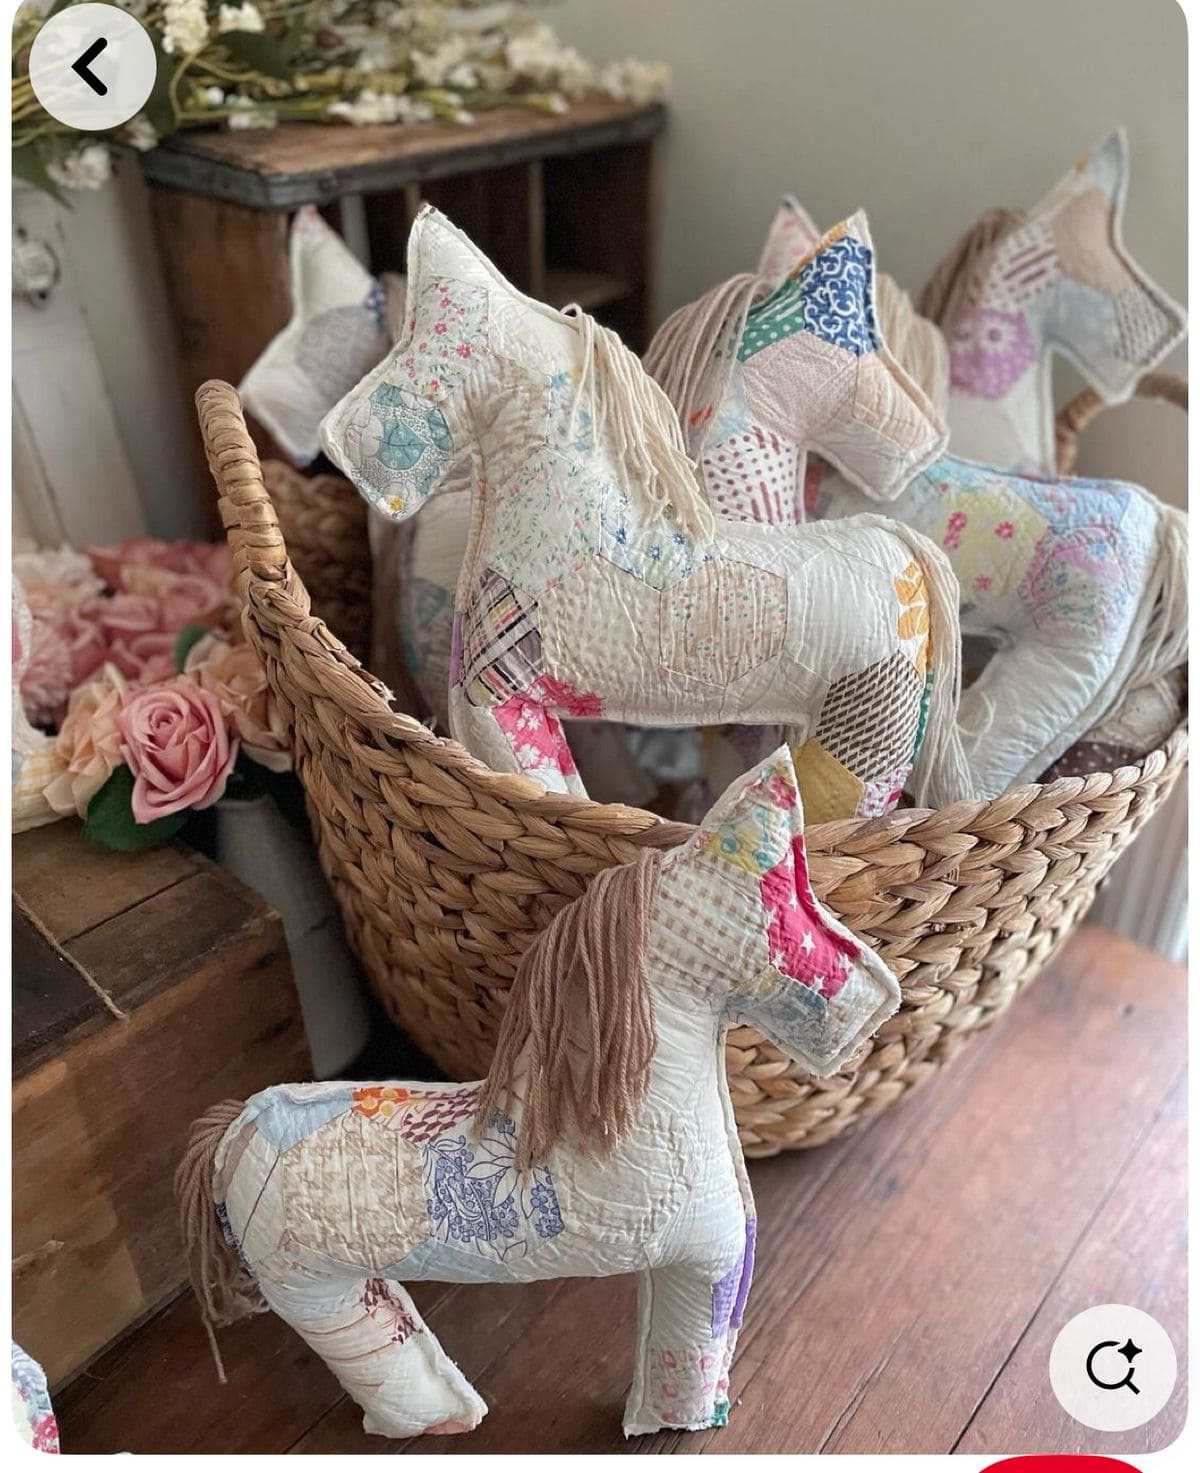
In this craft, a basket of quilted horses looks like a little herd waiting to trot into a storybook. Each one, with its patchwork coat and yarn mane, has a personality all its own.
Making them is a joyful process as you cut, stitch, and suddenly, fabric that once lived on a bed becomes a loyal friend for play or display.
Materials Needed
- 2 old quilt or patchwork fabric pieces 14”×16” per horse
- Yarn for mane and tail (12-15 strands, 6-8” long each)
- Polyester stuffing (150-200g per horse)
- Embroidery thread or felt
- Paper template of horse body (approx. 12” tall × 10” long)
- Sewing pins, scissors, and sewing machine
Step-by-step Guide
Step 1: Trace your horse template onto the quilt fabric and cut two identical body pieces. You should pay attention to pattern placement for a balanced look.
Step 2: Place both pieces right sides together and pin securely. Then sew around the edges, leaving a 3” opening at the belly.
Step 3: Turn the horse right side out and gently push out corners at the ears and legs with a chopstick.
Step 4: Stuff the body, legs, and head firmly with polyester filling, shaping as you go. Next, add more stuffing at the legs for strength.
Step 5: Sew the opening closed with a ladder stitch. Then attach yarn strands for the mane along the neck seam and at the back for the tail. You trim to desired length.
Step 6: Embroider or glue on small eyes, and if you like, add a ribbon harness or tiny fabric saddle.
Step 7: Set your finished horse in a basket or gift it to a child, it’s equally delightful as décor or play companion.
Tips:
When I stitched mine, I used a worn quilt that belonged to my grandmother. Seeing those familiar fabrics gallop into a new life was touching.
If you want sturdier legs, slip small pieces of felt or interfacing inside before stuffing, it helps them stand proudly.
