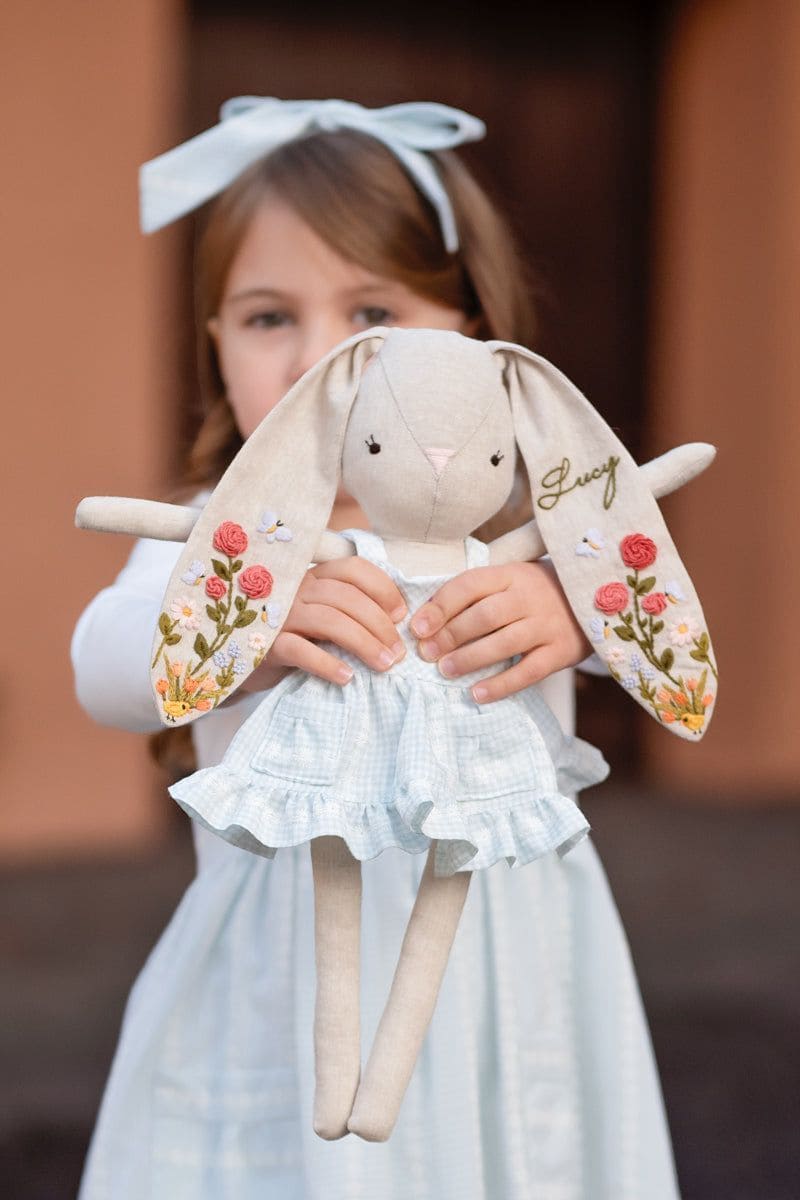
You can see this isn’t just a toy, it’s a keepsake.
Imagine stitching flowers, initials, or even a child’s name onto the long floppy ears. Suddenly, the bunny becomes more than fabric and thread; it becomes a companion full of stories.
Materials Needed
- Fabric – 2 fat quarters (cotton or linen works best)
- Embroidery floss in assorted colors
- Embroidery needle & hoop
- Polyester stuffing
- Thread
- Sewing machine or hand-stitching supplies
- Optional: fabric scraps
Step-by-step Guide
Step 1: Draw or print a bunny pattern. Then cut two pieces each for the body, arms, legs, and ears.
Step 2: Before sewing, place the ear fabric in an embroidery hoop and stitch flowers, initials, or a name.
Simple stitches like satin stitch, French knots, and stem stitch create beautiful results.
Step 3: Sew the body, arms, legs, and ears with right sides facing, leaving a small gap for stuffing. Then turn them right side out.
Step 4: Stuff each part firmly. You now attach the arms, legs, and ears to the body before closing it up.
Step 5: Add details like embroidered eyes, a tiny nose, or even clothes. A handmade dress or bow makes your bunny even more charming.
Tips:
If you’re making this as a gift, personalize the embroidery with a date of birth, name, or a little symbol meaningful to the child.
