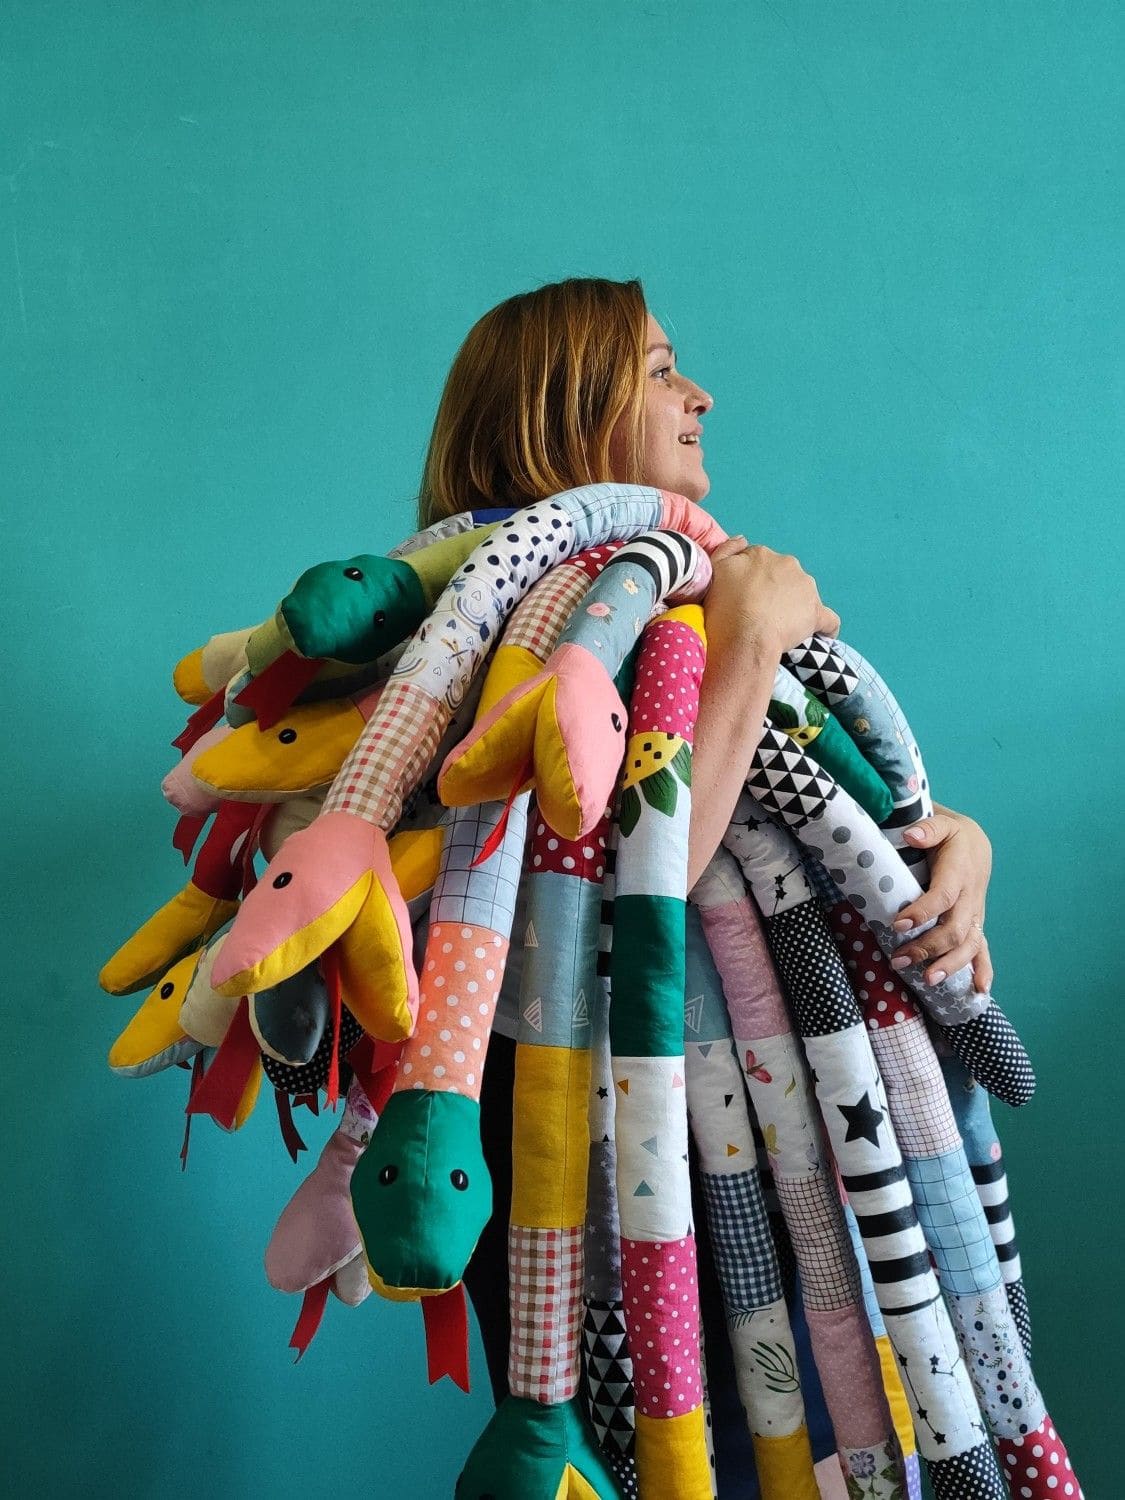
Not all snakes are scary, some are cuddly, patchy, and ready to wrap you in a rainbow of patterns.
Sewing your own fabric snake feels like stitching together a playful story, each piece of cloth becoming a scale on its winding body.
So the end result is a snake that doesn’t hiss but hugs.
Materials Needed
- Assorted fabric scraps (cotton or flannel) – cut into strips 5-6” wide
- Matching thread
- Polyester stuffing – approx. 1-2 lbs per snake
- 2 small black buttons or safety eyes (or felt circles)
- Red felt for tongue (2” piece)
- Paper pattern (tapered snake head + long body strip)
- Sewing machine & scissors
Step-by-step Guide
Step 1: Cut fabric scraps into strips of equal width (around 5-6 inches).
The longer your strips, the fewer seams you’ll have, but mixing shorter ones creates a fun patchwork effect.
Step 2: Sew the strips together lengthwise until you reach your desired snake length.
For a child-friendly size, you should aim for 3-4 feet; for a dramatic one, go up to 6 feet.
Step 3: Fold the long strip in half lengthwise (right sides facing), then stitch along the edge, tapering one end to form the tail. You should leave the wider end open for the head.
Step 4: Cut a small tongue shape from red felt. Insert it at the head opening, pointing inward, before stitching the head closed.
Step 5: Turn the snake right-side out using a safety pin or turning tool.
Start stuffing from the tail, working your way toward the head. Keep stuffing firm but flexible so it bends easily.
Step 6: Sew on button eyes or stitch felt eyes in place. Hand-stitch the opening closed.
Step 7: Give your snake personality, add embroidery patterns, sew tiny patches, or even stitch a little smile.
Tips:
I made one using old pajama fabrics, and it instantly became a bedtime buddy. If you’re sewing for toddlers, skip buttons and embroider the eyes instead for safety.
