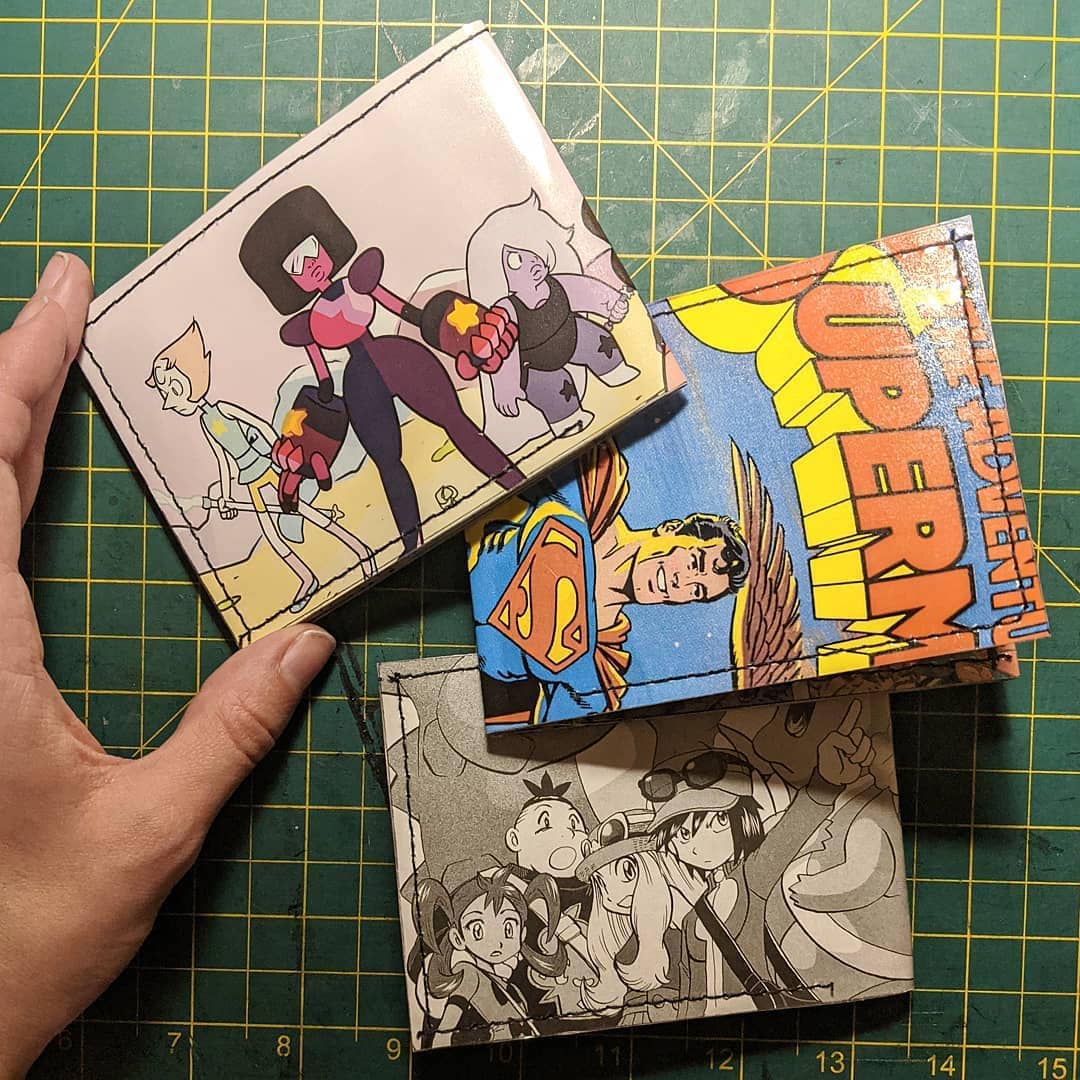
A wallet tells more stories than just the ones hidden in its folds.
It holds receipts from places you love, notes you scribbled in a rush, and the cash you’d rather not spend. So why not make the outside a story too?
When you craft a wallet from comics, every fold is a panel, every pocket an adventure. It feels like slipping your favorite hero into your back pocket.
Materials Needed
- 2-3 comic book pages (8.5”×11” size, sturdy ones work best)
- Clear packing tape or contact paper (12” roll)
- Scissors or craft knife
- Ruler and pencil
- Glue stick or double-sided tape
- Optional: sewing machine with strong thread
Step-by-step Guide
Step 1: Pick your comic pages. I always go for panels that feature big, bold images like a splash of Superman or a group shot from Pokémon.
Then trim them to rectangles about 8.5”×3.5” for the main body of your wallet.
Step 2: Laminate each page with clear packing tape or contact paper.
This step is crucial as it turns fragile paper into a durable, water-resistant material. Then smooth out bubbles with the edge of a ruler.
Step 3: Fold the laminated sheet in half horizontally to create the base of your wallet.
Then fold the edges inward like you’re making a brochure, this gives you the natural pockets for cash and cards.
Step 4: Cut additional smaller strips of laminated comic for card slots.
You can glue or tape these onto the inside folds, making sure they overlap just enough to hold cards securely.
Step 5: Seal the edges with another strip of tape or, if you’re like me and want it to last longer, run a simple stitch around the perimeter with a sewing machine.
Step 6: Press your wallet flat under a heavy book overnight so it keeps its shape. The next morning, it’ll feel crisp and ready to use.
Tips:
The trick is in the panel placement. I once aligned a page so Spider-Man’s eyes peeked out from the card slot every time I pulled out my ID, it never failed to get a laugh.
