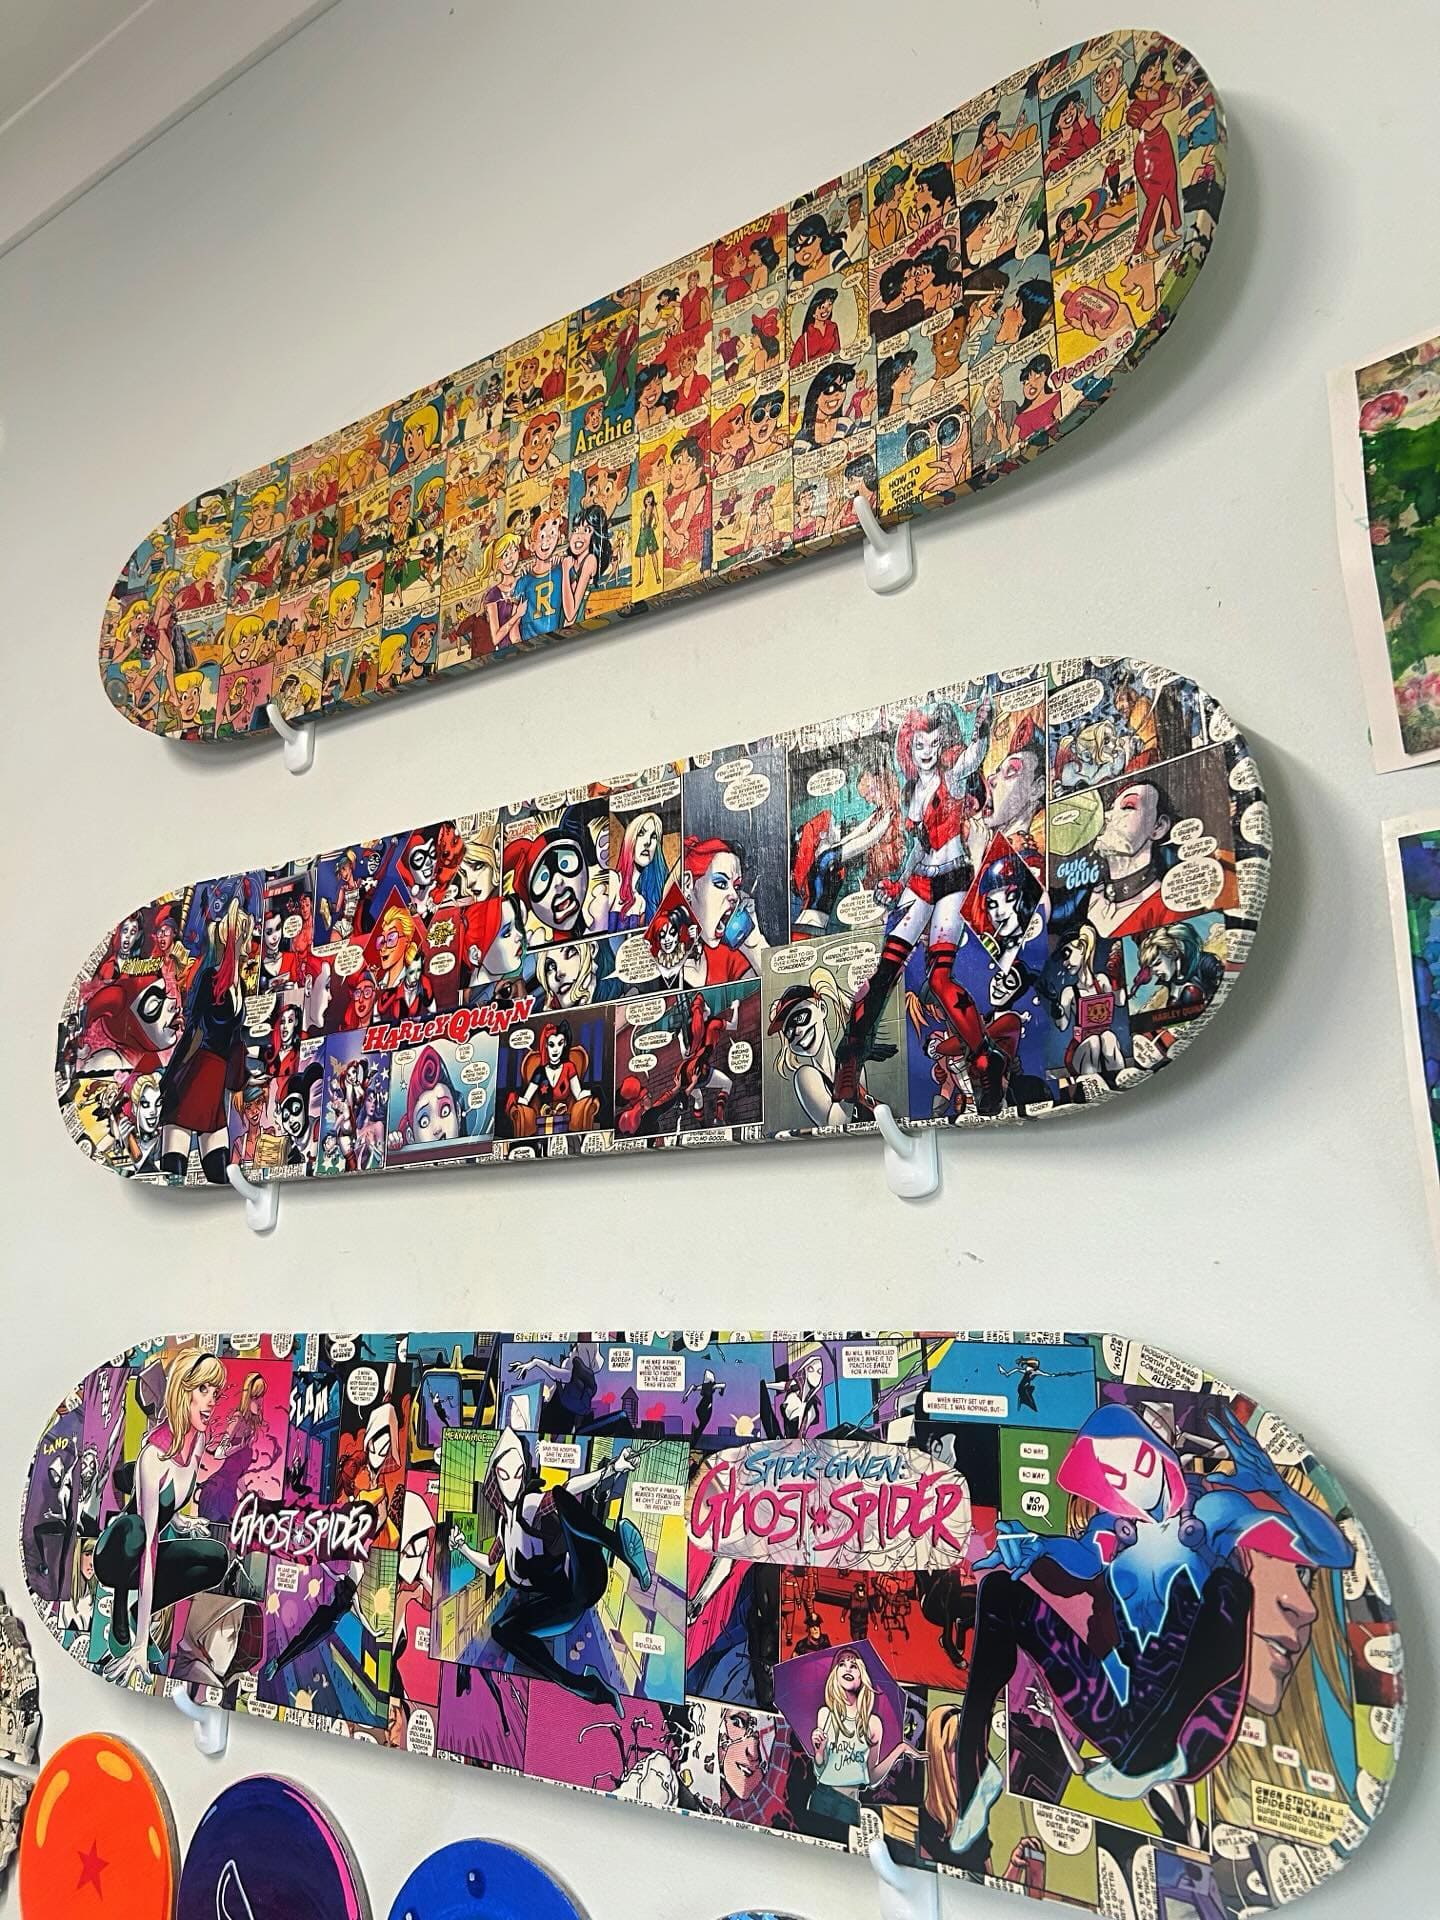
I still remember the first time I hung a comic-covered deck on my wall, it felt like giving new life to an old friend.
That board had rolled through years of use, but instead of leaving it in the garage, I dressed it in pages of heroes and villains I grew up with
. Now it’s more than just wood; it’s nostalgia mounted on the wall, a personal museum piece that makes me smile whenever I pass by.
Materials Needed
- 1 skateboard deck (any size, old or new)
- 20-25 comic book pages (bright panels and full spreads work best)
- Scissors and craft knife
- Mod Podge (8-12 oz)
- 2” foam brush or flat paintbrush
- Clear acrylic spray sealer (matte or glossy finish)
- Sandpaper (medium grit)
- Wall hooks
Step-by-step Guide
Step 1: Start by sanding your skateboard deck lightly to remove any glossy coating or dirt. This step makes sure the glue will stick properly.
Step 2: Lay out your comic book pages on the deck before gluing.
You then mix action-packed panels with dialogue bubbles for balance, and let the artwork flow with the natural curve of the board.
Step 3: Apply a thin layer of Mod Podge to the back of each comic piece, pressing it down onto the deck.
Then smooth out air bubbles with your fingers or a flat edge. Work slowly, overlapping edges if needed.
Step 4: Once all panels are in place, brush a full coat of Mod Podge across the top. Let it dry 20-30 minutes, then add at least two more coats for durability.
Step 5: For extra protection, spray the finished deck with clear acrylic sealer. This keeps colors vibrant and adds a nice finish, whether you prefer glossy shine or a matte look.
Step 6: Mount the board on your wall using strong hooks or brackets. Then arrange a few side by side for an instant gallery wall effect.
Tips:
I love using full-page spreads for the center of the board and filling in edges with smaller panels as it creates a bold focal point.
If you’re hanging multiple decks, play with themes: one with vintage Archie comics, another with moody Batman panels, and maybe one bursting with Marvel action.
