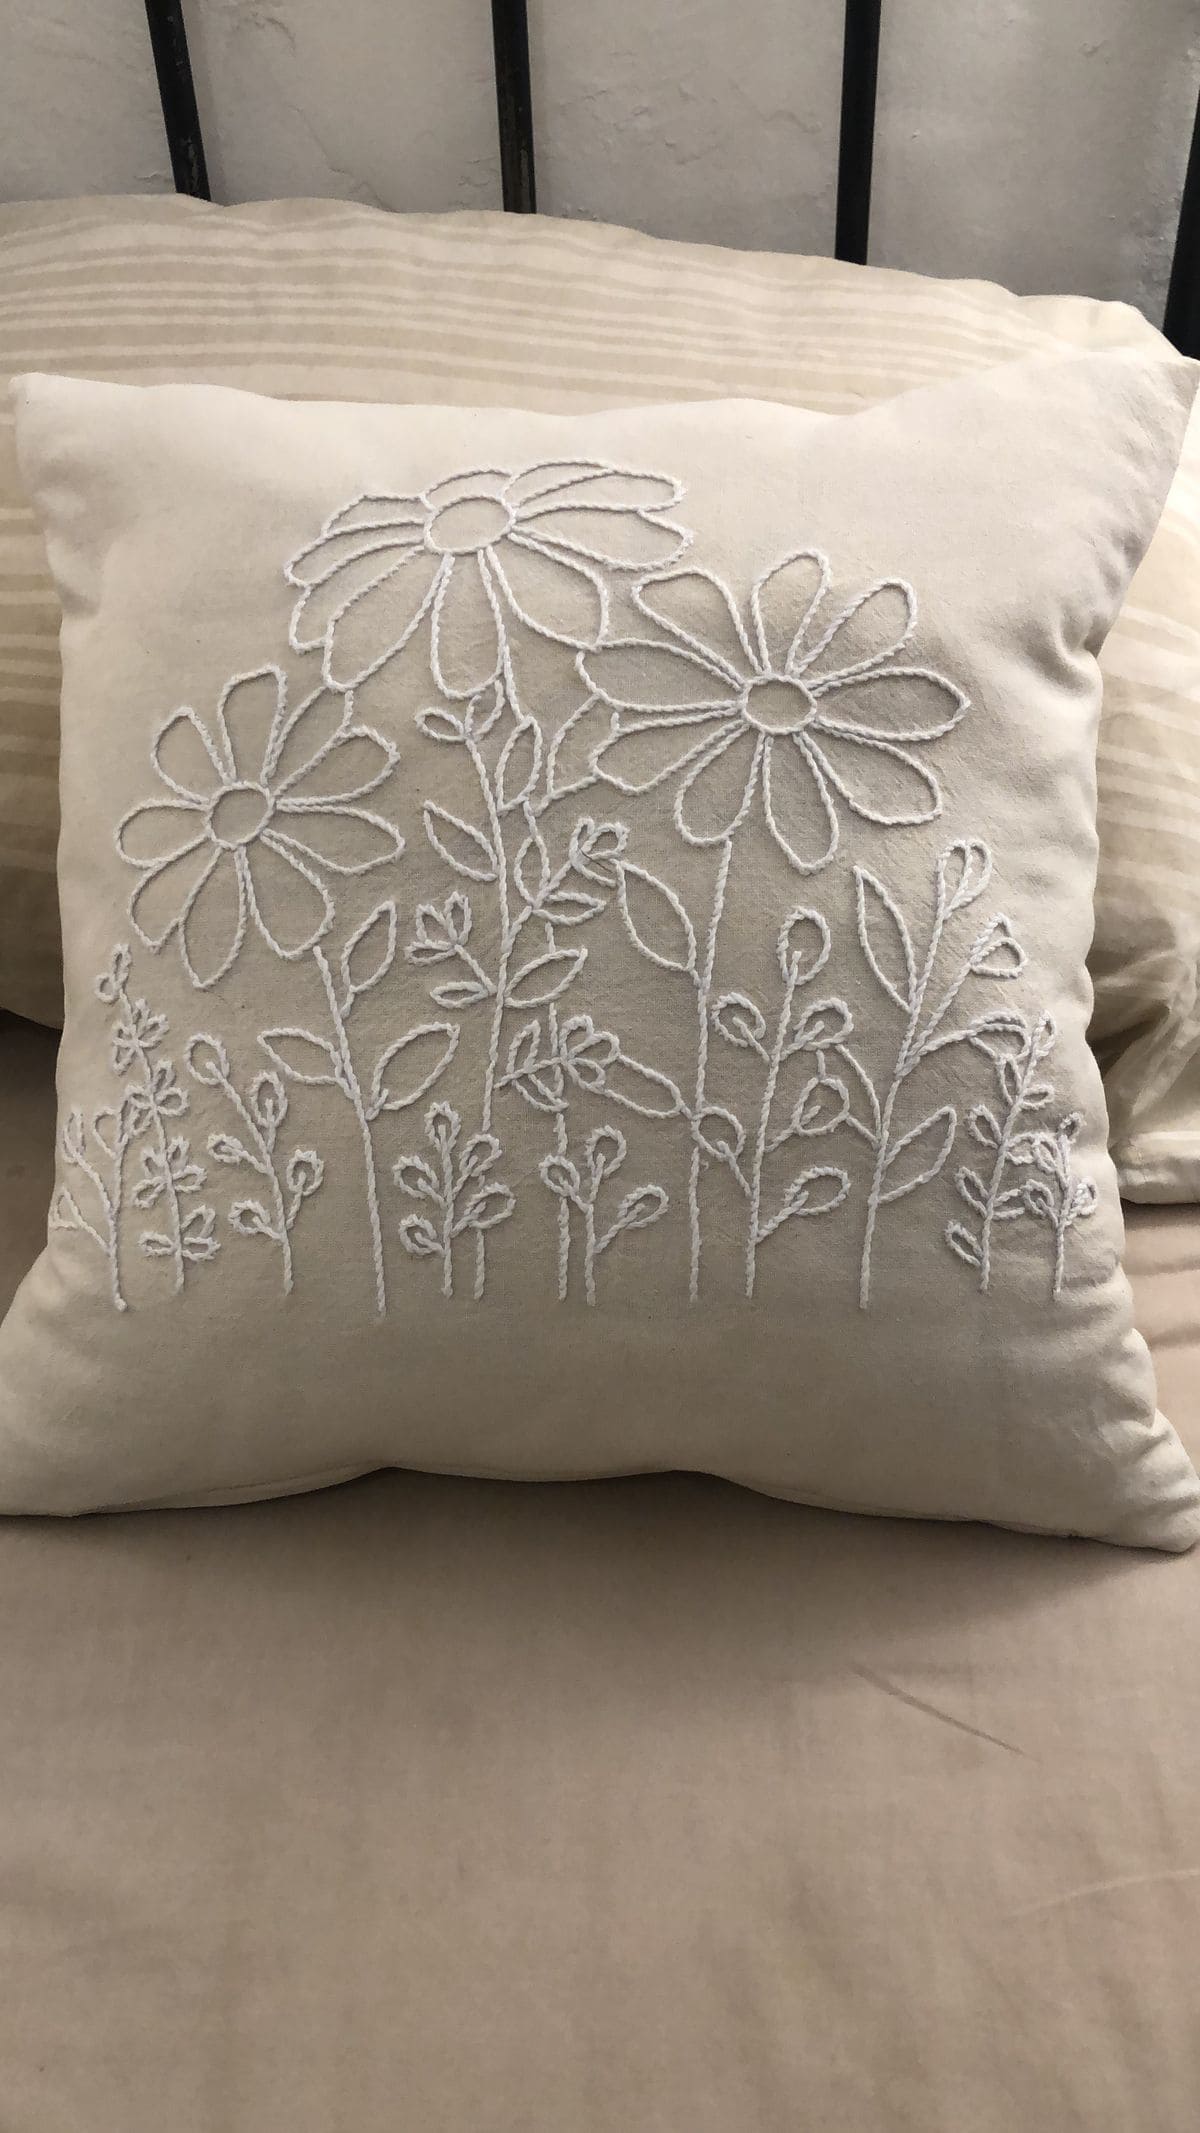
Imagine sketching with thread instead of ink, each petal and stem a whisper across the fabric.
his pillow is a garden in its quietest form, white blooms rising against a soft canvas background.
Bonus, it feels peaceful, like morning light spilling through lace curtains, and every stitch carries the hush of simplicity.
Materials Needed
- 1 pillow insert (16 x 16 in / 40 x 40 cm)
- 1 neutral pillow cover fabric (16 x 16 in, linen or cotton works best)
- White embroidery floss (3-4 skeins)
- Embroidery needle
- Embroidery hoop (8 in)
- Fabric pencil or erasable marker
- Fabric scissors
Step-by-step Guide
Step 1: Cut your fabric squares to size for the pillow cover. Place the front piece into the embroidery hoop and smooth it tight.
Step 2: Lightly sketch out your flower shapes. Simple daisies and leafy stems work beautifully here. You keep the design balanced by varying stem heights and flower sizes.
Step 3: Using white embroidery floss, start with the flower stems. A backstitch or stem stitch works well to create clean, continuous lines.
Step 4: Outline the petals with chain stitches or split stitches, keeping the tension even so the lines look smooth and crisp.
For the centers, use a cluster of French knots to give a bit of dimension.
Step 5: Once the embroidery is finished, gently press the fabric from the back side with an iron to smooth it out.
You next sew the pillow front to the back, right sides facing, leaving a gap at the bottom.
Step 6: Turn it inside out, insert the pillow form, and hand-stitch the opening closed neatly.
Tips & Personal Touches:
I like using slightly thicker floss for the stems and thinner strands for petals to add subtle variety.
Don’t be afraid to let the flowers grow off the edge of the pillow, those unfinished lines create a feeling that the garden extends beyond the fabric.
