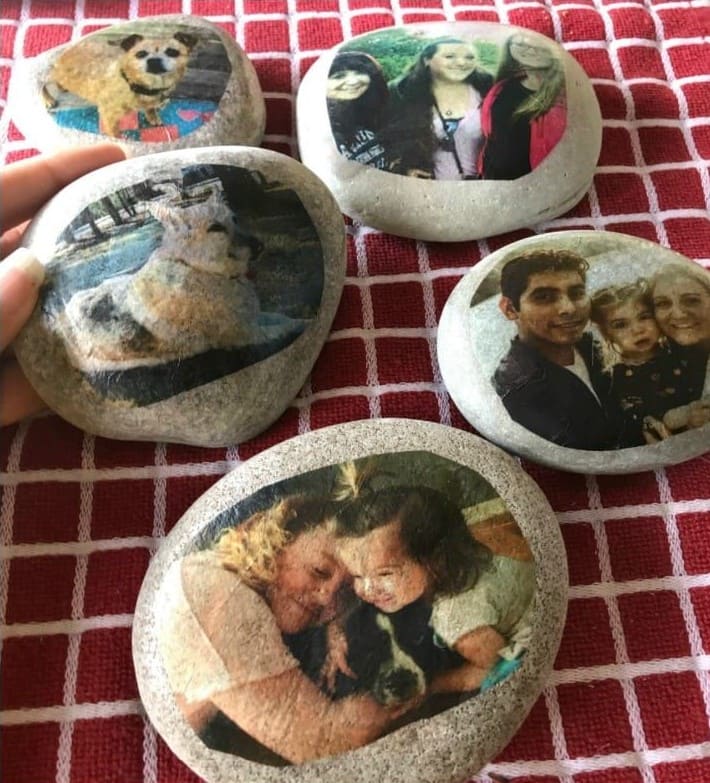
There’s something magical about combining personal memories with raw, natural elements.
Smooth river stones or beach pebbles become the backdrop for photos, turning simple rocks into keepsakes.
These photo stones work beautifully as paperweights, garden accents, or even heartfelt gifts. It’s the kind of project that feels grounding.
Materials Needed
- 4-6 smooth, flat stones (3”-5” wide, light-colored for best results)
- Laser-printed photos on regular paper (trimmed to fit stone size)
- 1 bottle of Mod Podge Photo Transfer Medium (8 oz)
- Foam brush (1 piece)
- Spray sealer (matte or glossy, 1 can)
- Bowl of water and soft cloth
Step-by-step Guide
Step 1: Choose smooth, flat stones and wash them well. Let them dry completely before starting. A lighter surface makes the photo details stand out more clearly.
Step 2: Print your photos using a laser printer. Remember, the images will transfer reversed so flip them digitally before printing if orientation matters (especially for text).
Step 3: Apply a generous coat of photo transfer medium directly onto the printed side of your photo.
You now place the photo face-down on the stone, smoothing it gently to remove air bubbles. Let it dry for 24 hours.
Step 4: After drying, dampen the paper with water and gently rub away the top layers using your fingers or a soft cloth.
The printed image will remain on the stone’s surface. Take your time here as rushing might peel away parts of the photo.
Step 5: Once the paper is gone and the image is clear, seal the stone with a spray sealer. This protects the photo and gives it a polished finish. Matte gives a subtle look, while glossy creates vibrancy.
