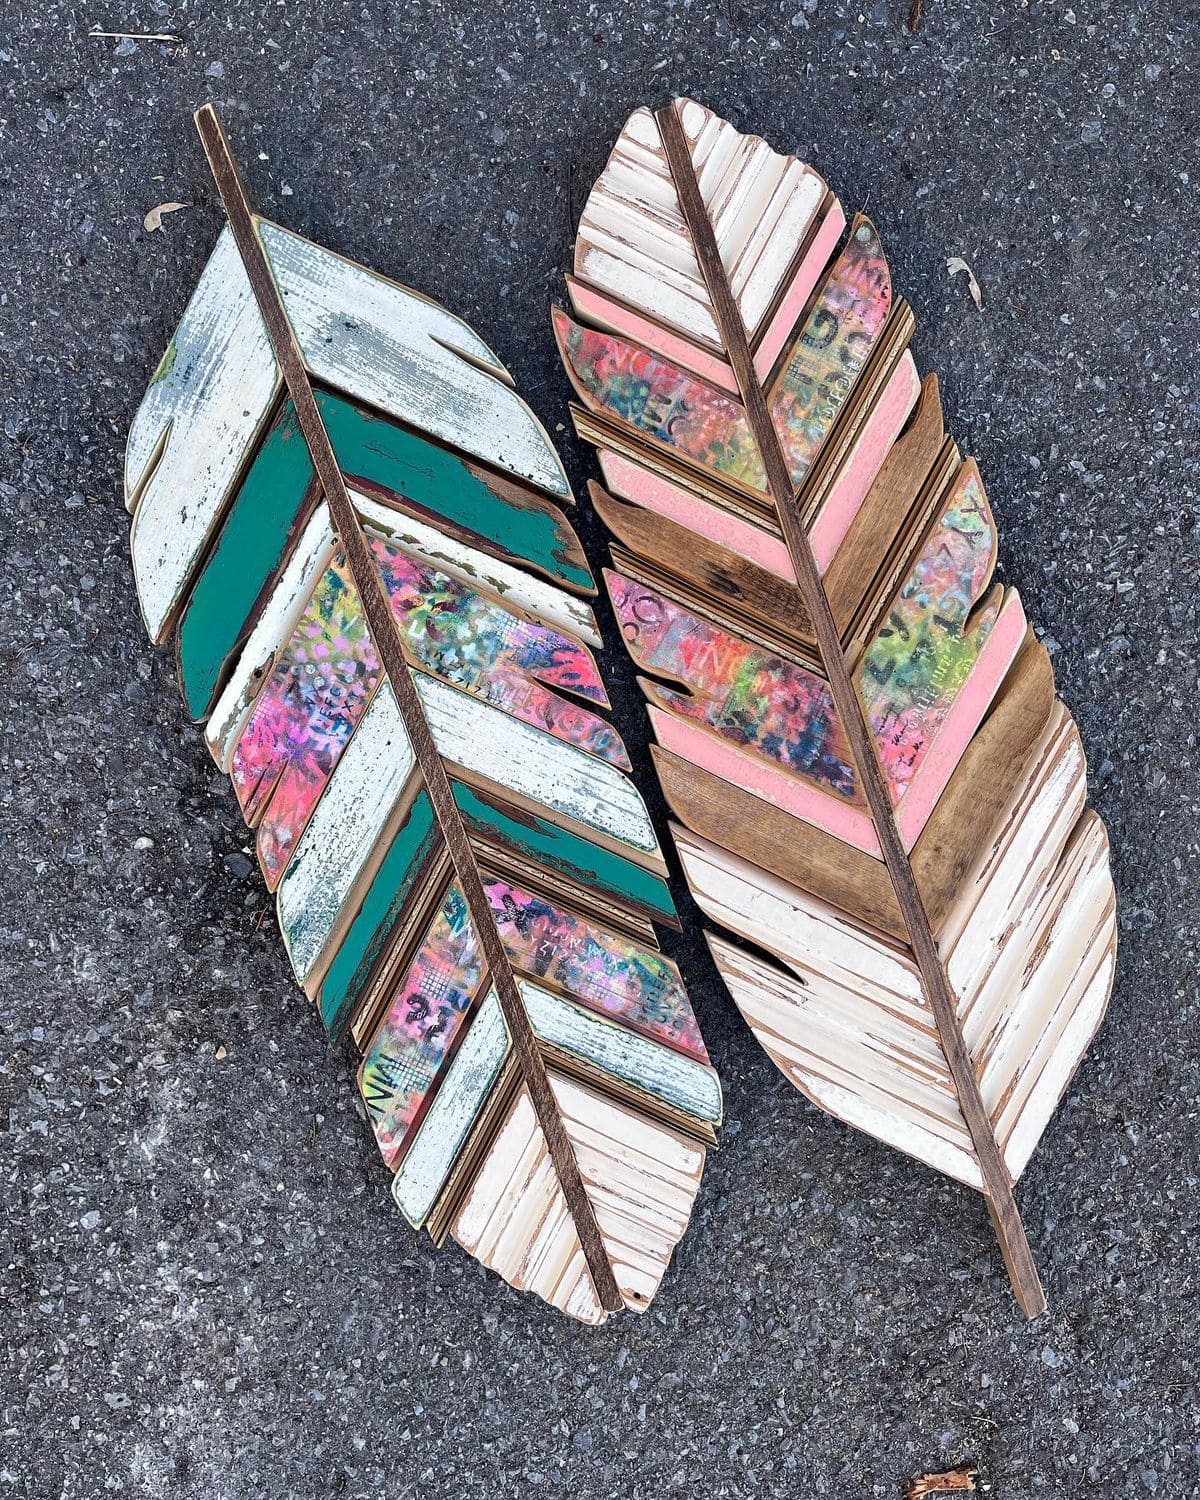
Crafting these feather pieces is like piecing together a story. Each shim becomes part of a patterned mosaic, painted or stained to give character.
When finished, the feather looks alive, like it could flutter off the wall and carry a wish with it. If you’re searching for a project that blends nature, imagination, and artistry, this is it.
Materials Needed
- 20-24 wood shims (6″ length for one feather)
- 1 wooden dowel or thin trim strip (18-20″ length, ¼” thick)
- Craft paints in assorted colors (greens, pinks, white, teal, etc.)
- Sandpaper (medium grit)
- Wood glue or hot glue gun + glue sticks
- Paintbrushes (1″ wide + detail brush)
- Optional: patterned scrapbook paper or decoupage sheets
- Clear sealant spray
Step-by-step Guide
Step 1: Begin by laying the wooden dowel on your workspace, it will serve as the feather’s spine.
Next, arrange wood shims at an angle along both sides, wide ends outward, narrow ends pointing toward the center strip. Trim ends if needed for symmetry.
Step 2: Once you’re happy with the feather shape, glue each shim in place. Let it dry for at least 30 minutes to ensure it holds together.
Step 3: Sand the surface of the shims lightly so the paint adheres well. Then, start painting individual sections.
You can alternate between solid colors, natural stain, and even patterned paper glued with decoupage medium. The more variety you add, the more vibrant your feather will look.
Step 4: Use a detail brush to add darker outlines near the center strip to mimic feather texture. Once dry, spray with a clear sealant for protection.
Step 5: Finally, hang your feather on the wall using a sawtooth hanger glued to the back, or display it leaning on a shelf.
