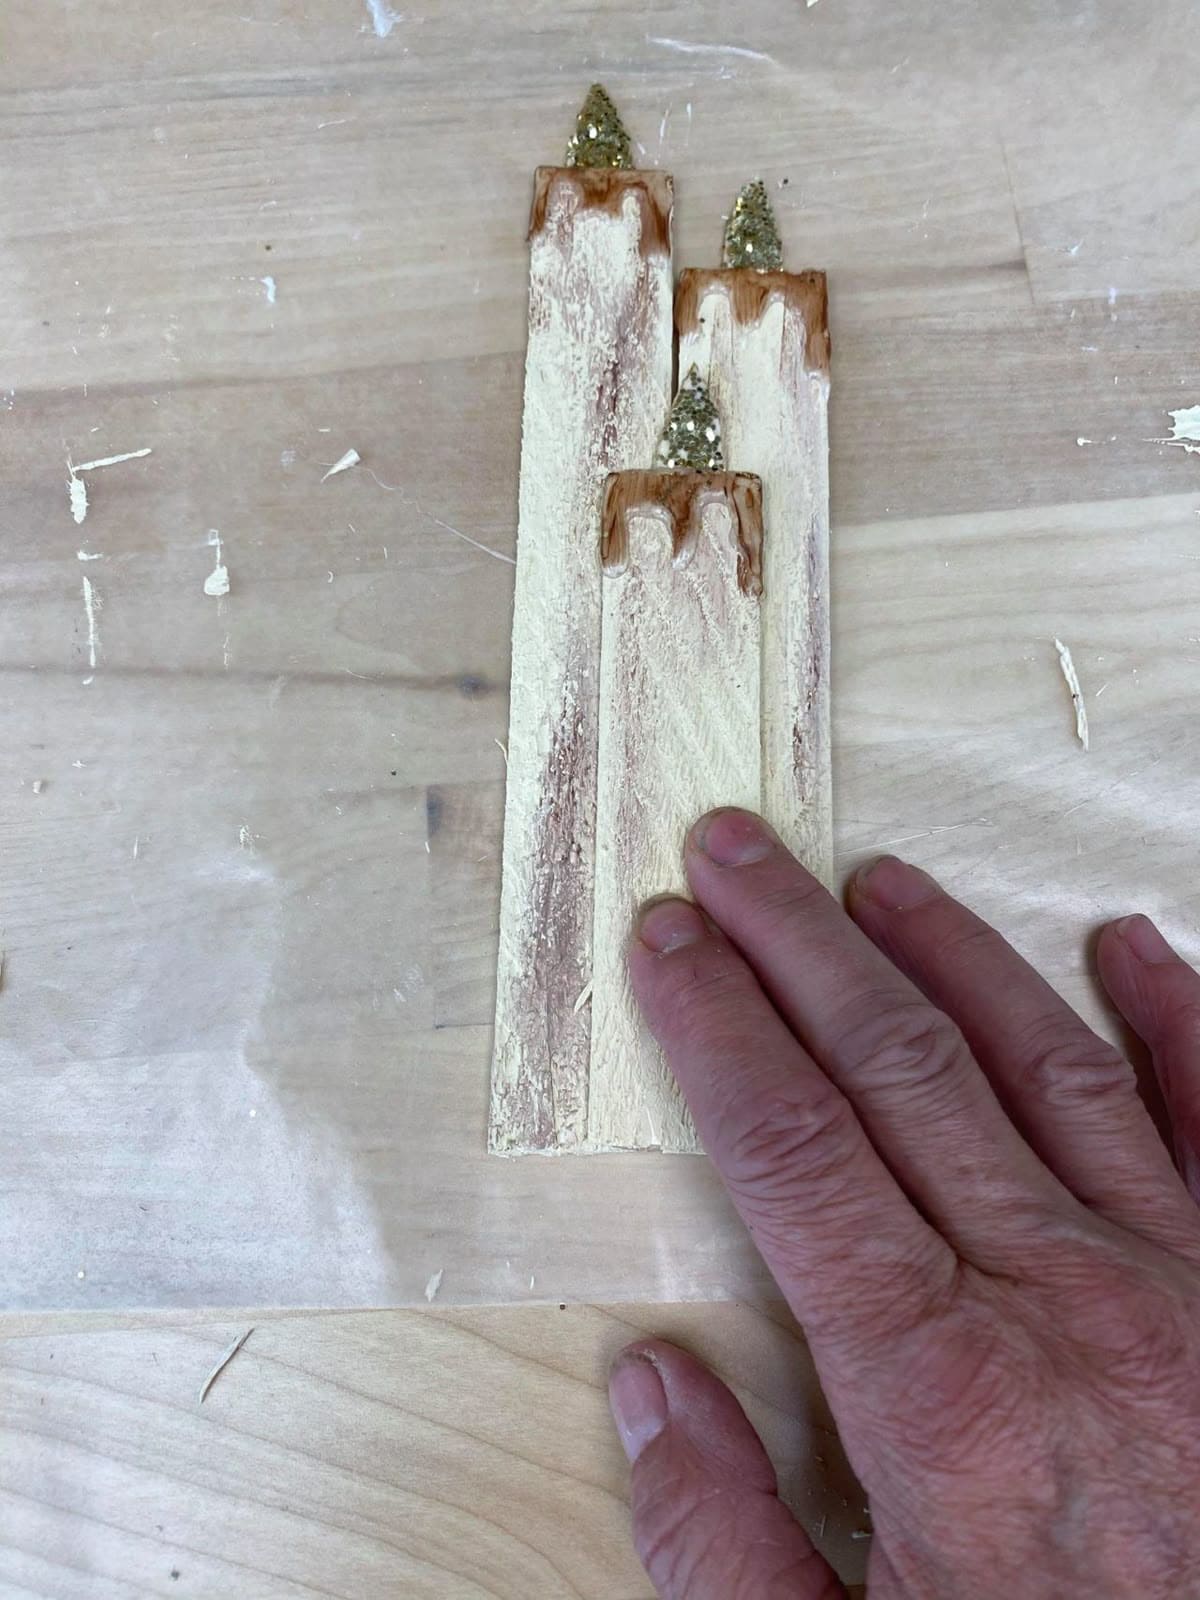
Candles always bring warmth, but these DIY shim candles bring personality, too.
Each flame is topped with glitter that twinkles in the light, while the painted drips look like real melted wax frozen in time. They’re the kind of craft that makes you pause, smile, and think: “I made that.”
Best of all, they’re versatile, you can paint them creamy white for a classic vibe, bright red for Christmas, or even deep orange for autumn gatherings.
Materials Needed
- 3-5 wood shims (6″-8″ long) for candles
- Acrylic paint: cream or white, plus brown
- Gold glitter (fine or chunky)
- Mod Podge
- Hot glue gun with glue sticks
- Sandpaper (optional)
- Paintbrushes (small angled brush helps with wax drips)
Step-by-step Guide
Step 1: Cut or select 3 wood shims in varying heights to create a trio. Then lightly sand the surfaces if needed.
Step 2: Paint the bodies of the shims with cream or white acrylic paint. You can add streaks of brown along the edges to mimic the shadows of melted wax.
Don’t worry about being too neat as imperfections make them look real.
Step 3: Using a smaller brush, paint “wax drips” coming down from the top. Then add multiple layers until it looks natural.
Step 4: Apply Mod Podge (or clear glue) at the very top and sprinkle gold glitter to form the flame. Let it dry fully before shaking off excess glitter.
Step 5: Hot glue the three shims together at their sides so they stand as one piece. Arrange tallest in the back, medium in the middle, and shortest in front.
Tips:
I like adding just a touch of metallic gold paint under the glitter as it makes the flames shine even if the light is dim. Also, if you want these to stand upright, glue them onto a small wood base or even a slice of reclaimed wood.
