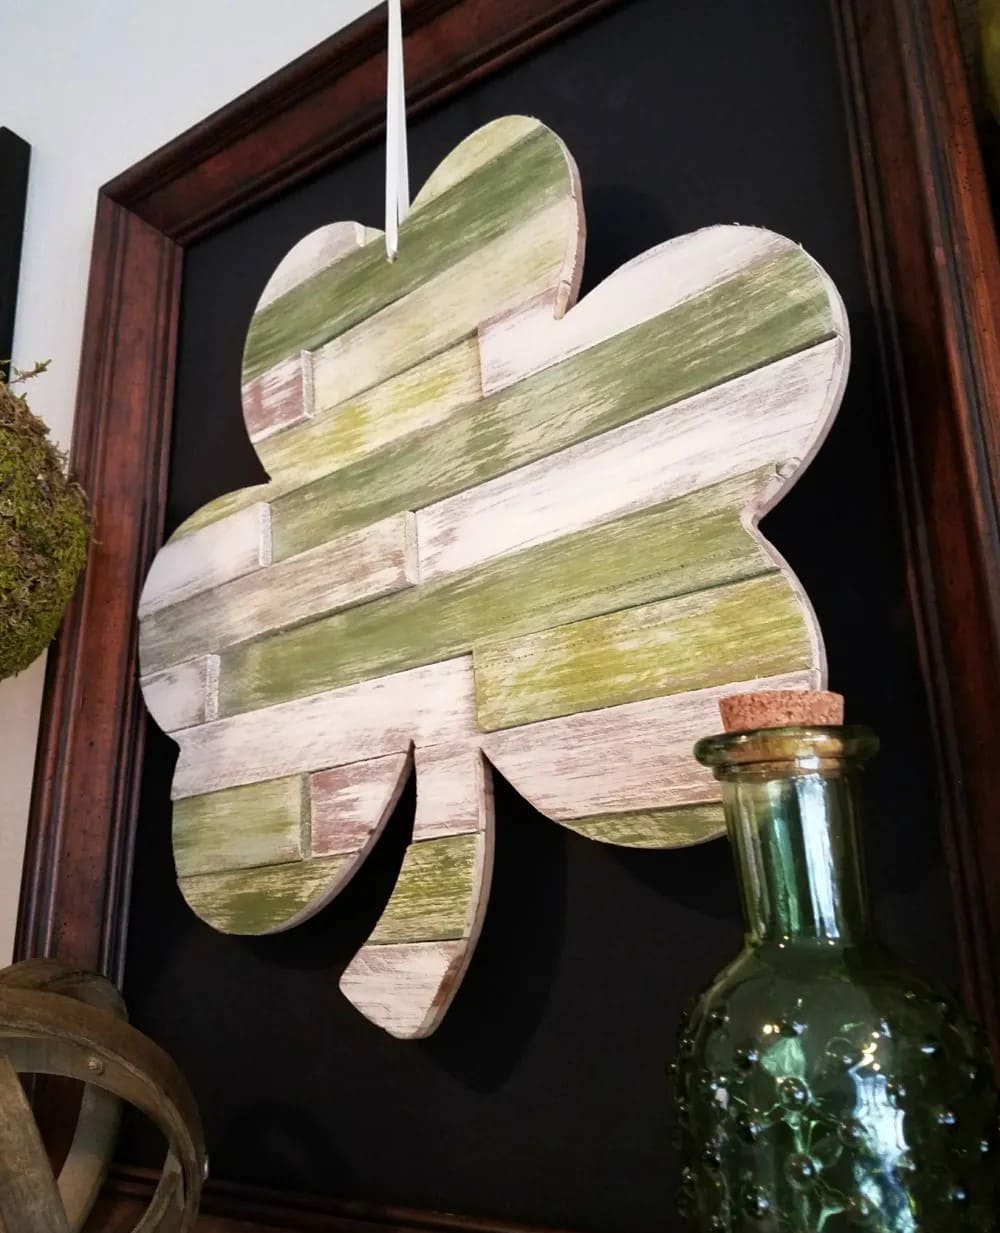
This piece is perfect if you want something festive yet subtle. It balances playful seasonal spirit with rustic style, making it a décor element you’ll be proud to hang anywhere.
Materials Needed
- 15-20 wood shims (8″ long, cut to fit shamrock pattern)
- 1 sheet of cardboard or thin plywood (base)
- Green paint, white paint, and brown stain
- Paintbrushes (small and medium sizes)
- Hot glue gun with glue sticks
- Sandpaper (100-150 grit)
- Printed shamrock outline
- Jute string or ribbon
Step-by-step Guide
Step 1: Start by tracing a shamrock shape onto cardboard or thin plywood. Then cut it out to form the base.
Step 2: Arrange the wood shims across the cutout, side by side, until the entire shamrock is covered. You should trim ends as needed for a clean fit.
Step 3: Glue each shim securely to the base. Let it dry before moving on.
Step 4: Apply a coat of green paint, then lightly brush on white for a distressed look. A touch of brown stain adds depth and gives it that weathered farmhouse finish.
Step 5: After the paint dries, lightly sand edges and surfaces to bring out the layered tones.
Step 6: Finally, attach jute string or ribbon to the back for hanging.
Tip:
Don’t worry if your brush strokes feel uneven, that’s what makes it charming.
I like to dry brush the white and let some of the natural wood peek through; it feels more authentic, almost like it has aged gracefully over the years.
