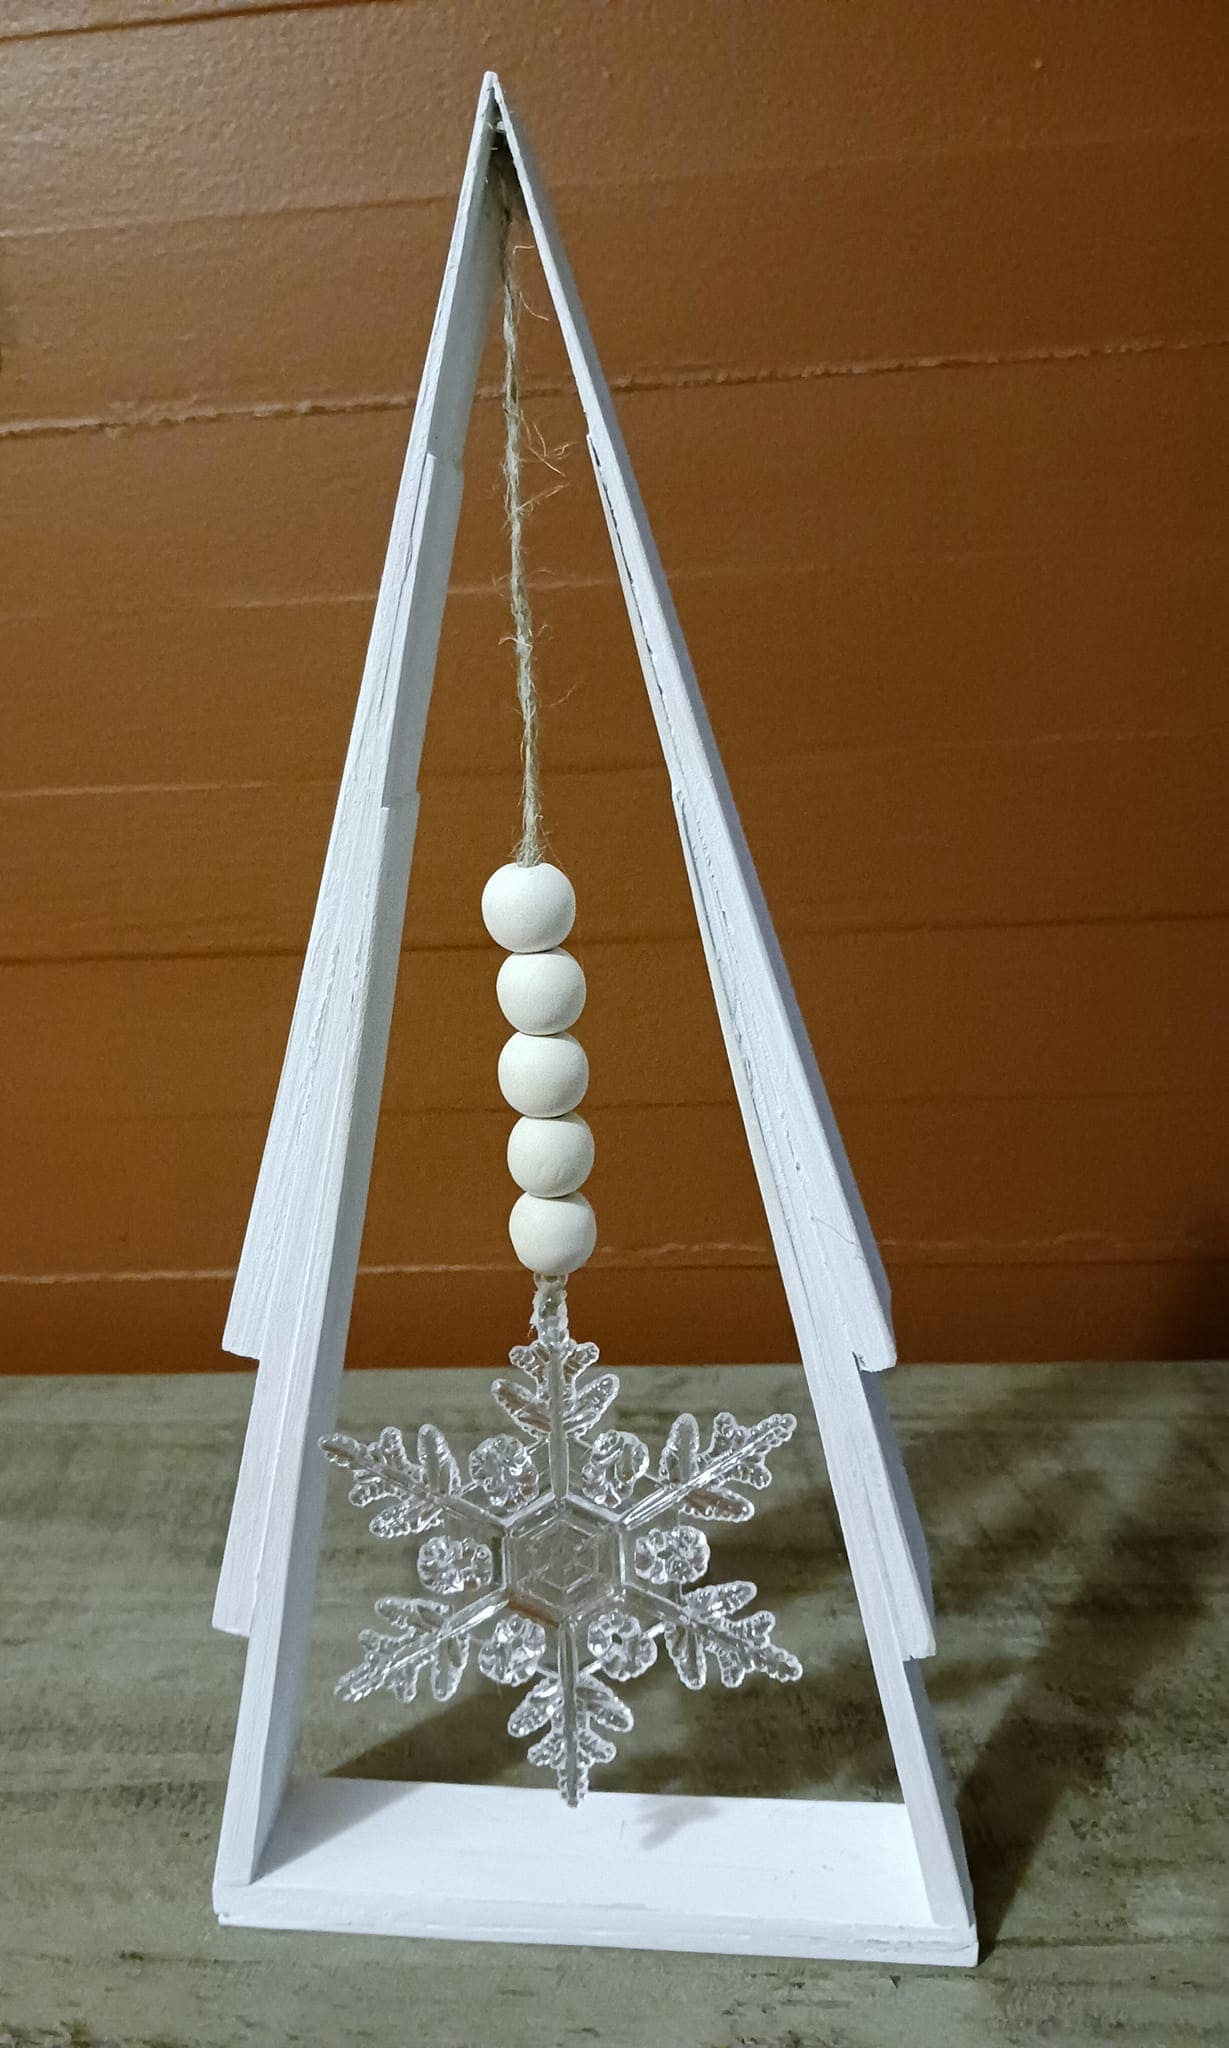
If you’re searching for a holiday project that feels fresh and creative, this snowflake ornament tree might be the answer.
It’s like bringing a little piece of modern Scandinavian design into your home, with its focus on clean lines and natural elements.
Also, the snowflake seems to float inside its wooden frame, like a captured moment from a winter wonderland.
Specially, it’s incredibly easy to personalize, you can paint the shims red or green for traditional colors, leave them natural for a rustic cabin vibe, or even add a hint of glitter for extra sparkle.
Materials Needed
- 6-8 wood shims (8″-10″ long)
- 1 wood base (rectangle, 6″-8″ wide)
- Acrylic paint (white or preferred color)
- 1 clear plastic or acrylic snowflake ornament (around 4″)
- 4-5 wood beads (¾”-1″)
- Twine or jute string
- Hot glue gun and glue sticks
- Small saw or utility knife
- Sandpaper (optional)
Step-by-step Guide
Step 1: Arrange two shims to form a tall triangle. Trim ends as needed so they meet neatly at the top, then glue them together. You now repeat to form the second side.
Step 2: Paint all shims and the base with acrylic paint. Two coats give a smoother finish. Let them dry completely.
Step 3: Glue the triangle frames onto the base, forming a freestanding Christmas tree shape. Ensure both sides lean evenly for stability.
Step 4: Cut a piece of twine and thread wood beads onto it. Next, tie the ornament at the bottom of the twine, securing with a knot.
Step 5: Glue or staple the twine at the top of the triangle so the ornament hangs centered inside the tree.
Tips: You can add a dusting of white glitter along the edges of the triangle. Also, try swapping the snowflake for a star or small bell to change the vibe.
