I believe there’s something a little heartbreaking about throwing away beautiful flowers, every time they begin to wilt, it feels wasteful.
That’s why I decided to find a way to preserve their beauty, and I came across a fantastic idea – pressed flower bookmarks.
Today, I’m excited to share how I made these stunning bookmarks, and hopefully, it will inspire you to give your flowers a second life too!
Materials Needed
You’ll need:
- Fresh flowers (I used pansies, daisies, and a few ferns)
- Wax or parchment paper.
- Heavy books.
- Scissors.
- Cardstock or watercolor paper.
- Clear-drying craft glue (I went with mod podge).
- Laminating sheets.
- Optional: Hole punch and ribbon or twine for decoration.
Step-by-Step Instructions
Step 1: Pressing the Flowers
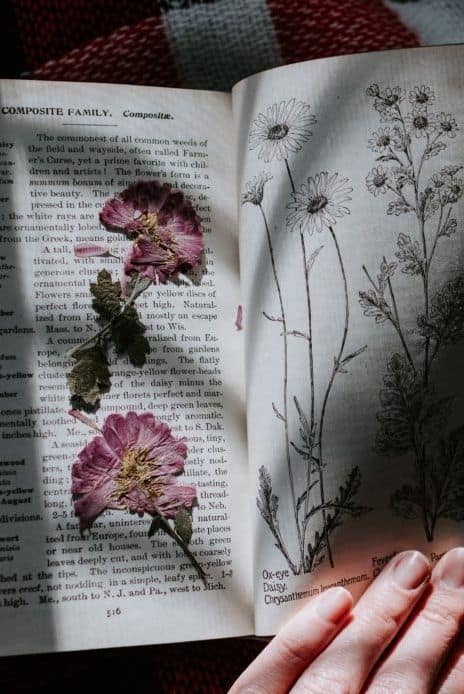
I started by collecting flowers that were just about to wilt. After drying them off, I placed the flowers between sheets of wax paper, then sandwiched them inside a heavy book.
To ensure they pressed evenly, I stacked a few more books on top and left them for about two weeks.
Step 2: Preparing the Bookmark Base
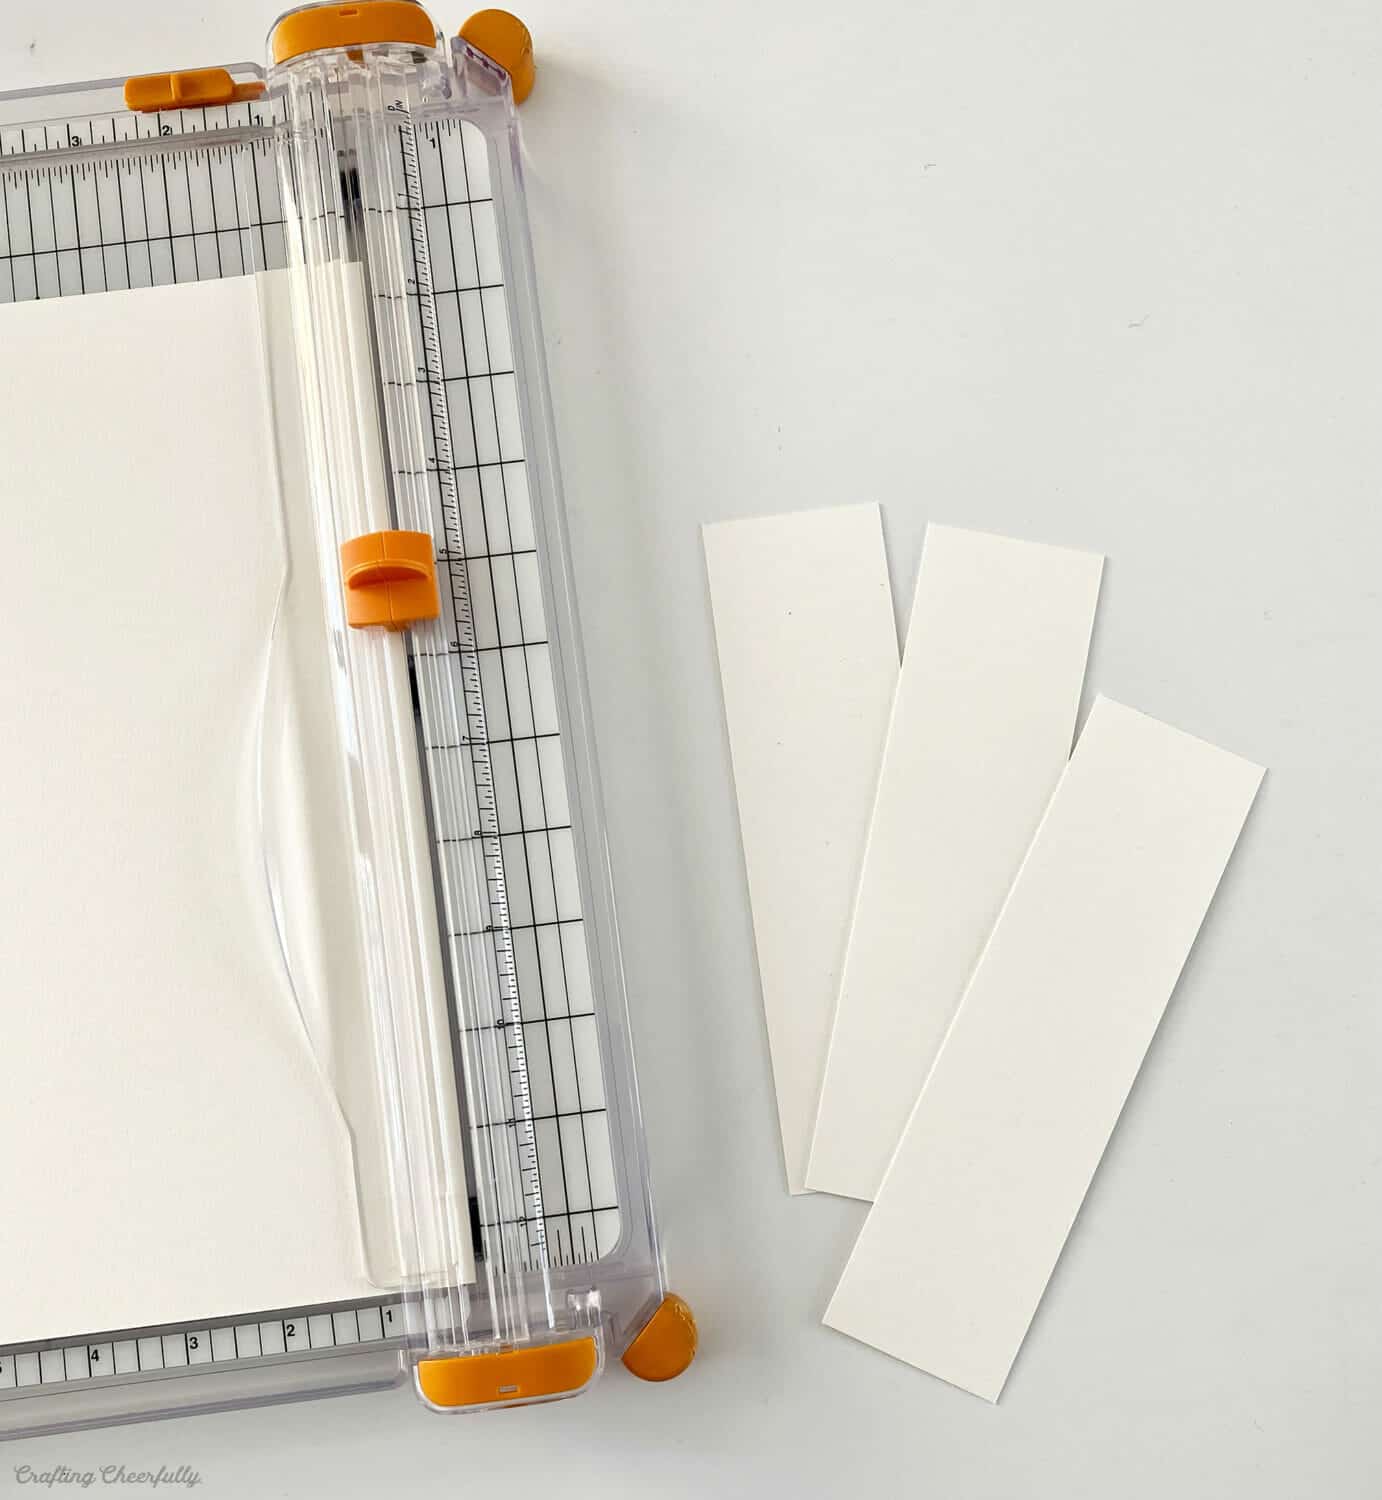
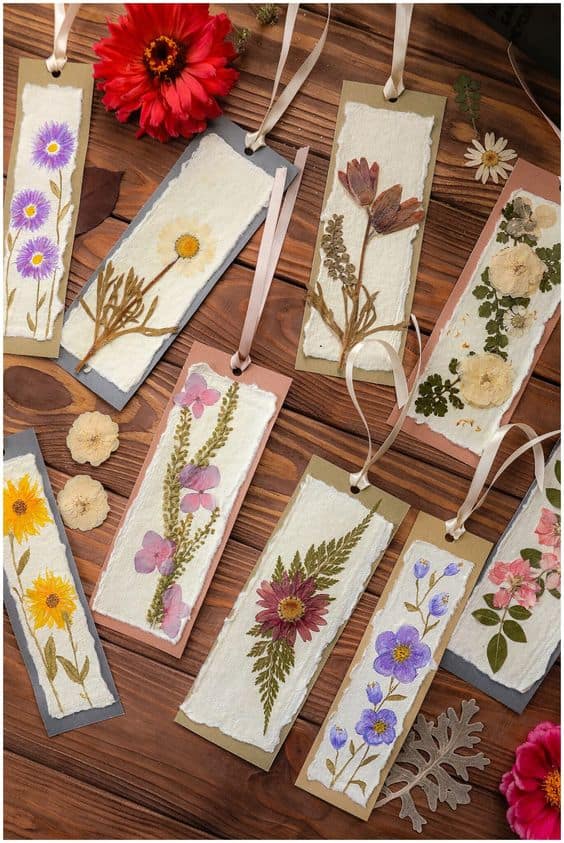
While waiting for the flowers to press, I cut out the bookmark bases. I used watercolor paper since it’s thick and sturdy.
I cut them into 2” by 6” pieces, but you can choose any size you like.
Step 3: Arranging and Gluing the Flowers
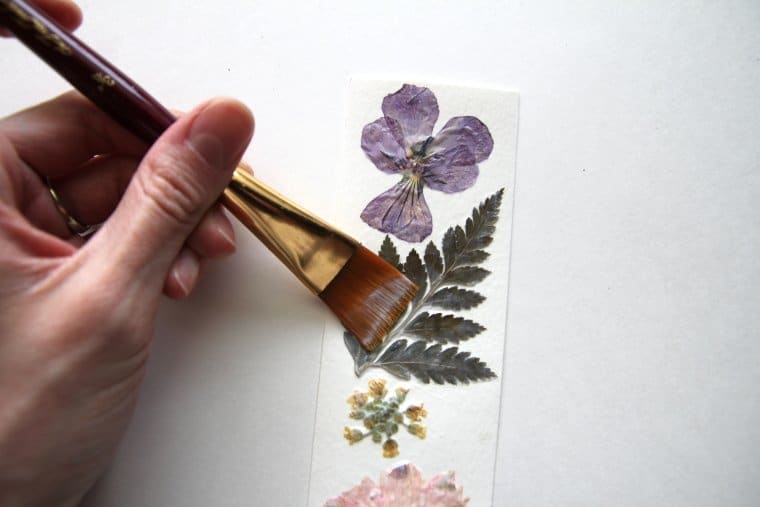
I found it helpful to lay out different designs before gluing anything down.
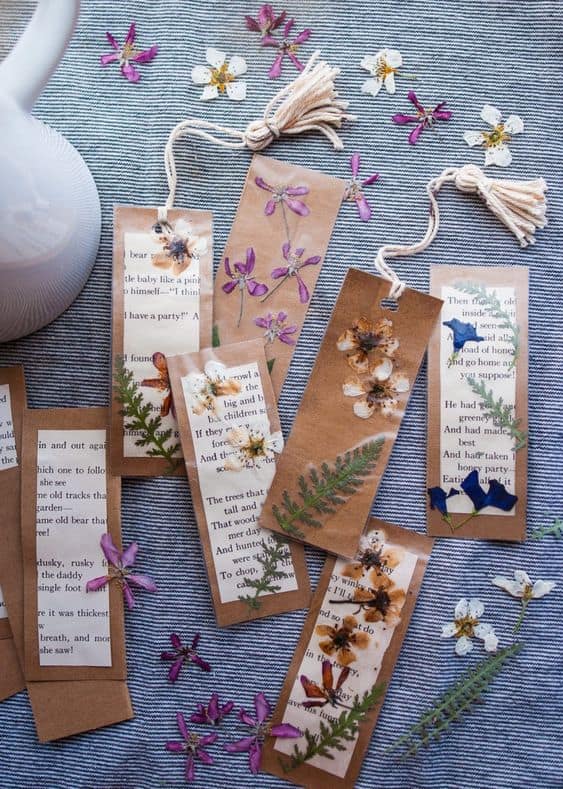
Once I liked the arrangement, I brushed a bit of glue onto the back of each flower and pressed them onto the paper.
Step 4: Sealing the Bookmark
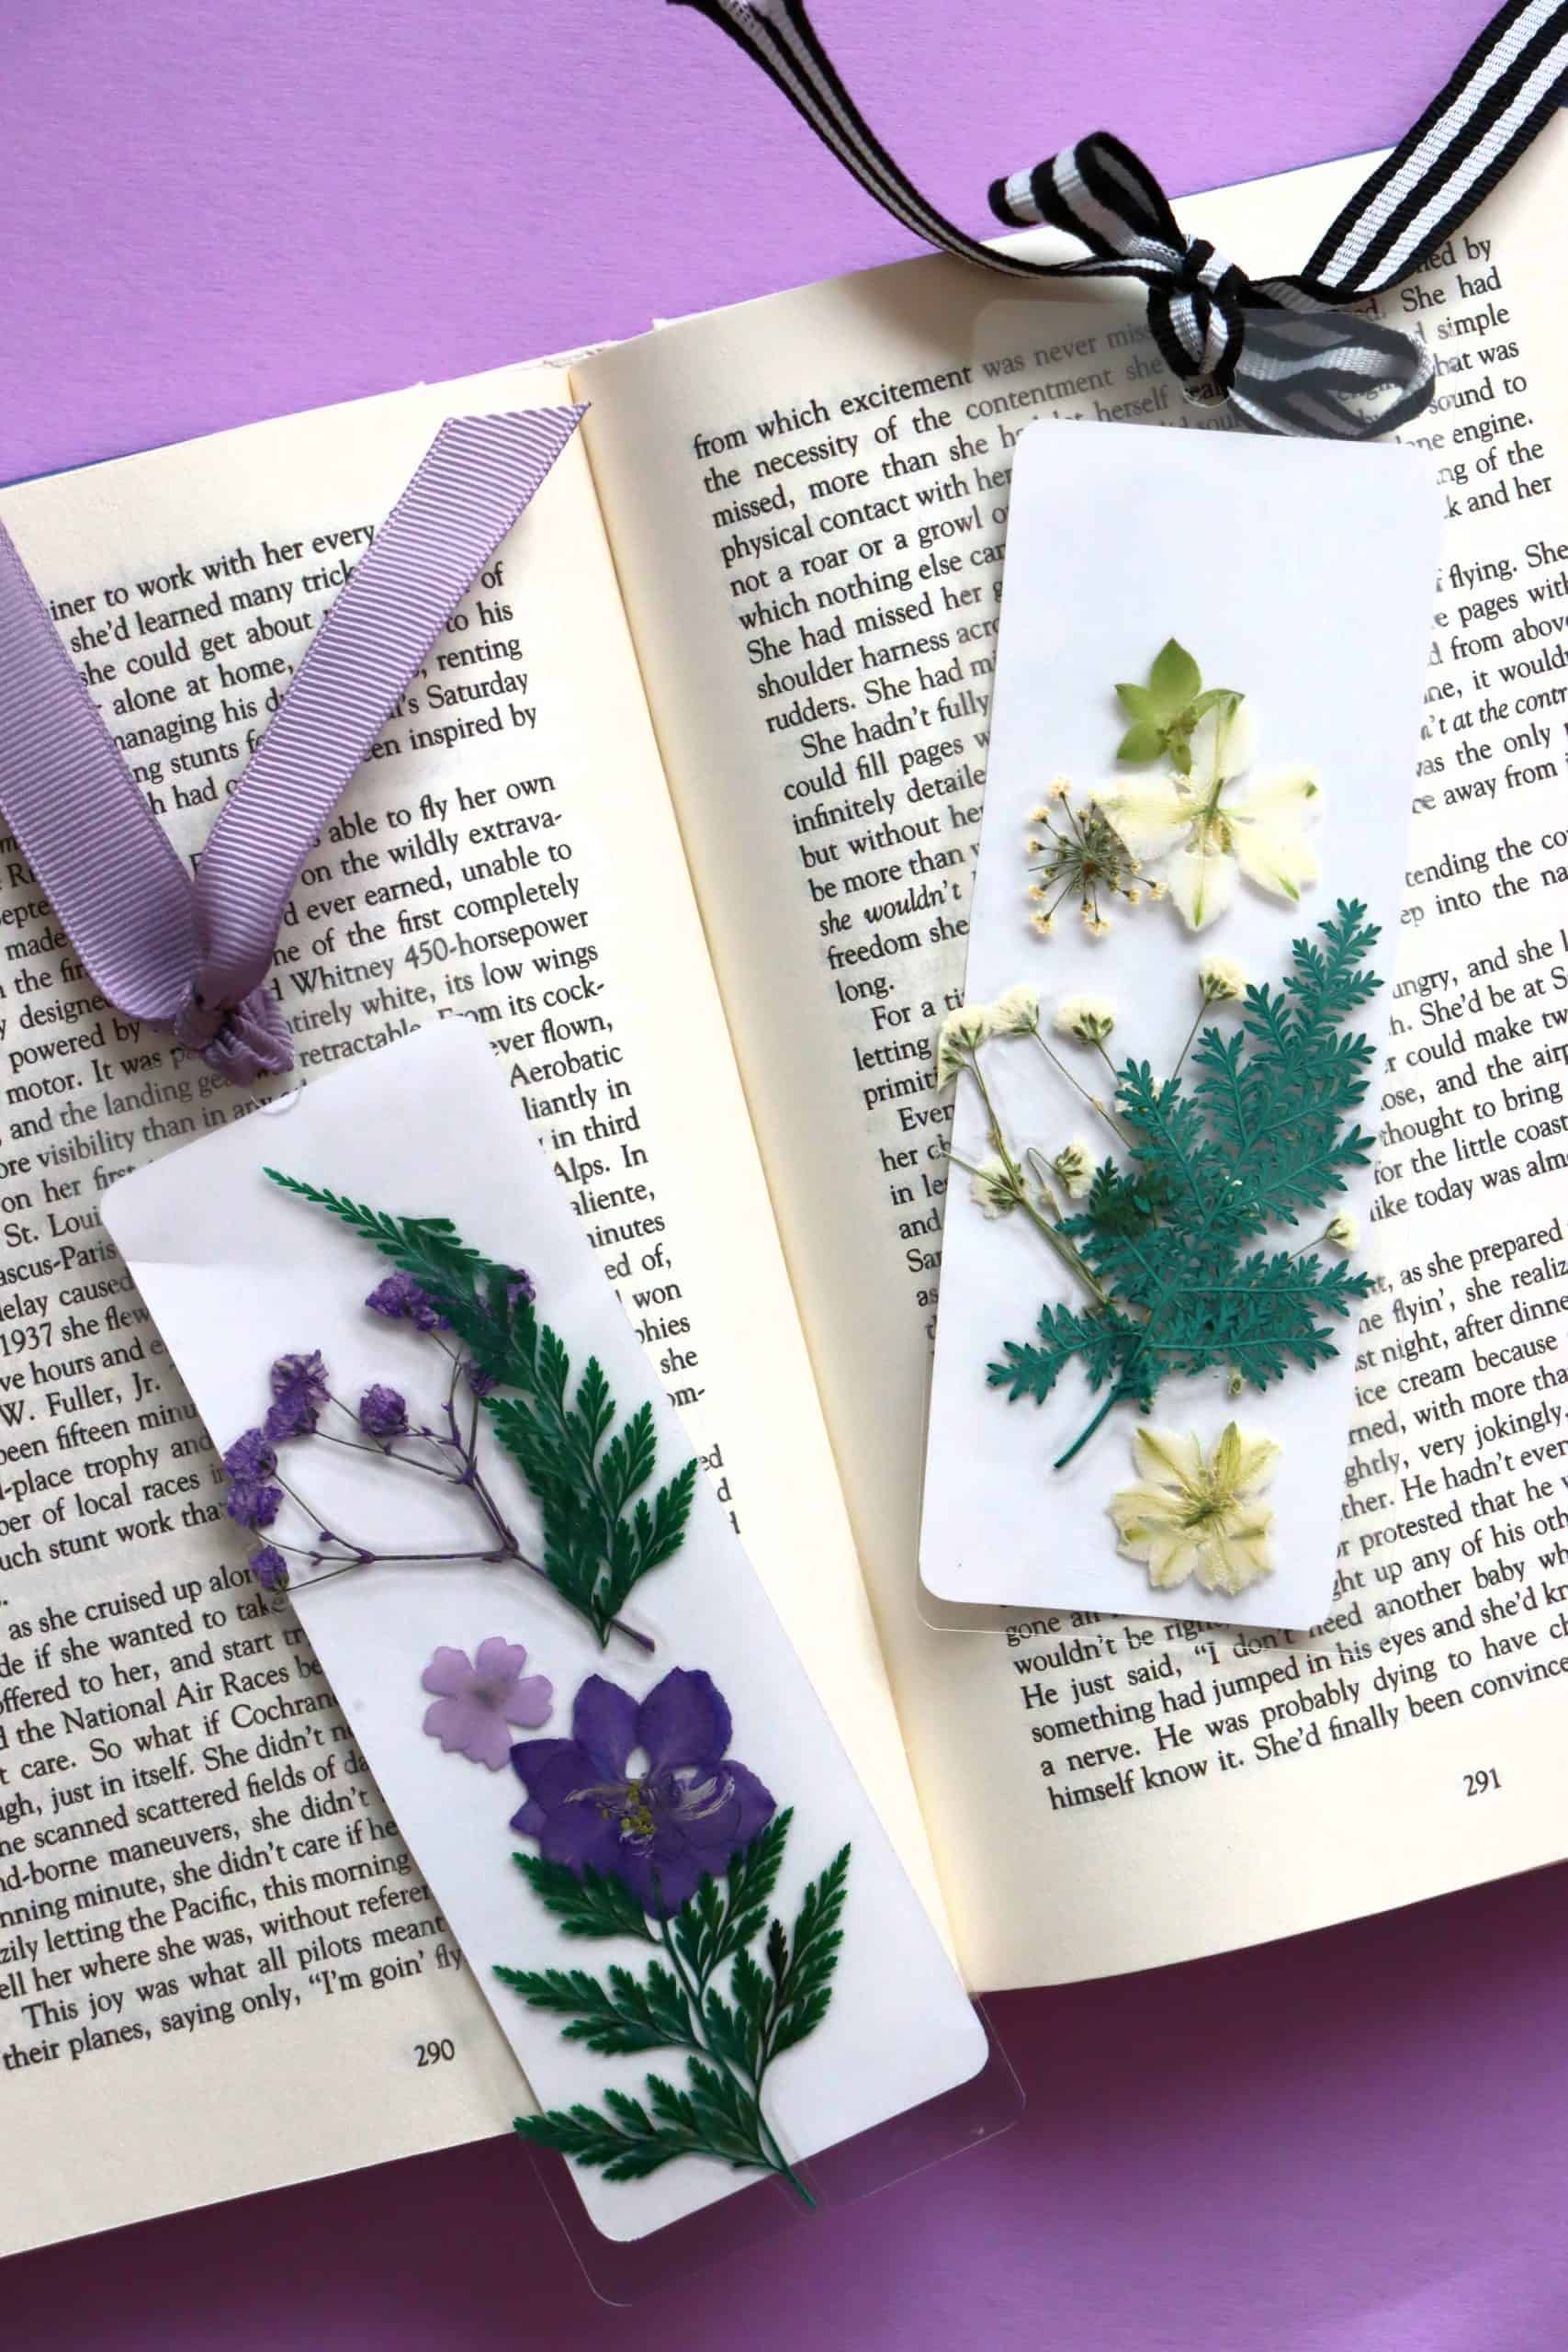
To keep the flowers protected, I sealed the bookmarks with self-adhesive laminating sheets. You can also use a laminator if you have one.
After trimming the edges, you can also add a hole punch at the top and tied on some twine to give the bookmarks a little extra charm.
