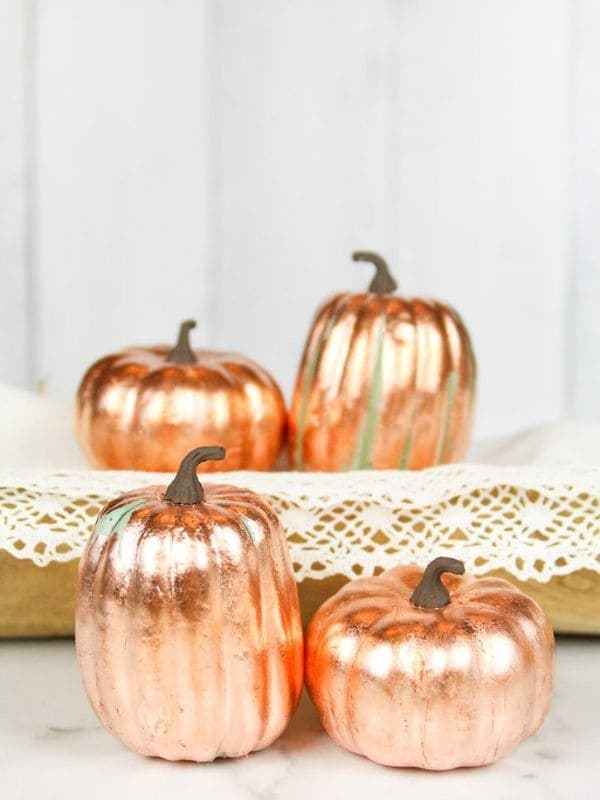
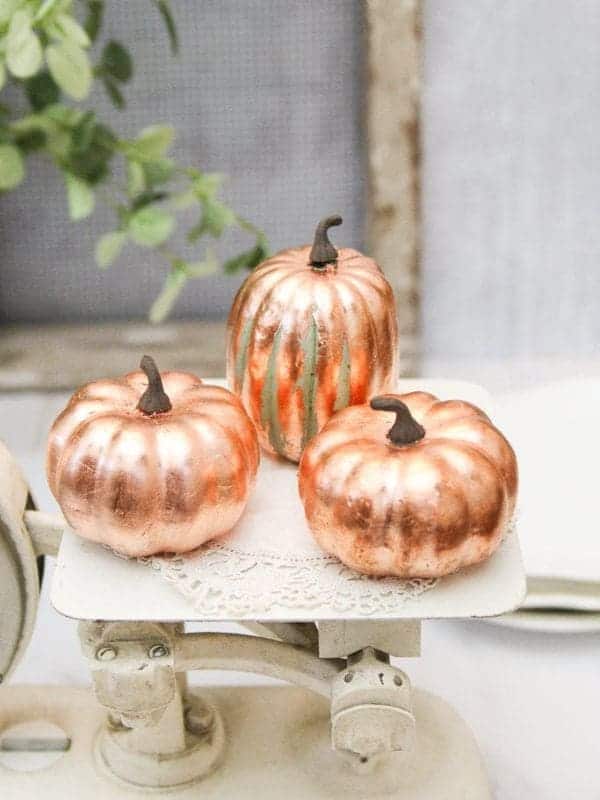
As autumn’s golden hues take over, it’s the perfect time to bring the cozy charm of the season into your home.
What better way to do it than with a DIY copper pumpkin that will instantly elevate your fall decor?
This simple project transforms ordinary faux pumpkins into beautiful, shimmering copper masterpieces that radiate warmth and elegance.
Materials Needed
Gather these essentials to make your copper pumpkin:
- Faux pumpkins (any size or color)
- Copper spray paint
- Painter’s tape
- Disposable gloves
- Cardboard box
Step-by-Step Guide
Step 1: Prep the Pumpkin

First, clean your faux pumpkins by wiping away any dust or debris with a damp cloth.
If your pumpkin has tags or stickers, remove them carefully.
Step 2: Protect the Stem
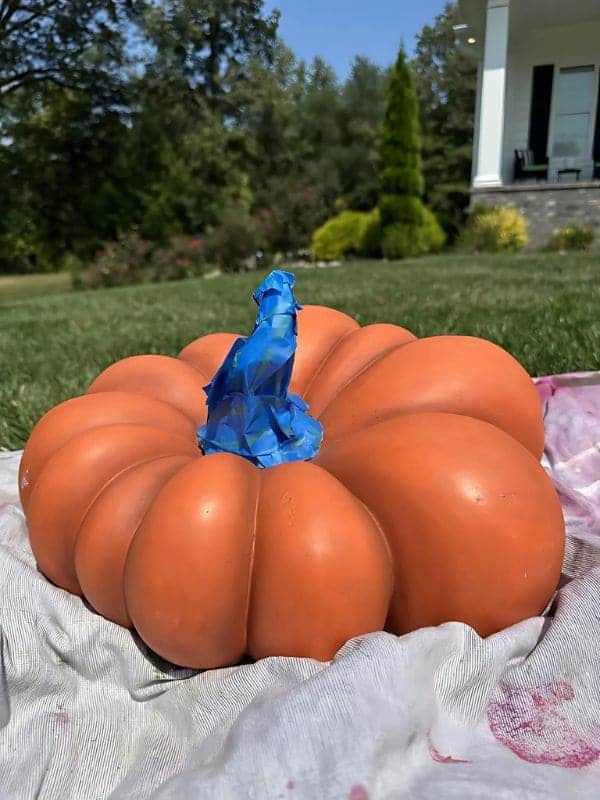
You should wrap painter’s tape around the stem to protect it from the spray paint and keep the natural look of the stem.
Step 3: Spray Paint the Pumpkin
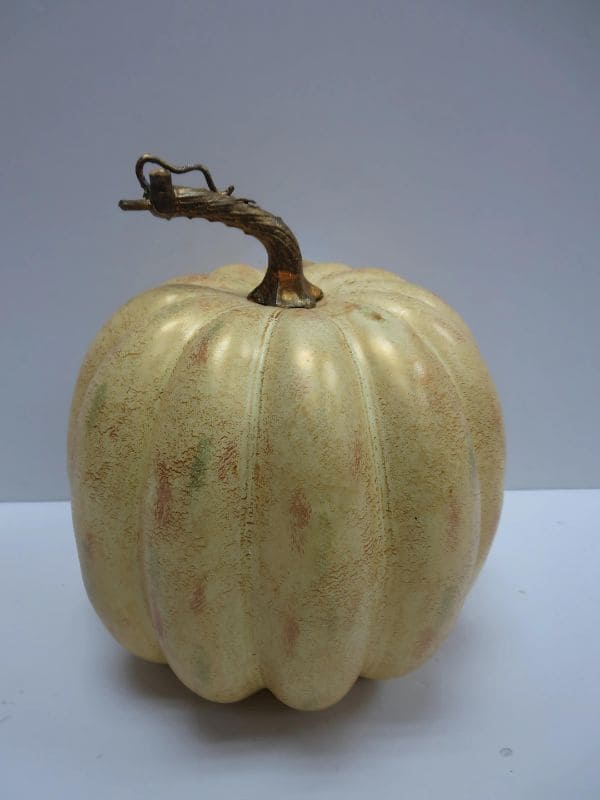
Place your pumpkin in a cardboard box to contain any overspray, then wearing gloves, hold the spray can about 8-10 inches from the pumpkin.
One coat is usually enough, but for a deeper shine, you can add a second layer after the first dries.
Step 4: Add Decorative Touches

Once the paint is dry, you can keep it simple with just the copper finish or add twine, ribbon, or faux leaves for a rustic touch.
For a little extra flair, I sometimes stencil patterns or designs on the pumpkin.
